- Jun 23, 2014
- 18,256
- 427
- 81,340


Welcome community, to this special megathread dedicated to the discussion of graphics card overclocking.
************************************************************************
Guidelines:
1. All graphics card talk is allowed here. But the primary focus should be on overclocking and the results of your overclocks.
2. Sharing FireStrike results is specifically encouraged. If we get enough firestrike scores, we can create an official Tom's Hardware Firestrike Hall Of Fame.
3. Flame Wars, personal attacks and bickering is not tolerated.
P.S. Sharing Superposition scores here are fine aswell, but there is another discussion thread already dedicated to Superposition which includes a hierarchy table of superposition results here: http://www.tomshardware.com/forum/id-3536560/tom-superposition-thread.html
Graphics Card Overclocking Guide:
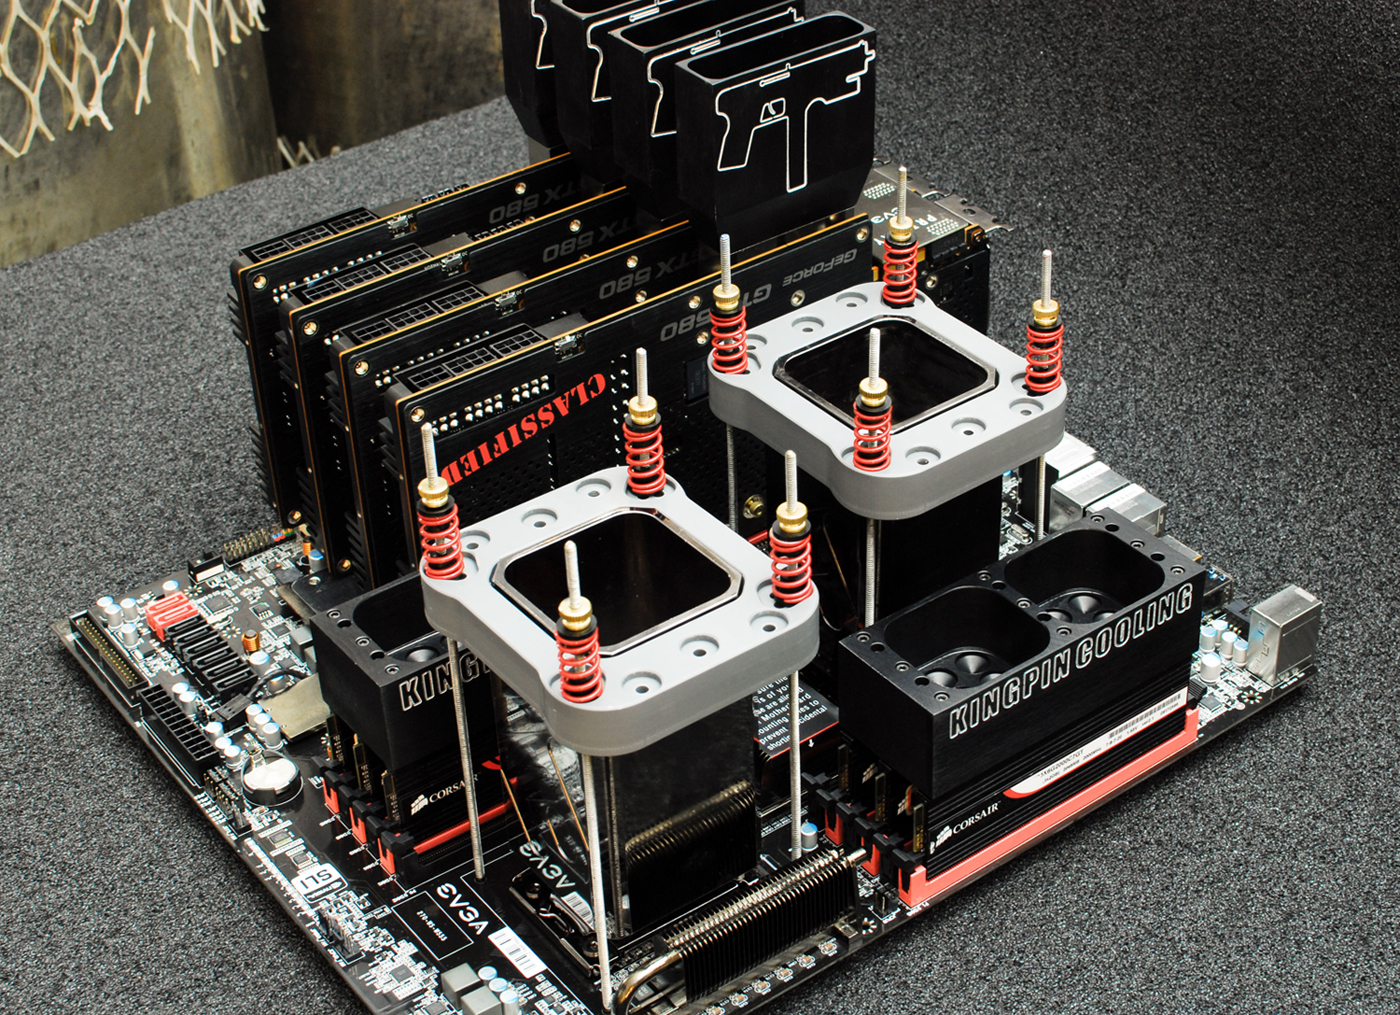
I would share my firestrike results, but I am in the middle of liquid cooling my GTX 1080, so I'll be back next week with a firestrike result for my personal system.
************************************************************************
Guidelines:
1. All graphics card talk is allowed here. But the primary focus should be on overclocking and the results of your overclocks.
2. Sharing FireStrike results is specifically encouraged. If we get enough firestrike scores, we can create an official Tom's Hardware Firestrike Hall Of Fame.
3. Flame Wars, personal attacks and bickering is not tolerated.
P.S. Sharing Superposition scores here are fine aswell, but there is another discussion thread already dedicated to Superposition which includes a hierarchy table of superposition results here: http://www.tomshardware.com/forum/id-3536560/tom-superposition-thread.html
Graphics Card Overclocking Guide:
Overclocking your graphics card is one of the easiest ways to gain more performance out of your GPU. It is extremely simple to learn, anyone can do it if you have the patience.
Step 1: Download and install your favorite GPU overclocking tool. If you don’t know what to use, I highly recommend going with MSI Afterburner. Afterburner is arguably the best GPU overclocking tool out there, but what makes it unique is its ability to support almost any graphics card out on the market today (which is why MSI Afterburner is the go to OC tool for the vast majority of users).
MSI Afterburner: https://www.msi.com/page/afterburner
Step 2: Download and Install your prefered GPU stress test/benchmarking utility. I recommend installing a few different stress test utilities so you can make sure your graphics card is stable under a number of different types of workloads. What I use is a combination of Unigine Valley & Superposition, plus 3DMark.
Superposition: https://benchmark.unigine.com/superposition?lang=en
Valley: https://benchmark.unigine.com/valley?lang=en
3dMark: https://www.futuremark.com/support/downloads
Step 3: Open up MSI Afterburner (or whatever tool your using, i’m going to reference msi afterburner as that’s what I use) and make sure you understand the basics of each slider.

Step 4: Now it’s time to prep the card for overclocking. Increase the Power and Temp. limits to their maximum (don’t worry, this is perfectly safe. Your increasing the capabilities of the cards power delivery and increasing the temperature threshold so the card won’t start downclocking).
Next, increase your fan speed, increase the fan speed manually until it’s too loud for your tastes. You can setup a fan curve later.

Step 5: Startup your stress test utility, if you’re going off my recommendations, start with Unigine Valley. Run the benchmark once with the power and temp limits maxed out but without touching the core or memory clocks just yet. Make sure the card is stable thru the test (it should run thru the entire test without crashing, if it does, then something’s wrong with your card).
Step 6: Now it’s time to actually start overclocking. 1st, increase the core clock by 35mhz and run the stress test, if stable, add another 35mhz and see if it’s stable, keep repeating until the card is unstable. Once it goes unstable, go back to the previously stable clock speed and increase the core clock in 10mhz increments.
Each time you change the core clock, run a stress test for 5 minutes. Once you find the sweet spot, run your benchmarking utility for 30 minutes strait.
Step 7: You can also optionally increase the vram clock rate of your video card aswell, this will allow the GPU to access it’s vram quicker allowing for more performance.
For memory it’s a little different, the problem with vram is that it’s hard to tell when it’s actually unstable. In the case of Nvidia Pascal GPUs as an example, the vram might look stable at a certain frequency, but it really isn’t because Pascal is so good at error correction that all you’ll get is a performance drop instead of a crash. It’s still not optimal as the gpu now has to dedicate time to fixing the glitches in the memory because the memory is running too fast.
So for memory, start at a +100mhz offset, and run a stress test for 5 minutes. Then go up by 50mhz increments until the card actually crashes, then go back down to the previous clock rate that was stable. Now when you run your stress test, pay attention to your screen, for 5 minutes to see if there is any artifacting at all. I recommend you also run Superposition and 3dmark to make sure it’s not artifacting in those utilities either.
Now if you want to REALLY get as much oomph out of your vram as possible, try this technique out: Open up your favorite video game and run it in windowed mode, so you can access msi afterburner at the same time. What you want to do is get into a match (preferably not online), and look at your frame rate counter. If you don’t have one, enable MSI’s OSD in the settings menu.
Look at your frame rate VERY closely (FYI it helps if your game runs at over 100fps for more detail). Increase your memory clock speed on the fly UNTIL you see a drop in FPS. Play around until you find the sweet spot.
Step 8: Now that your vram is stable, run both the core and memory clock at their max clock speeds you’ve found to be stable so far and run unigine valley, superposition, and 3dmark for about an hour (dedicate valley to 25ish minutes and superposition to 25ish minutes aswell, then for 3dmark just run it since you can’t loop 3dmark).
Step 9 (optional): You can also unlock the voltage monitoring and voltage control in MSI Afterburner if you want to get as much performance out of your GPU as possible. However, overvolting your GPU can degrade the GPU much faster and can increase temperatures of your GPU, so do this with caution.
I personally am a strong believer in stock voltage overclocking for GPUs. I personally own a GTX 750 Ti, GTX 1060, and GTX 1080, I have overvolted both the 750 TI (BIOS Mod) and the GTX 1060 and found that the extra voltage was not worth while. At stock volts i could get around 2114ish mhz on my gtx 1060 where as with a max overvolt of 1.081 (1.093v get’s worse stability…) i could only get 2150ish mhz. With my GTX 750 Ti I could get 1455mhz with the extra voltage from the bios mod, and 1430ish mhz without the bios mod.
I would share my firestrike results, but I am in the middle of liquid cooling my GTX 1080, so I'll be back next week with a firestrike result for my personal system.


 Twitter