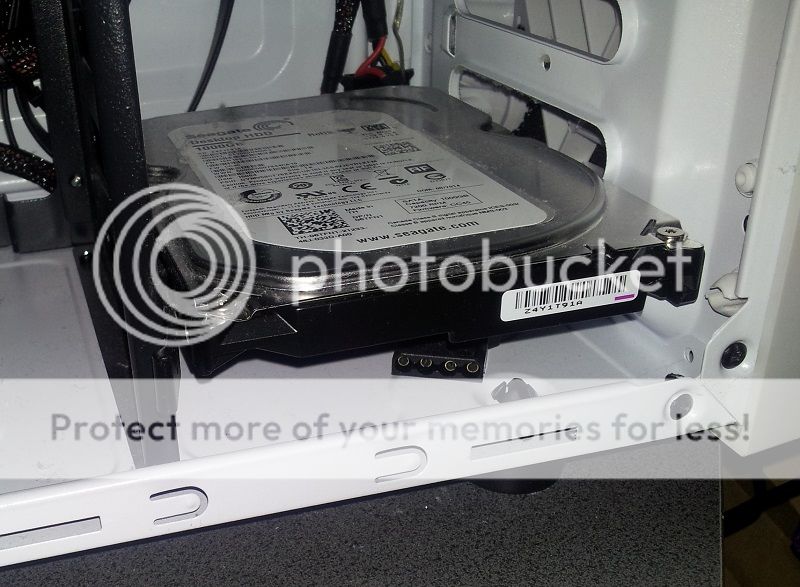
I have a Chillblast Obelisk PC, which uses a Zalman Z3 tower case. I'm trying to replace the 3.5" SATA hard drive, but I can't fathom how it's connected in.


It's flush against the front of the case, and on the accessible side of the drive bay there are no screws securing the drive that I can see. It seems to be sitting in some form of caddy, with a lever on the left hand side. If I press the lever in against the drive, it seems to gain a little movement on the left side, but remains firmly secured on the right. There doesn't seem to be any corresponding lever on the other side.
I'm not sure whether there's some retaining pin or screw on the right-hand side - that side's flush against the front panel of the PC. I downloaded the case's manual from the Zalman website, but it's annoyingly vague. It seems to suggest that the front panel can simply be pulled away, but I've tried doing so and short of exerting enough force to actually break the plastic, it doesn't seem to want to go anywhere. I can't see any obvious screws holding it in place.
Any suggestions? I feel like I'm missing something obvious, but I haven't done this in awhile - last time I replaced a drive was several years ago, and it used nice, simple screws.

