What is the make/model of your current parts?
Can you reuse any of them?
Perhaps the case or some storage?
What is the gpu that you now own?
It is the gpu that mostly defined the psu capability that you need.
I5-12500 and I5-13500 are somewhat comparable and very capable.
One good thing is that those processors come with a usable cooler and integrated graphics.
Do not succumb to the $25 savings for buying a F processor.
Having integrated graphics is a very useful insurance policy for gpu issues and makes testing easier.
One can always add an aftermarket cooler later if needed. But unless you are running apps that can load all cores, the heat generated is not excessive.
Performance using DDR4 or DDR5 ram are comparable.
No longer do you pay a big premium for DDR5 ram and motherboards.
Pick a B760 based motherboard of either DDR flavor.
All things equal, pick DDR5.
Intel is not dependent on fast ram for performance.
Buy a 2 x16gb kit, not two individual parts. Ram must be matched.
Matx sized motherboards are usually cheaper.
m.2 devices are easy to install. I would pick perhaps a 2tb pcie ssd.
If you run out of space, it is easy enough to add more storage later.
Do not go cheap on the ssd, it is a very important component.
Samsung and Intel are major manufacturers.
Most of what we do is small random I/O so do not pay a big price premium for a fast pcie device.
Pick a case that appeals to you. Looks count, it will be with you for a long time.
As a first time builder, this may be useful to you:
MY build process:
Before anything, while waiting for your parts to be delivered, download
and read, cover to cover your case and motherboard manual.
Buy a long #2 magnetic tip philips screwdriver.
A small led flashlight is also useful.
I find it handy to buy a power switch like this for testing.
1. I assemble the critical parts outside of the case.
That lets me test them for functionality easily.
A wood table or cardboard is fine.
2. Plug in only the necessary parts at first. Ram, cpu, cooler, psu.
Do not force anything. Parts fit only one way.
Attach a monitor to the integrated motherboard adapter if you have one, otherwise to the graphics card.
3. If your motherboard does not have a PWR button, momentarily touch the two pwr front panel pins with a flat blade screwdriver.
4. Repeatedly hit F2 or DEL, and that should get you into the bios display.
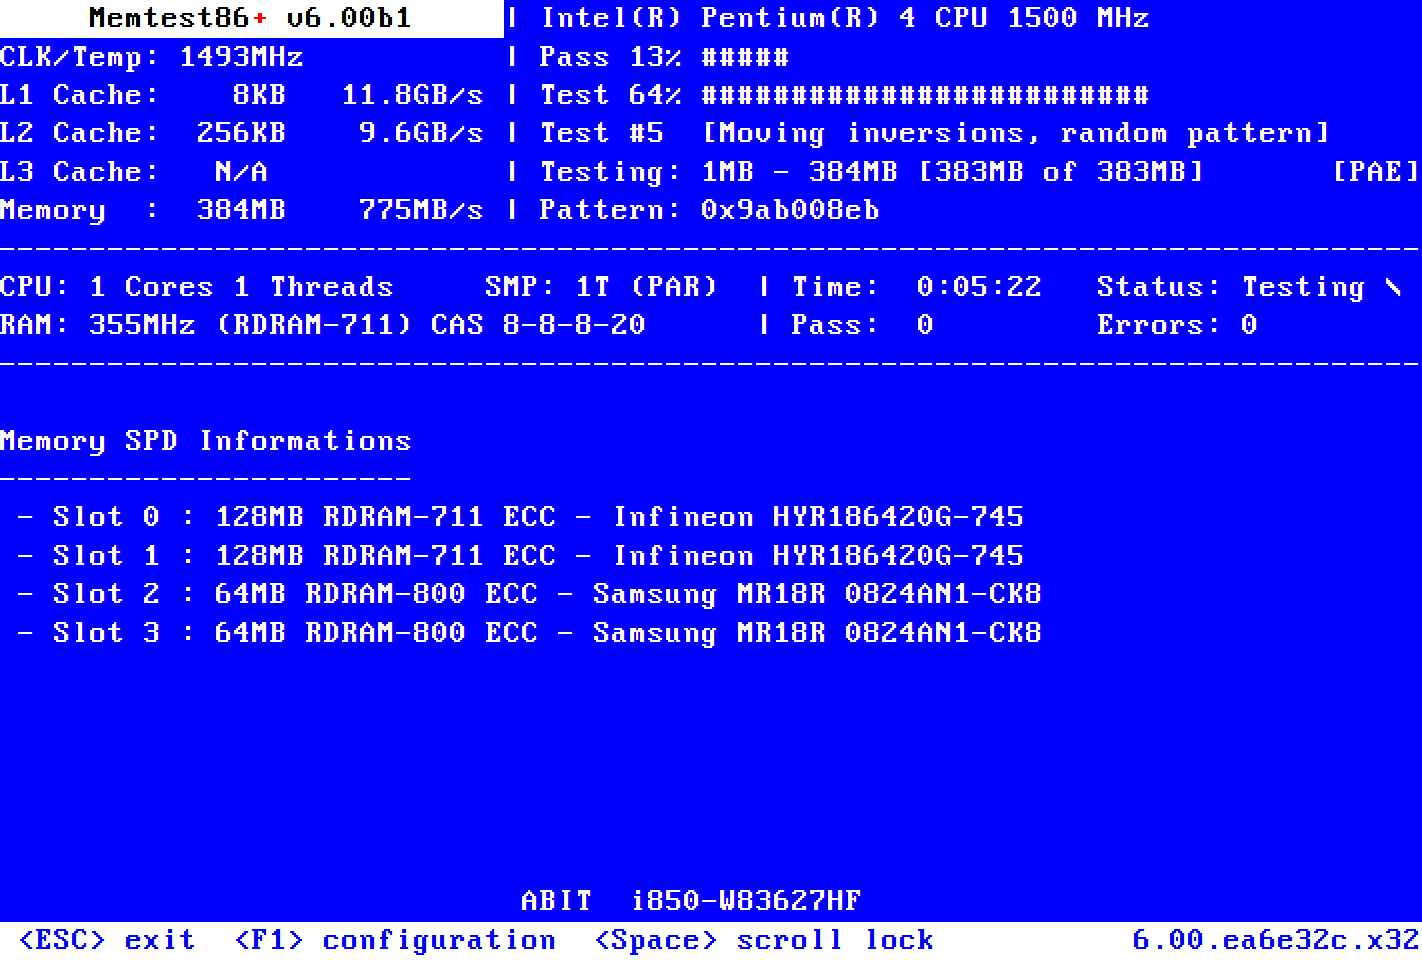
5. Boot from a cd or usb stick with memtest86 on it. memtest will exercise your ram and cpu functionality.
They boot from a usb stick and do not use windows.
You can download them here:
MemTest86 is the original self booting memory testing software for x86 and ARM computers. Supporting both BIOS and UEFI, with options to boot from USB.
www.memtest86.com
Memtest86+ is an advanced, free, open-source, stand-alone memory tester for 32- and 64-bit computers (UEFI & BIOS supported)

www.memtest.org
If you can run a full pass with NO errors, your ram should be ok.
Running several more passes will sometimes uncover an issue, but it takes more time.
Probably not worth it unless you really suspect a ram issue.
Opinions vary on updating the bios.
Normally, one does not update a bios unless there is a fix for something that is impacting you. I violate this rule on a new build and will update to currency up front.
Use the usb option, not the windows option.
If there is a severe problem, the impact is small.
6. Install windows.
7. Install the motherboard cd drivers. Particularly the lan drivers so you can access the internet.
Do not select the easy install option, or you will get a bunch of utilities and trialware that you don't want. Drivers only.
7. Connect to the internet and install an antivirus program. Microsoft defender is free, easy, and unobtrusive.
8. Install your graphics card and driver if you tested with integrated graphics.
You will need to remove the graphics card later to install your motherboard in the case.
As a tip when screwing the motherboard into the posts, give the screw a small counterclockwise turn until you feel a click.
That lets you know that the screw will engage properly.
Make a note of how the graphics card latches into the pcie slot.
The mechanism will be hidden under the card and may be difficult to work if you have not previously checked how.
9. Update windows to currency.
10. Only now do I take apart what I need to and install it in the case.
11. Now is the time to reinstall your graphics card.


