Tom's Hardware Member System Gallery

Page 197 - Seeking answers? Join the Tom's Hardware community: where nearly two million members share solutions and discuss the latest tech.
@NightHawkRMX , what case is that? I know it's not the Matrexx listed in the signature.
The case is a SAMA IM02 White. It's clearly inspired by a Cooler Master NR200 cosmetically, but it cost me about $60 and it overall feels much more premium than that. Excellent quality all around and very very good mechanical design.
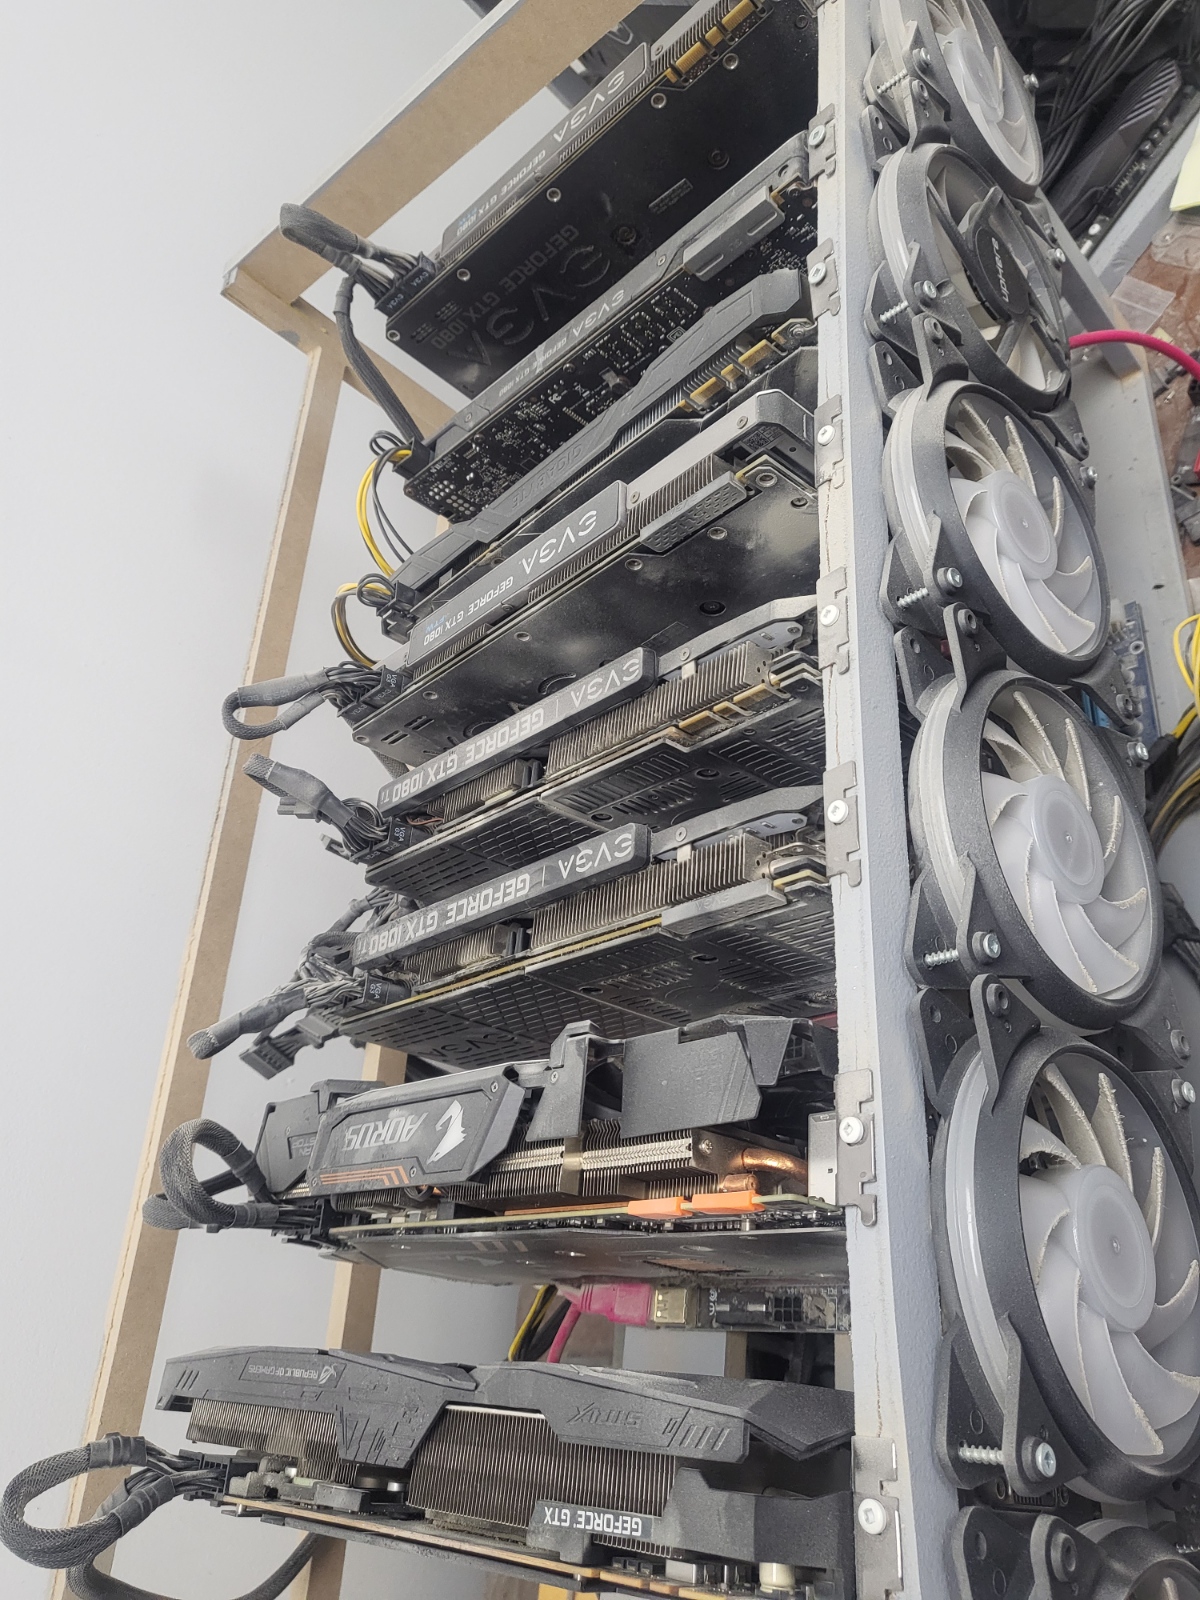
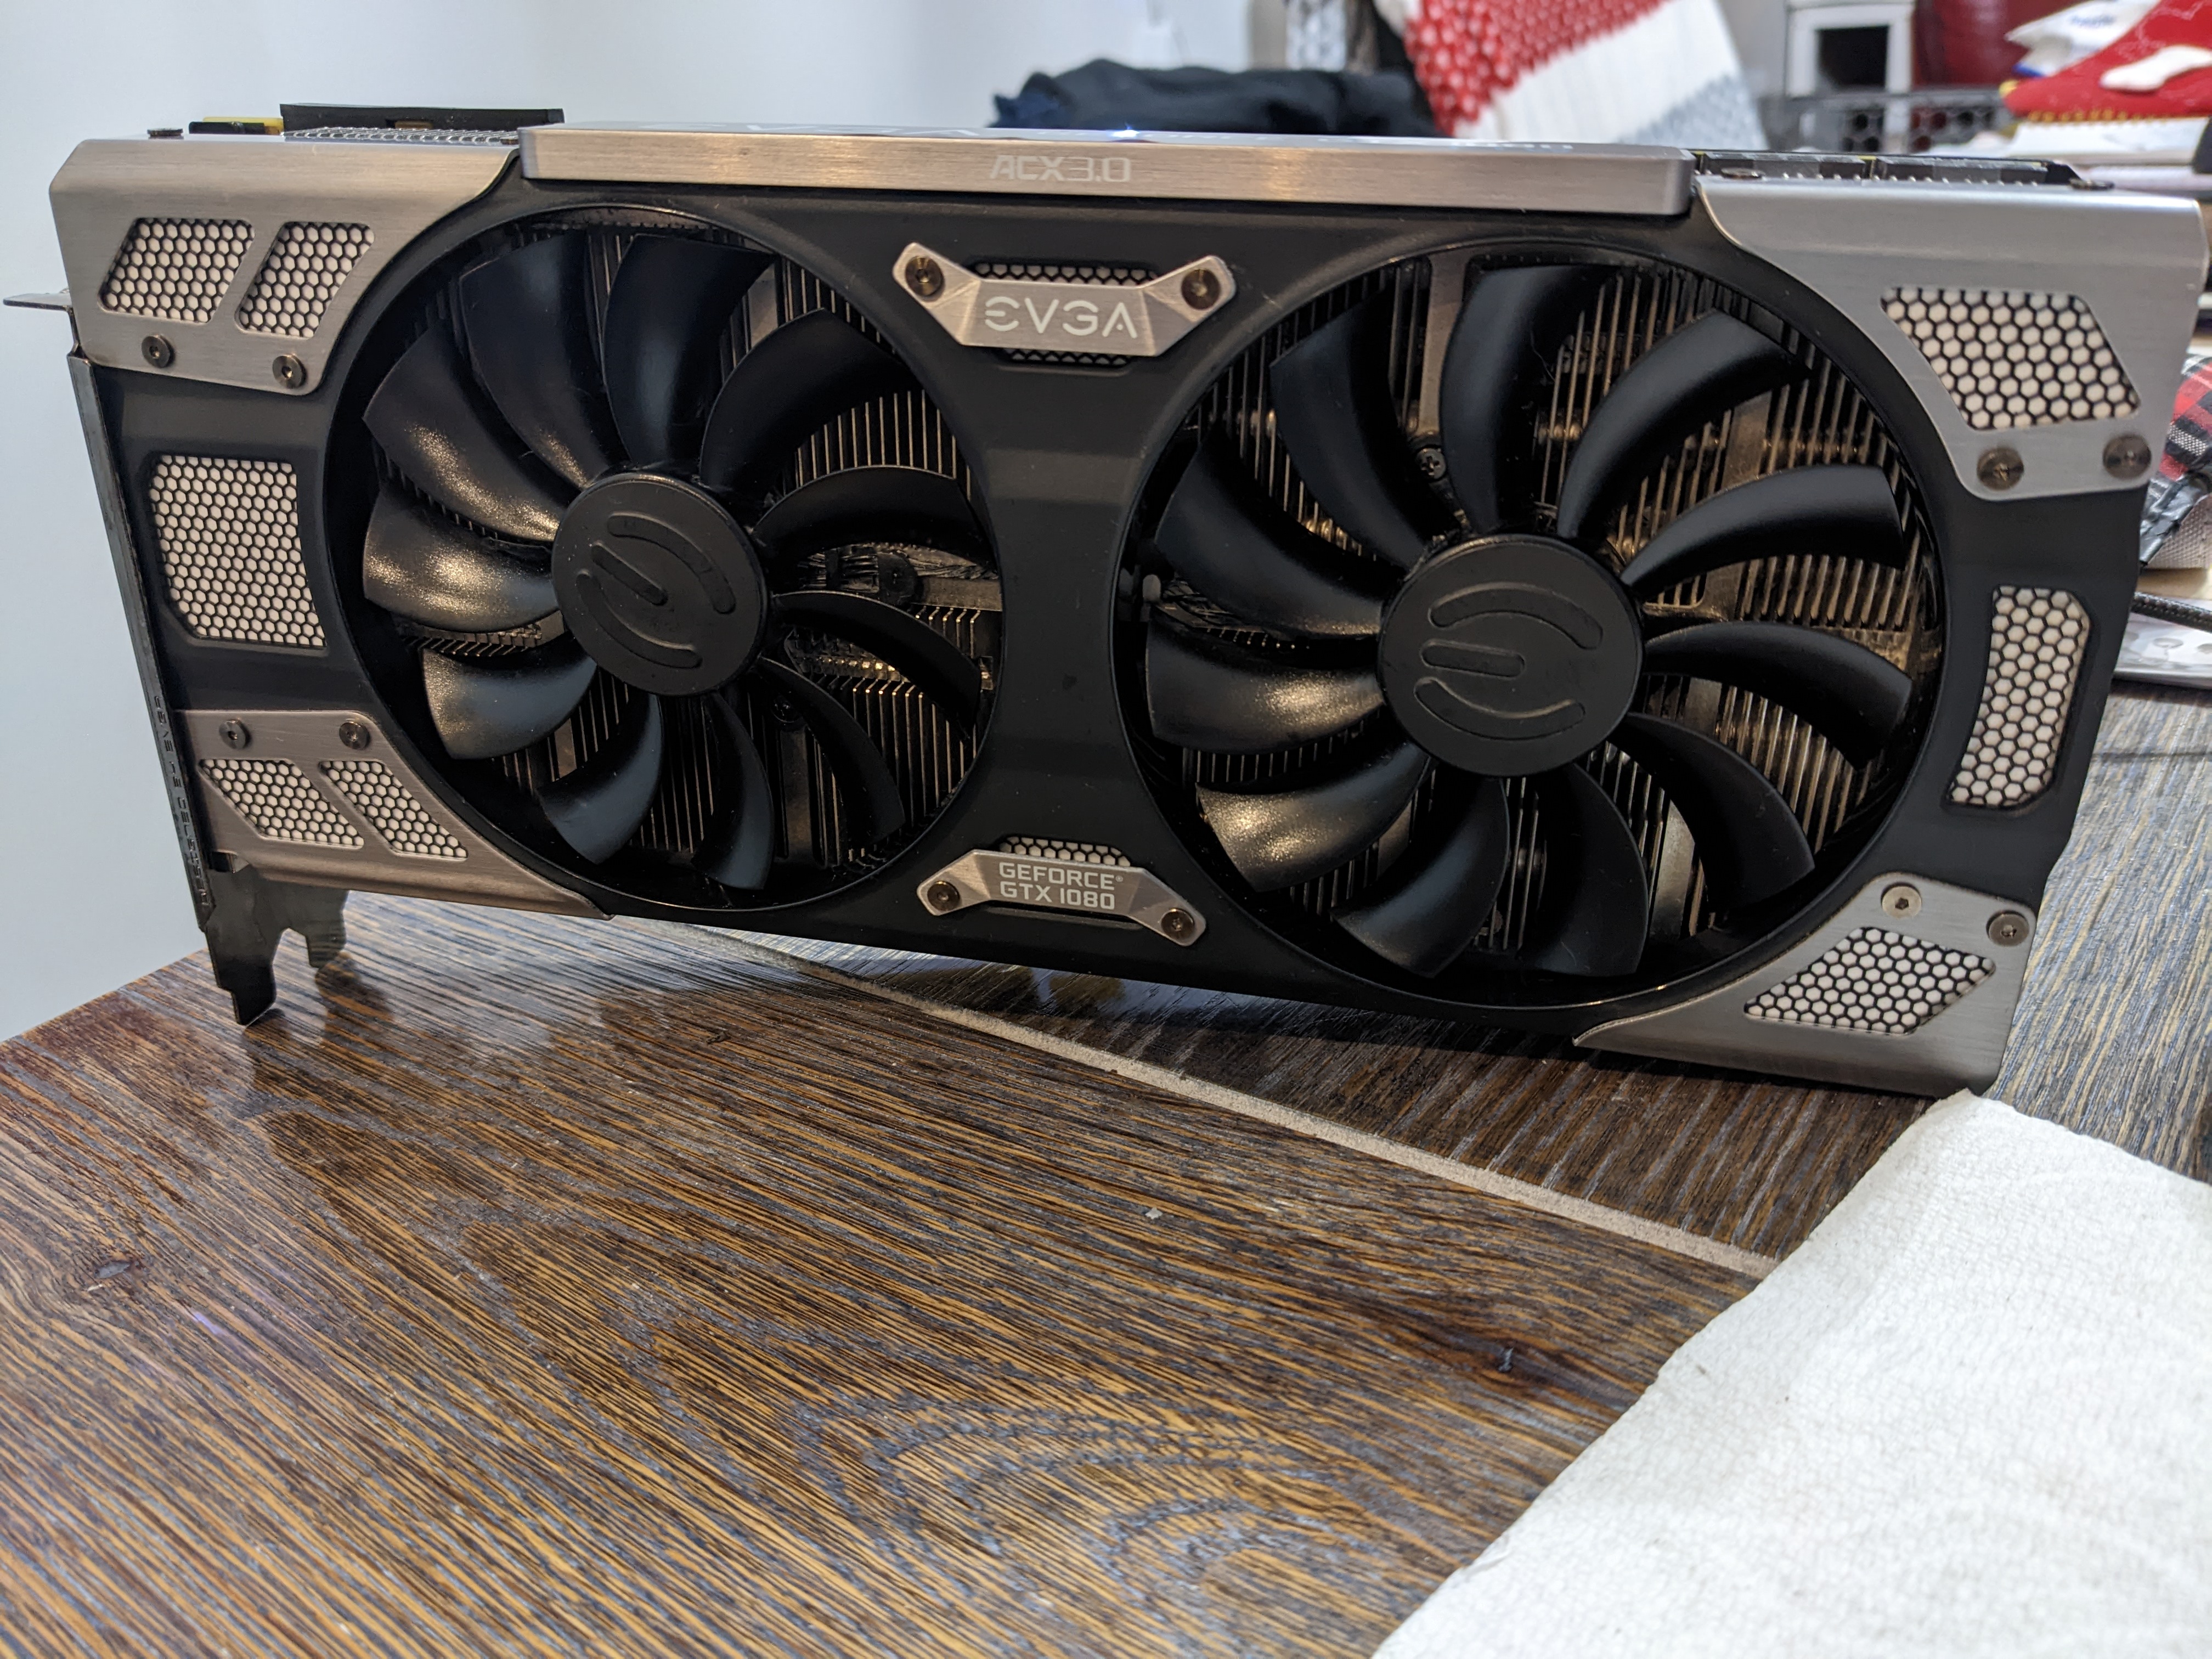
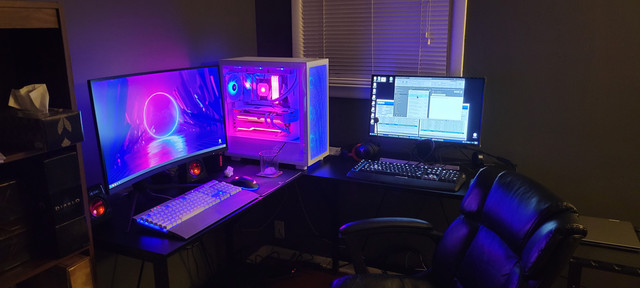
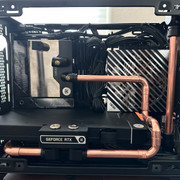
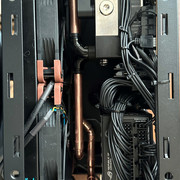
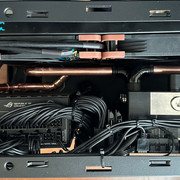
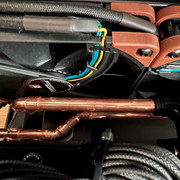
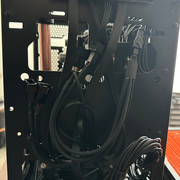
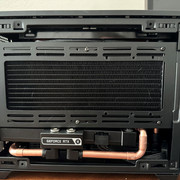
I bet that was a real pain to work in with so little room. I understand the appeal of SFF systems, but give me a big case with plenty of room, any day. LOL.
I normally love huge towers too but I wanted to downsize. Chose MATX because it offers much more expandability than ITX at a lot lower cost. I wasn't really planning on something this small but this case ticked my boxes.

It's not as hard to build in as you would think. The entire top and bottom of the case snap on and off which is very helpful.

The only real issue I'm having is with the HX750i. Suprisingly it's length isn't an issue, however the flat extremely inflexible cables don't work well with the limited space between the mobo tray and reverse side panel.
 
I'm not sure what would be the best airflow config. The case came with an 80mm rear fan and I added 2 Arctic F12s below the GPU. I can only put 1 fan normal fan because of the power cable for the PSU. There are fan mounts at the front but the PSU fan is already there.

One side panel is mesh and other is tempered glass.

If my CPU cooler was shorter I could swap the mesh panel on this side and mount the GPU vertically. Or I could have installed the fan bracket to suck air in through the mesh panel, but that's not really an option at the moment.

I'll probably keep it as is for now.
 
Last edited:
Sep 28, 2022
1
1
15
My new game and 3D work computer. I call it Deep Blue :)

Intel 12900KF
ASUS ROG Strix Z690-G Gaming
CORSAIR Dominator Platinum 32GB DDR5 5600
Super Flower Leadex V Gold PRO 1000W
SABRENT 2TB Rocket 4 Plus NVMe 4.0 Gen4
Crucial BX500 2TB 3D NAND SATA 2.5-Inch
EKWB EK-Quantum Velocity 2 water block
Zotac RTX 3090
EK-Quantum Vector 2 Xtreme RTX 3090 block
EK D5 Pump and rez
EK fittings
2 360 radiators
Lian li mini

https://photos.app.goo.gl/R6rDcLJjZeZKyKa89

https://photos.app.goo.gl/kg87zomoDYvXgdx27

https://photos.app.goo.gl/jDEWvUaF53fqSAJq8

https://photos.app.goo.gl/oFQ4eB5KGfaFcxFv7

https://photos.app.goo.gl/7nQM7KTU5gBLVfWT7
 
Last edited:
  • Like
Reactions: Dark Lord of Tech

Dark Lord of Tech

Retired Moderator
My new game and 3D work computer. I call it Deep Blue :)

Intel 12900KF
ASUS ROG Strix Z690-G Gaming
CORSAIR Dominator Platinum 32GB DDR5 5600
Super Flower Leadex V Gold PRO 1000W
SABRENT 2TB Rocket 4 Plus NVMe 4.0 Gen4
Crucial BX500 2TB 3D NAND SATA 2.5-Inch
EKWB EK-Quantum Velocity 2 water block
Zotac RTX 3090
EK-Quantum Vector 2 Xtreme RTX 3090 block
EK D5 Pump and rez
EK fittings
2 360 radiators
Lian li mini

https://photos.app.goo.gl/R6rDcLJjZeZKyKa89

https://photos.app.goo.gl/kg87zomoDYvXgdx27

https://photos.app.goo.gl/jDEWvUaF53fqSAJq8

https://photos.app.goo.gl/oFQ4eB5KGfaFcxFv7

https://photos.app.goo.gl/7nQM7KTU5gBLVfWT7

Very nice setup! EPIC!
 
  • Like
Reactions: artk2219

12pak

Distinguished
Nov 7, 2011
131
9
18,695
Newest build is done. Thanks for the help along the way:
JLH6gr0.jpg

dXjnjVM.jpg

gcGTrm8.jpg


i5-13600K
Strix Z790-e
Zotac RTX 3080 Trinity OC 12GB
32 GB Corsair Vengeance DDR5 5600
HX850 PSU
Crucial P3 Plus 2TB M.2 SSD
Adata XPG Battlecruiser White
 

Barty1884

Retired Moderator
Not my build, but building an Xmas gift for my friends kid - quite happy with the cable management (although 3rd time building in the Meshlicious so I'm a bit ahead of the curve - although first time cramming an AIO in there!!).

inside-front.jpg

Inside-back.jpg

front.jpg

back.jpg

front1.jpg


Priorities were size (so mITX it is!), and the platform - they're ok with upgrading the GPU in a year or two. I may have blown the budget on the rest of the parts, so was scrambling a bit on the GPU - luckily, I was able to pick up a 1080 FTW from a buddy for free. It's for 1080p Fortnite (maybe Roblox) for an 11year old, so can't imagine that'll be an issue.

The Deepcool logo is driving me crazy, but I can't get the block aligned the other way - pushes into the RAM, uncomfortably so.

I did try the radiator the other way (with the tubes through the 'spine' of the chassis, but it left the block as the highest point - by a long shot, so I had to go this way with it.

Waiting on two more LED strips I'll run down the backside of both MB and GPU side.

Only downside is it's a decommissioned mining card - needed quite the cleaning!!

IMG-20221214-222850.jpg

PXL-20221215-051059765.jpg


Luckily the thermal pads were (surprisingly) in good shape as I didn't have any on hand. Deep clean, fresh paste & 12 hours of stress testing. Card checks out.

PCPartPicker Part List

CPU: Intel Core i5-12400F 2.5 GHz 6-Core Processor ($243.00)
CPU Cooler: Deepcool GAMMAXX L240 A-RGB 69.34 CFM Liquid CPU Cooler ($79.79)
Motherboard: ASRock B660M-ITX/ac Mini ITX LGA1700 Motherboard ($214.64)
Memory: Silicon Power XPOWER Zenith RGB Gaming 16 GB (2 x 8 GB) DDR4-3200 CL16 Memory ($68.24)
Storage: ADATA Swordfish 1 TB M.2-2280 PCIe 3.0 X4 NVME Solid State Drive ($74.06)
Video Card: EVGA FTW GAMING ACX 3.0 GeForce GTX 1080 8 GB Video Card ($0.00)
Case: SSUPD Meshlicious Mini ITX Tower Case ($188.15)
Power Supply: EVGA SuperNOVA 650 GM 650 W 80+ Gold Certified Fully Modular SFX Power Supply ($143.22)
Operating System: Microsoft Windows 11 Pro OEM - DVD 64-bit ($41.08)
Total: $1052.18
Prices include shipping, taxes, and discounts when available
Generated by PCPartPicker 2022-12-18 15:19 EST-0500


Prices include some expedited shipping from Newegg as I was pretty short on time when I got asked about it.
 
Last edited:
I have intended on making a a racing sim system for awhile but didn't act on it until now really. Pieced something together from spare parts and waited on cheap prices for the rest.

View: https://imgur.com/QVxlzJn

View: https://imgur.com/IJdDYWE

View: https://imgur.com/LjYy5Ja


Spec wise it's an i7 4770s, Asus H81, 16gb ram, and an r9 nano. Went ahead and maxed out the power limit on the CPU to get a bit more performance, but sadly these parts are showing there age regardless. Will upgrade storage but probably nothing else due to cost.

Chair is in such bad shape it should be thrown away, and the "desk" as well. Going to try to find some suitable replacements locally, maybe custom. Wonder how cheap a junkyard car seat is...
 

g-unit1111

Titan
Moderator
Finally finished the upgrades on my second PC. My 3060TI arrived in the mail last night and this thing is a beast of a card for what I paid for it. Definitely exceeds my expectations in every way.

kZ8bykX.jpg

BjhYqGF.jpg


This was the old configuration:

Case: Phanteks Enthoo Pro M
PSU: Corsair RM750X
Motherboard: Asus ROG Strix B-450 F
CPU: Ryzen 5 2600
Cooler: Cryorig R5
RAM: 16GB Corsair Vengeance DDR4-3000
SSD1: Samsung 970 Evo 250GB
SSD2: Samsung 960 Evo 1TB
BD-R Burner: Pioneer BD-R (forget exact model)
GPU: Gigabyte GeForce GTX 1080

New configuration:

Case: Phanteks Enthoo Pro M (no change)
PSU: Corsair RM750X (no change)
Motherboard: Asus ROG Strix B-450F (no change)
CPU: Ryzen 7 5800X (new)
Cooler: Cryorig R5 (no change)
RAM: 32GB G. Skill Trident Z DDR4-3600 (new)
SSD1: Samsung 980 Pro 1TB (new)
SSD2: Samsung 960 Evo 1TB (no change)
BD-R Burner: Pioneer BD-R (no change)
GPU: Gigabyte GeForce RTX 3060TI (new)

Eventually I would like to replace the cooler with something like the Asus Ryujin or NZXT Kraken X63. I would have done that alreayd but I need to figure out my cooling restrictions as I'm limited to what I can install because of my BD-R burner.
 

ptTimeBldr

Great
Nov 13, 2022
135
13
85
Not my build, but building an Xmas gift for my friends kid - quite happy with the cable management (although 3rd time building in the Meshlicious so I'm a bit ahead of the curve - although first time cramming an AIO in there!!).

inside-front.jpg

Inside-back.jpg

front.jpg

back.jpg

front1.jpg


Priorities were size (so mITX it is!), and the platform - they're ok with upgrading the GPU in a year or two. I may have blown the budget on the rest of the parts, so was scrambling a bit on the GPU - luckily, I was able to pick up a 1080 FTW from a buddy for free. It's for 1080p Fortnite (maybe Roblox) for an 11year old, so can't imagine that'll be an issue.

The Deepcool logo is driving me crazy, but I can't get the block aligned the other way - pushes into the RAM, uncomfortably so.

I did try the radiator the other way (with the tubes through the 'spine' of the chassis, but it left the block as the highest point - by a long shot, so I had to go this way with it.

Waiting on two more LED strips I'll run down the backside of both MB and GPU side.

Only downside is it's a decommissioned mining card - needed quite the cleaning!!

IMG-20221214-222850.jpg

PXL-20221215-051059765.jpg


Luckily the thermal pads were (surprisingly) in good shape as I didn't have any on hand. Deep clean, fresh paste & 12 hours of stress testing. Card checks out.

PCPartPicker Part List

CPU: Intel Core i5-12400F 2.5 GHz 6-Core Processor ($243.00)
CPU Cooler: Deepcool GAMMAXX L240 A-RGB 69.34 CFM Liquid CPU Cooler ($79.79)
Motherboard: ASRock B660M-ITX/ac Mini ITX LGA1700 Motherboard ($214.64)
Memory: Silicon Power XPOWER Zenith RGB Gaming 16 GB (2 x 8 GB) DDR4-3200 CL16 Memory ($68.24)
Storage: ADATA Swordfish 1 TB M.2-2280 PCIe 3.0 X4 NVME Solid State Drive ($74.06)
Video Card: EVGA FTW GAMING ACX 3.0 GeForce GTX 1080 8 GB Video Card ($0.00)
Case: SSUPD Meshlicious Mini ITX Tower Case ($188.15)
Power Supply: EVGA SuperNOVA 650 GM 650 W 80+ Gold Certified Fully Modular SFX Power Supply ($143.22)
Operating System: Microsoft Windows 11 Pro OEM - DVD 64-bit ($41.08)
Total: $1052.18
Prices include shipping, taxes, and discounts when available
Generated by PCPartPicker 2022-12-18 15:19 EST-0500


Prices include some expedited shipping from Newegg as I was pretty short on time when I got asked about it.
I like this build, looks good even with the panels off.
 
  • Like
Reactions: Barty1884

Tac 25

Estimable
Jul 25, 2021
1,391
421
3,890
I have intended on making a a racing sim system for awhile but didn't act on it until now really. Pieced something together from spare parts and waited on cheap prices for the rest.

View: https://imgur.com/QVxlzJn

View: https://imgur.com/IJdDYWE

View: https://imgur.com/LjYy5Ja


Spec wise it's an i7 4770s, Asus H81, 16gb ram, and an r9 nano. Went ahead and maxed out the power limit on the CPU to get a bit more performance, but sadly these parts are showing there age regardless. Will upgrade storage but probably nothing else due to cost.

Chair is in such bad shape it should be thrown away, and the "desk" as well. Going to try to find some suitable replacements locally, maybe custom. Wonder how cheap a junkyard car seat is...

impressive you even have a driving wheel.

the car chair does not look too bad, the leather looks the same as my grandpa's jeep that I find really comfortable to sit on.
 

simfreak101

Honorable
Nov 3, 2017
20
10
10,515
So after 2 months of waiting on parts; My newest build is finally complete; It is based on OptimumTech's NR200 water-cooling build, but with a lot of updates and changes that makes the build more relevant and cooler (pun intended); For those that want to see the video its here:

View: https://www.youtube.com/watch?v=lQ3-yT_ZX20&ab_channel=OptimumTech


Quick Specks;
Case: NR200
CPU: AMD 7950X (not x3d);
CPU Waterblock: EK-Quantum Velocity² DDC 4.2 PWM D-RGB - AM5 Nickel + Plexi
This covers the pump, CPU block and reservoir and would not be possible with out it.

MB: Asus ROG Strix x670e-i
GPU: Asus TUF OC 4090 w/ EK waterblock
RAM: G.Skill Trident Z5 NEO Series (AMD Expo) 64GB (2 x 32GB) 288-Pin SDRAM DDR5 6000 CL30-40-40-96
Storage: 2x WD Black 4TB PCIe4
Power Supply: Asus Loki SFF (had to import to the US);

Cooling:
XSPC 240mm crossflow (thin 20mm tall) (bottom of case) w/ 2 noctua 120mm 15mm fans (highspeed)
Alphacool 280mm RAD (side of case) w/ 2 140mm 25mm noctua fans
HJ 240mm ultra thin RAD (17mm thick) w/2 fanner ultra thin 12mm fans.

With this build i wanted to accomplish a few things,
1: use a mini-itx case that i could hide behind my monitor;
2: Get a 4090 in there,
3: Cool it so that it didn't nuke the room with heat (or the card)
4: use hardline.

With Optimums build, he used a 3090FE with EK SE waterblock which had ports on the back of the card instead of the side... Unfortunitly that doesn't exist for the 4090; He also used soft line to make routing easier; In order to get the top RAD to fit, he had to 'trim' the cables, remove the RAM locks and keep the power supply loose;

By finding a thinner rad on alibaba and thinner fans (though i might be able to swap them with 15mm fans later if these don't work out as it seems i have enough room); I avoided that. HOWEVER; To get the power supply to fit and to get the cables to route properly, i had to forego the power supply bracket completely and instead use industrial strength Velcro; This is not your normal velcro you are used to, and is very firm; i have used it many times in the past to mount PC's to the back of TV's, so the holding strength and longevity is nothing to worry about; This allowed me to flip the power supply upside down and mount it low enough for the cables to bend under the top rad. In the pictures it might look like the power supply is sitting on the GPU; but its not, its a few mm above it; This is what's nice about using the velcro, i can place the power supply exactly where i want it.

Now what about using hardline; Originally I was going to use PEG, or acrylic, but having used it in the past, i found that it clouded up and was weak; I have always wanted to use metal, but in the past your only options were refrigerant line or standard 1/2" copper; This time i found out that EK and other brands had started selling nickel plated brass and so ordered some EK 14mm nickel plated brass lines. However the cost and scarcity got me thinking maybe i could just find brass pipe online, afterall EK had to get it from somewhere; Eventually I found some on amazon (but just plain brass not plated) that was way cheaper and ordered it; While waiting for it to arrive, i came to the conclusion that i could actually go with smaller diameter pipe; pretty much all G1/4 fittings have only a 9.5mm opening; meaning anything more than 9.5mm is just going to cause extra back pressure. After 2 weeks of waiting, i canceled the order and found a company that sells 12mm OD (10mm ID) copper pipe here in the US; Not only that, it was 'relatively' cheap, for $120 i received 18 FEET of it. Even after the build, i still have well over 12 feet left and that's after some experimentation with bending. Hence the next section.....

At first i thought i would be even more creative (since i had pipe to spare) and try to 'bend' the copper pipe instead of using 90 degree fittings from EK (which if you look up is about $3 for each side for the compression fittings and about $6 for the actual 90, meaning each 90 will cost you about $12); Well, that failed, miserably, and i do mean that; The pipe would easily crimp and just not bend no matter what i tried. sigh so back to the drawing board, i went back to the place that sold me the copper pipe and found out they also sold copper fittings; They sell, 45's, 90's, sweep 90's (which are not as tight of a turn) etc. So after ordering a bunch of those, it was back to waiting.


Copper VS PEG 1: https://ibb.co/59vcNQm
Copper VS PEG 2: https://ibb.co/2Zyc4zX
(in this picture you can see that 12mm copper has a larger ID than the PEG at 14mm; PEG normally has a 1.5mm wall, thats 3mm lost in the diameter; Where the copper only has 1mm; Leading to a 10mm ID on the copper but a 11mm on the PEG (at the larger size);

With copper pipe I was not fond of the idea of sweating the pipe; I have done it plenty of times, but its messy, and simply a pain in the ass. While waiting for the fittings to arrive I found the solution to sweating.... Glue.... Apparently they tell a copper bonding agent that is designed for hvac systems; just sand the ends, add the glue, insert twist and in 7 seconds its as solid as a rock; in 7 mins its completely set. Yea! what's better is that the glue will melt at 400F, so if you 'had' too you could take a blow torch to it and undo the fitting (not that i needed to);
Just For Copper Bonding agent: https://ibb.co/KGNNtmc[img]

Great now to the last problem using hardline, and that is creating a beveled edge so not to cut any o-rings when inserting; Now they sell reamers at your local hardware store, and that's good for the inside, but not the outside; PrimoChill makes a drill bit that will rheem PEG and acrylic but they do not recommend it for copper (and i agree, i bought one and tried it, and it too failed miserably); Amazon to the rescue; They do make copper specific reamers for both the outside and the inside; Using these 2 bits, i was easily able to clean the outside and the inside of the pipe, making it o-ring safe.
Different bits; Starting from the Left: PrimoChill PEG reamer, Amazon Copper ID reamer, Amazon Copper OD reamer, Step bit


Now that i had mine lines, i had to do a insane amount of cable management; probably over 50 zipties, and its still not as clean as i would like; but so goes life; now with all of the runs in, and the order of operations done (with how to put this thing together with out losing access to certain areas; i ran into 2 more problems.... 1, how will i fill this thing with all of the sides on; 2. how would i drain it; 3 how will i get the side on with the waterblock sticking out to far?; well unfortunately the answer to that is cutting metal; Since the cpu waterblock is also a pump and reservoir, i was able to use one of the fill ports to basically create a extension with a drain plug which is accessible from the outside of the case; this allowed me to fill the loop with the case completely sealed in; It also provided a port for me to leak test the loop;

In order to cut a hole in the case, i used a simple step bit that you can get from homedepot; You just have to be careful (i was actually about 1/4in off the center of the fill port, so ended up with a bigger hole than i wanted and the plade to the right of it popped off.... oh well.....

For the waterblock sticking out too far, i had no choice but to use my drummle with a cutting bit and simply just cut out a bit of the side panel; Overall, it came out looking 'ok'; Though the side panel still doesn't close all the way, this is because of the fittings connected to the water block; I would have to keep cutting more off in order for it to sit flush; which i might do at a later time if i need to; Honestly, i might just run the PC with the side off as it looks cooler. The copper really pops once you polish it; It will eventually tarnish and i could have used copper sealant to keep the shine; but after 2 months enough was enough.


Now for the pictures:

Beginning of the loop install; You can see that by using velcro to lower the power supply, it opened up a ton of room on top;


Top down with the side rad on:


Different angle to see the bottom run


Cable management hell


Ready for the side panel


Panel on, probably could have done a better job cutting... but hey, its a $80 case (could have also dusted it before the picture... oh well);


All bundled up; pepsi can for scale


That's it; this machine will basically live behind my monitor; out of the way and running cool and quiet. Let me know if you have any questions!!!
 
Last edited:

SyCoREAPER

Honorable
Jan 11, 2018
734
269
13,220
Visually my build is unimpressive (intentionally minimalistic) compared to other builds here. Kep my LEDs off for the most part. All fans (except GPU) run @100% all the time, surprisingly quiet. Very slight negative pressure, almost neutral but don't have a way to measure.

20230413-170614.jpg


Case: NZXT H7 Flow
CPU: i7-13700K (lightly overclocked)(Noctua NH1 Paste)
Cooler: Corsair H150 Elite Caprellix 360mm
RAM: DDR4 G-Skill 4000Mhz (4x16GB, Gear1)
MB: MSI Edge z690 DDR4 WiFi
GPU: MSI Gaming Trio 4090 --> Suprim X Flash
PSU: MSI MPG A1000G PCIE5
Fans:
Case: 4x Noctua NF-A14 140mm's. 3 IN/Front, 1 OUT/Rear.
Cooler: 3x Noctua NF-A12x25 (PUSH) {Yes, I know they aren't black, can't tell with the dark glass}


MISC:
Monitor: MSI Optix MPG321UR-QD 31.5"
Mouse:
Main: Logitech G502X
Secondary: Razer Basilisk V2
Keyboard: ASUS ROG Strix Flare II Animate 100%
Audio: Samsung HW-B550 or Audio-Technica ATH-ADG1X