Question i've got little to no building experience and i wanted to build my first pc

Jun 3, 2024
6
0
10
https://newegg.io/ae9dc31

anyone got any recommendations or any disfaults, you could help me with?

the build u see right here is around 750, cad dollars or 565, usd dollars i wouldn't go above 800 any tips?
 
Last edited:
Can you list the individual parts?
For some reason, I went to the link and saw the list, but after that, I could only see that 12400F was selected.
As I recall, the other parts were appropriate, but I wanted to check things out.
For the $30 difference, consider the i5-12400 instead. having integrated graphics makes testing easier and in the event of a gpu failure, it is cheap insurance to keep you going.
I also recall that the PSU might not be the best, but I can't recall what it was.
 
I would opt for something like this:

PCPartPicker Part List

CPU: AMD Ryzen 5 5500 3.6 GHz 6-Core Processor ($119.00 @ Newegg Canada)
Motherboard: MSI B450M-A PRO MAX II Micro ATX AM4 Motherboard ($99.99 @ Newegg Canada)
Memory: Corsair Vengeance LPX 16 GB (2 x 8 GB) DDR4-3200 CL16 Memory ($54.99 @ Newegg Canada)
Storage: Western Digital Black SN770 1 TB M.2-2280 PCIe 4.0 X4 NVME Solid State Drive ($119.97 @ Newegg Canada)
Video Card: Asus DUAL V2 Radeon RX 6600 8 GB Video Card ($249.99 @ Newegg Canada)
Case: Deepcool MATREXX 40 MicroATX Mini Tower Case ($74.98 @ Newegg Canada)
Power Supply: Thermaltake Toughpower GX2 600 W 80+ Gold Certified ATX Power Supply ($97.98 @ Newegg Canada)
Total: $816.90
Prices include shipping, taxes, and discounts when available
Generated by PCPartPicker 2024-06-03 14:25 EDT-0400
 
Can you list the individual parts?
For some reason, I went to the link and saw the list, but after that, I could only see that 12400F was selected.
As I recall, the other parts were appropriate, but I wanted to check things out.
For the $30 difference, consider the i5-12400 instead. having integrated graphics makes testing easier and in the event of a gpu failure, it is cheap insurance to keep you going.
I also recall that the PSU might not be the best, but I can't recall what it was.

12400F and 12400 are still surprisingly expensive. It was paired with a GTX1650.
 
what are your goals for the pc gaming etc
as it's only my first pc, i was looking to play casual game, such as fps shooter games, but not it anything farther then that, streaming and and gfx art and etc, are something i was not planning on looking into, but i would like to keep a good upgrade path with my pc,
 
I would opt for something like this:

PCPartPicker Part List

CPU: AMD Ryzen 5 5500 3.6 GHz 6-Core Processor ($119.00 @ Newegg Canada)
Motherboard: MSI B450M-A PRO MAX II Micro ATX AM4 Motherboard ($99.99 @ Newegg Canada)
Memory: Corsair Vengeance LPX 16 GB (2 x 8 GB) DDR4-3200 CL16 Memory ($54.99 @ Newegg Canada)
Storage: Western Digital Black SN770 1 TB M.2-2280 PCIe 4.0 X4 NVME Solid State Drive ($119.97 @ Newegg Canada)
Video Card: Asus DUAL V2 Radeon RX 6600 8 GB Video Card ($249.99 @ Newegg Canada)
Case: Deepcool MATREXX 40 MicroATX Mini Tower Case ($74.98 @ Newegg Canada)
Power Supply: Thermaltake Toughpower GX2 600 W 80+ Gold Certified ATX Power Supply ($97.98 @ Newegg Canada)
Total: $816.90
Prices include shipping, taxes, and discounts when available
Generated by PCPartPicker 2024-06-03 14:25 EDT-0400
i'm gonna check this out thank you for your input,
 
Ryzen 5500 could be replaced by a Ryzen 5700X3D or 5800X3D in the future. 32GB of memory is easily doable. PSU is enough to handle mid-range GPUs. S 4070 Super or RX 7700XT/7800XT.

12400F isn't a terrible idea. Since that does let you go all the way up to a 14700k, but to run the big Intel chips you are going to want to spend a lot more on the motherboard.

Really though the CPU and Motherboard and RAM in this scenario are on the cheaper side. Rather then thinking about an upgrade path, it would be more about just replacing these core components when it no longer gets the job done.
 
  • Like
Reactions: plqr
Ryzen 5500 could be replaced by a Ryzen 5700X3D or 5800X3D in the future. 32GB of memory is easily doable. PSU is enough to handle mid-range GPUs. S 4070 Super or RX 7700XT/7800XT.

12400F isn't a terrible idea. Since that does let you go all the way up to a 14700k, but to run the big Intel chips you are going to want to spend a lot more on the motherboard.

Really though the CPU and Motherboard and RAM in this scenario are on the cheaper side. Rather then thinking about an upgrade path, it would be more about just replacing these core components when it no longer gets the job done.
i notice u didn't put a cooler is the one cooler in the case gonna be enough to cool, it all alone or if i would to upgrade it?
 
OK, I think I found it.
The case you listed has virtually no ventilation.
Look for a case with at least two 120mm front intakes.
On the processor, look at the 13-13100.
It is a more modern design with better single thread performance that games want and it comes with a very good stock laminar flow cooler.
It includes integrated graphics.
The mobo seems like a good deal as does the ram.

The power supply is the last place you want to economize on.
Look for a psu with at least a 7 year warranty.
Tour processor will be good enough to make use of a much stronger future gpu upgrade.
I would look for 750w. It will only use the power demanded of it, regardless of the max capability.
Seasonic focus or Corsair rm are good places to look.
You will probably need to spend $150.
 
  • Like
Reactions: plqr
FWIW:
MY build process:

Before anything, while waiting for your parts to be delivered, download
and read, cover to cover your case and motherboard manual.
Buy a long #2 magnetic tip philips screwdriver.
A small led flashlight is also useful.

I find it handy to buy a power switch like this for testing.
https://www.newegg.com/p/N82E168121..._switch-_-12-119-009-_-Product&quicklink=true
1. I assemble the critical parts outside of the case.
That lets me test them for functionality easily.
A wood table or cardboard is fine.
2. Plug in only the necessary parts at first. Ram, cpu, cooler, psu.
Do not force anything. Parts fit only one way.
Attach a monitor to the integrated motherboard adapter if you have one, otherwise to the graphics card.
3. If your motherboard does not have a PWR button, momentarily touch the two pwr front panel pins with a flat blade screwdriver.
4. Repeatedly hit F2 or DEL, and that should get you into the bios display.
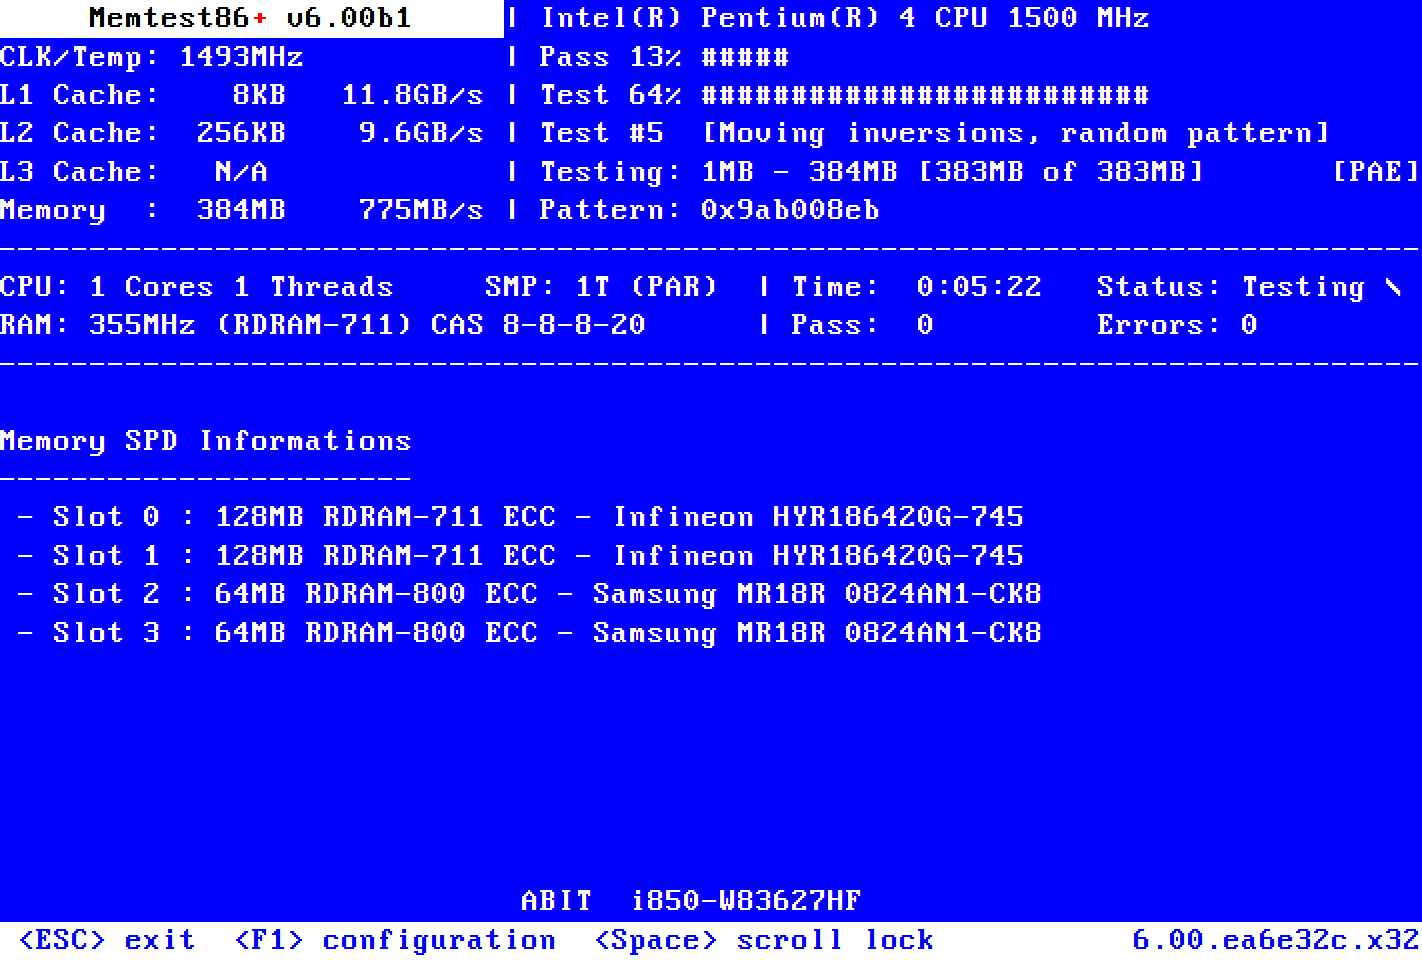
5. Boot from a cd or usb stick with memtest86 on it. memtest will exercise your ram and cpu functionality.
They boot from a usb stick and do not use windows.
You can download them here:
If you can run a full pass with NO errors, your ram should be ok.

Running several more passes will sometimes uncover an issue, but it takes more time.

Probably not worth it unless you really suspect a ram issue.
Opinions vary on updating the bios.
Normally, one does not update a bios unless there is a fix for something that is impacting you. I violate this rule on a new build and will update to currency up front.
Use the usb option, not the windows option.
If there is a severe problem, the impact is small.


6. Install windows.
7. Install the motherboard cd drivers. Particularly the lan drivers so you can access the internet.
Do not select the easy install option, or you will get a bunch of utilities and trialware that you don't want. Drivers only.
7. Connect to the internet and install an antivirus program. Microsoft defender is free, easy, and unobtrusive.
8. Install your graphics card and driver if you tested with integrated graphics.
You will need to remove the graphics card later to install your motherboard in the case.
As a tip when screwing the motherboard into the posts, give the screw a small counterclockwise turn until you feel a click.
That lets you know that the screw will engage properly.
Make a note of how the graphics card latches into the pcie slot.
The mechanism will be hidden under the card and may be difficult to work if you have not previously checked how.
9. Update windows to currency.
10. Only now do I take apart what I need to and install it in the case.
11. Now is the time to reinstall your graphics card.
 
  • Like
Reactions: plqr and Eximo
FWIW:
MY build process:

Before anything, while waiting for your parts to be delivered, download
and read, cover to cover your case and motherboard manual.
Buy a long #2 magnetic tip philips screwdriver.
A small led flashlight is also useful.

I find it handy to buy a power switch like this for testing.
https://www.newegg.com/p/N82E16812119009?Description=power switch&cm_re=power_switch-_-12-119-009-_-Product&quicklink=true
1. I assemble the critical parts outside of the case.
That lets me test them for functionality easily.
A wood table or cardboard is fine.
2. Plug in only the necessary parts at first. Ram, cpu, cooler, psu.
Do not force anything. Parts fit only one way.
Attach a monitor to the integrated motherboard adapter if you have one, otherwise to the graphics card.
3. If your motherboard does not have a PWR button, momentarily touch the two pwr front panel pins with a flat blade screwdriver.
4. Repeatedly hit F2 or DEL, and that should get you into the bios display.
5. Boot from a cd or usb stick with memtest86 on it. memtest will exercise your ram and cpu functionality.
They boot from a usb stick and do not use windows.
You can download them here:
If you can run a full pass with NO errors, your ram should be ok.

Running several more passes will sometimes uncover an issue, but it takes more time.

Probably not worth it unless you really suspect a ram issue.
Opinions vary on updating the bios.
Normally, one does not update a bios unless there is a fix for something that is impacting you. I violate this rule on a new build and will update to currency up front.
Use the usb option, not the windows option.
If there is a severe problem, the impact is small.


6. Install windows.
7. Install the motherboard cd drivers. Particularly the lan drivers so you can access the internet.
Do not select the easy install option, or you will get a bunch of utilities and trialware that you don't want. Drivers only.
7. Connect to the internet and install an antivirus program. Microsoft defender is free, easy, and unobtrusive.
8. Install your graphics card and driver if you tested with integrated graphics.
You will need to remove the graphics card later to install your motherboard in the case.
As a tip when screwing the motherboard into the posts, give the screw a small counterclockwise turn until you feel a click.
That lets you know that the screw will engage properly.
Make a note of how the graphics card latches into the pcie slot.
The mechanism will be hidden under the card and may be difficult to work if you have not previously checked how.
9. Update windows to currency.
10. Only now do I take apart what I need to and install it in the case.
11. Now is the time to reinstall your graphics card.

thank this guide will go to good use,