Question Mixed Up PSU Cables to Drives: What is Broken?

Jul 22, 2019
6
0
10
Hello,

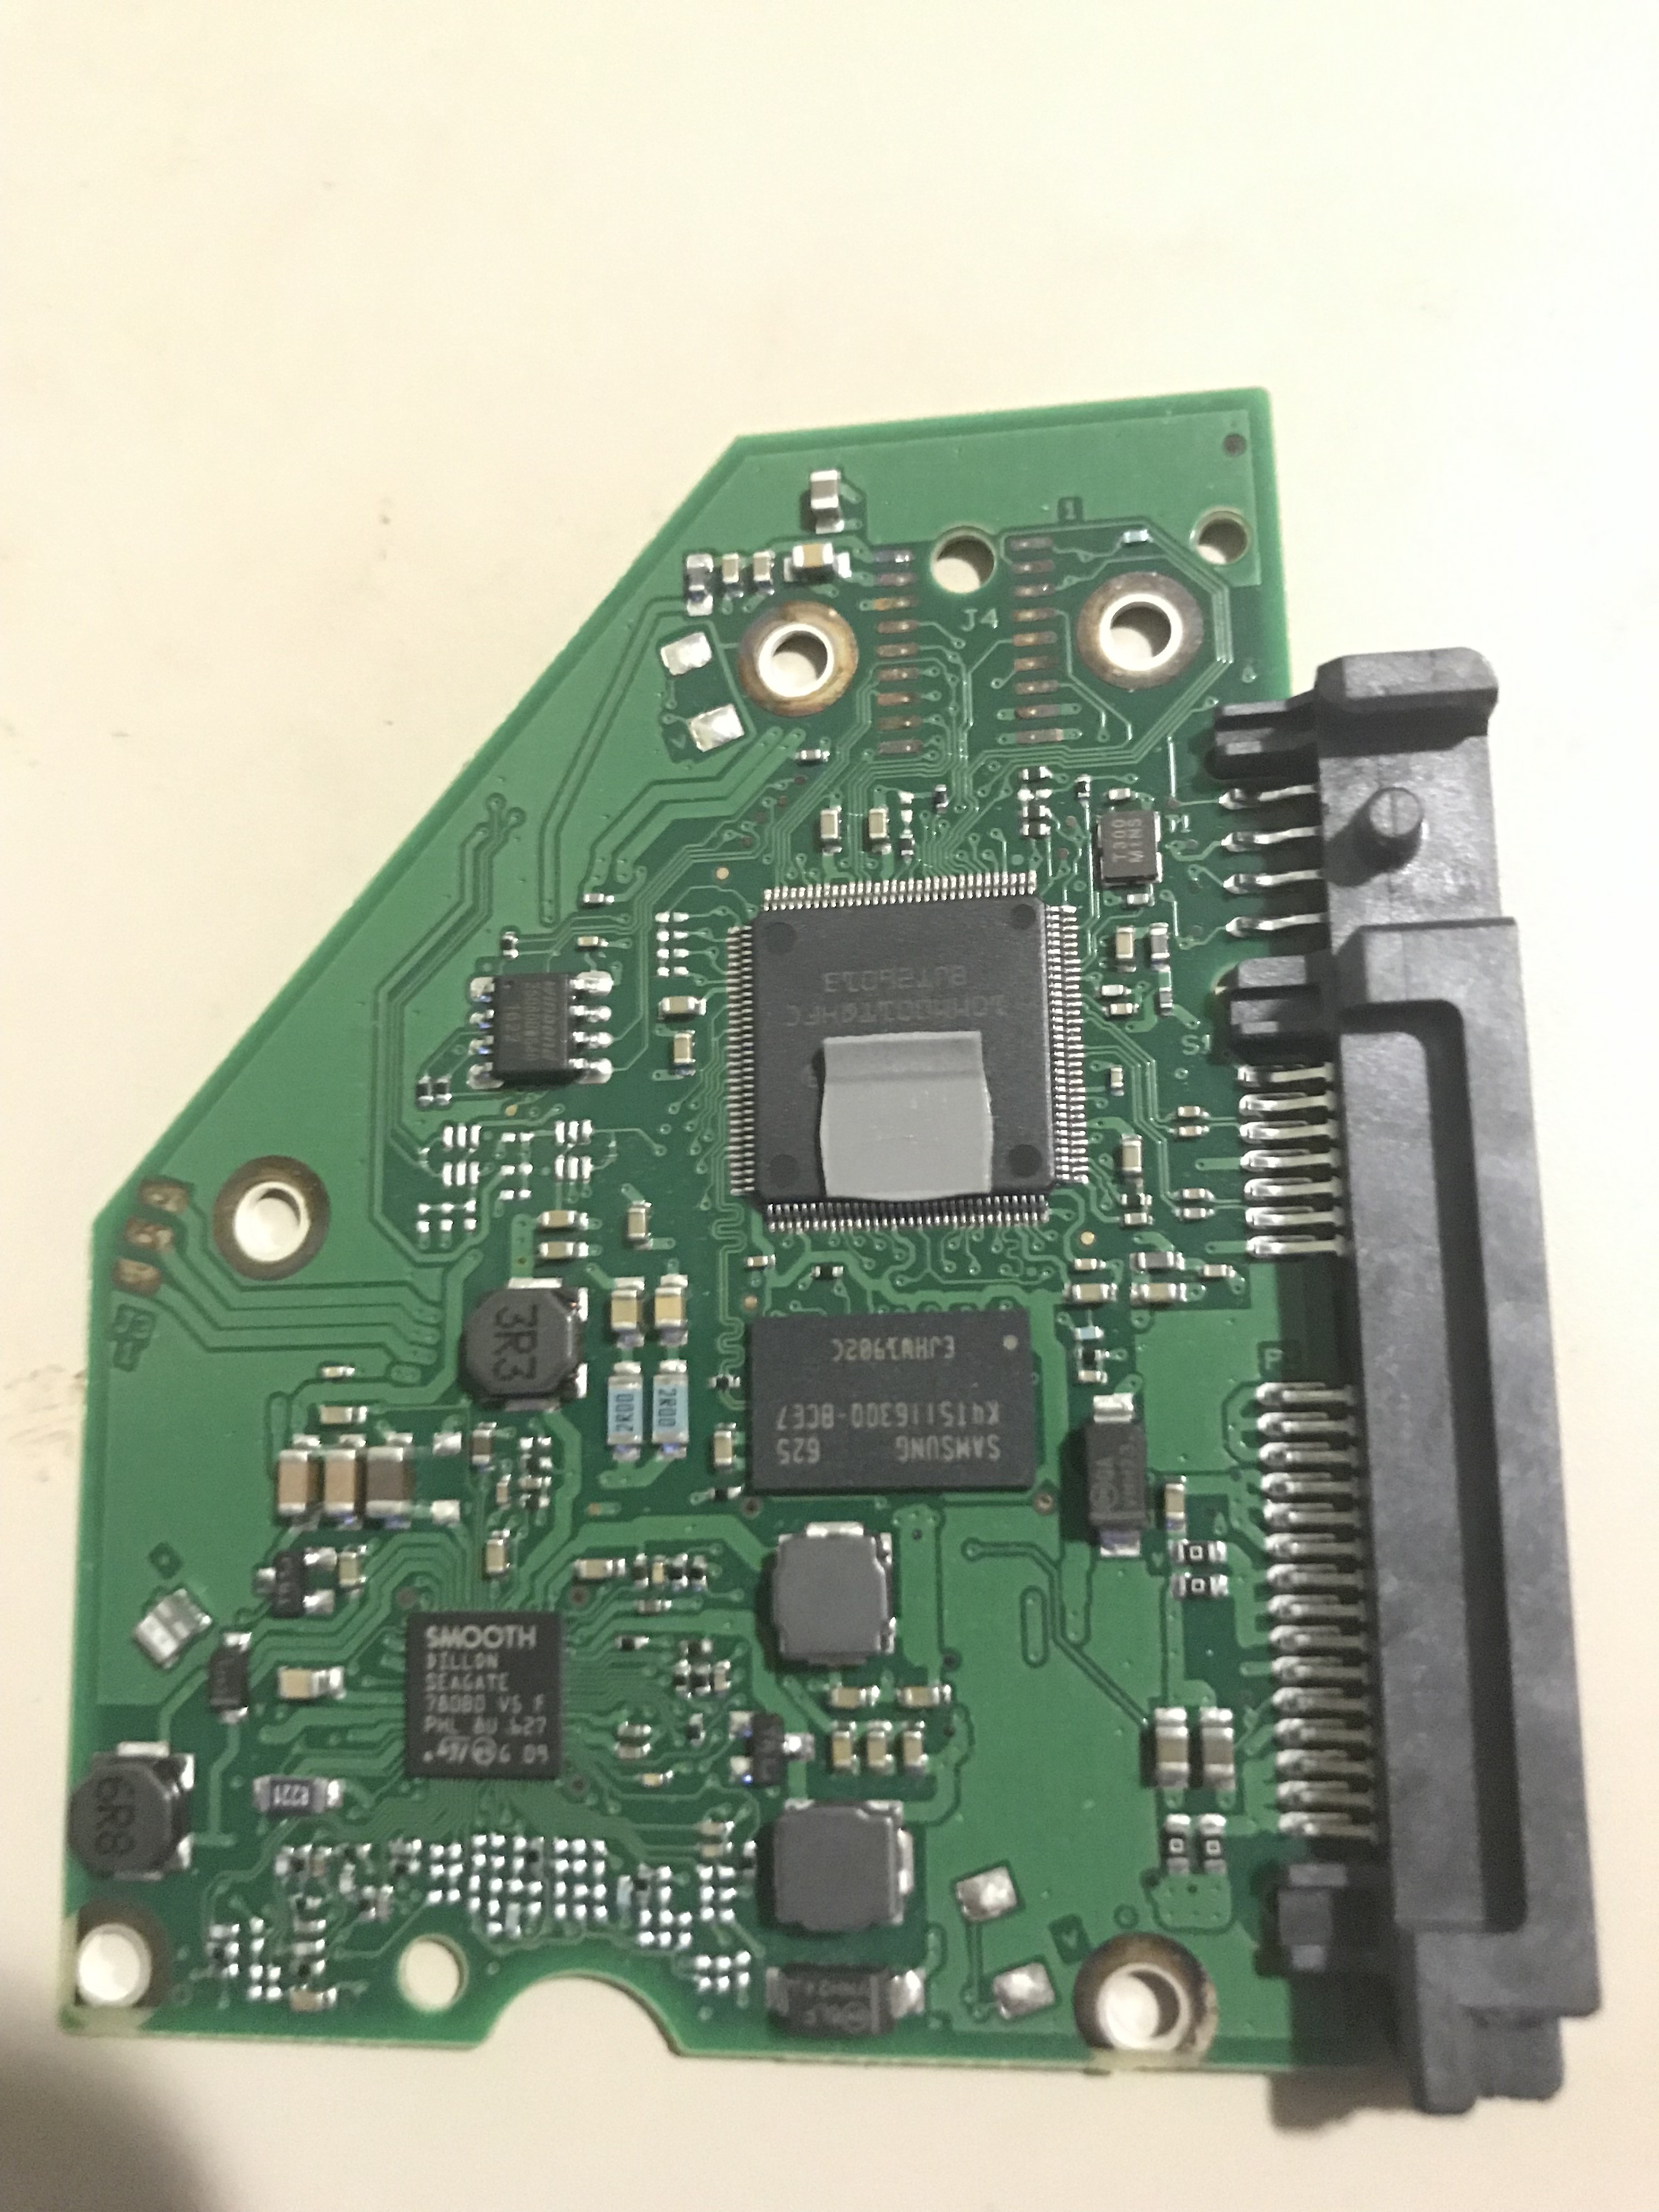
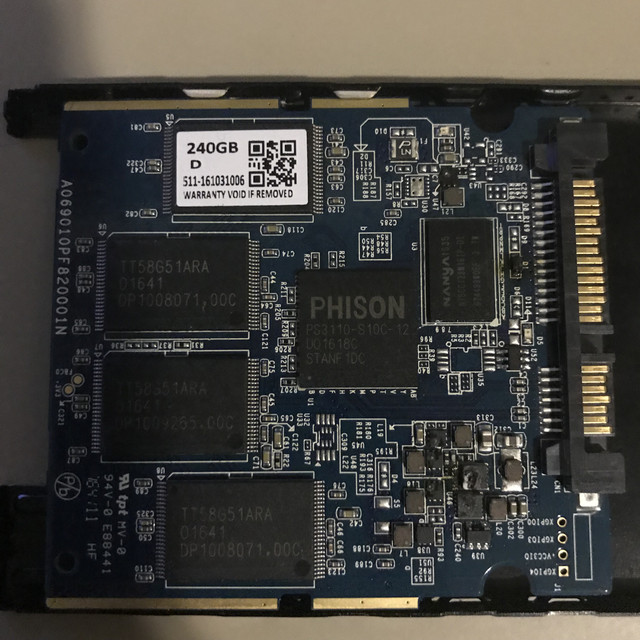
I got a new PSU because my old one died out. So being the clueless builder I am, I made a rookie mistake of using the old SATA cables (HDD, DVD Drive, & SSD) with my new PSU (I used the new cables for everything else). After I turned on my computer the first time, there was some smoke. I turned off the computer, realized my error, and switched the cables. Now the computer boots up to the mobo BIOS; however, it doesn't recognize any of the drives. I reset CMOS and moved the data cables to different ports on the motherboard, but still no luck.

I also get a debug code on the motherboard that corresponds to the following message in my motherboard's manual: "Problem related to IDE or SATA devices. Please re-install IDE and SATA devices. If the problem still exists, please clear CMOS and try removing all SATA devices." I tried unplugging all the SATA devices and I still get the error.

I am curious to know what I need to have replaced; in other words, which parts got ruined. Is it just the storage drives? Is it the cords to the drives? Do the mobo and PSU also need to be replaced (even though the computer still boots to BIOS)? Would there be any way for me to get data off the hard drives (or are they doomed)?

Thanks!

Specs:
CPU: i7-7700
RAM: Corsair Dominator 2 8GB DDR4
Mobo: Z270 Gaming K6
PSU: EVGA 850 G+
HDD, SDD, & Optical Drive
 

Lutfij

Titan
Moderator
To me it looks like you killed your storage drives. On a note of relevance, never use the cables that come with any other PSU, in spite of it seeming to plug into a modular/semi-modular interface. The pinouts for all PSU's are not the same.
 
Jul 22, 2019
6
0
10
If you are lucky, only the TVS protection diodes will be shorted. Upload detailed photos of your HDD PCBs and I'll show you what to do.

TVS Diode FAQ:
http://www.hddoracle.com/viewtopic.php?f=100&t=86

Catastrophic failures in Western Digital PCBs:
http://www.hddoracle.com/viewtopic.php?f=100&t=2169

Hello, sorry for the delay. Here are the images. Also, it is a Seagate drive.

IMG-3269.jpg

IMG-3270.jpg


Also, I have an enclosure for my SSD now, and my working laptop recognizes the drive exists, but it says its uninitialized. Any thoughts?
 
I'll upload a Seagate photo clip shortly. You need to test the two pairs of zero-ohm resistors near the SATA power connector, plus the 5V TVS diode between the SDRAM and zero-ohm resistors, plus the 12V TVS diode between the two screw holes at the bottom edge of the PCB in your second photo. If either diode is shorted, remove it with flush cutters. If the resistors are open circuit, flow a blob of solder over them. If this is too much for you, you can get a replacement PCB, including a mandatory firmware transfer, for US$50 from suppliers such as hdd-parts.com.

As for the SSD, is the laptop identifying the enclosure's USB-SATA bridge controller, or is it detecting the SSD behind the bridge? Can you retrieve a SMART report with CrystalDiskInfo?
 
Jul 22, 2019
6
0
10
I'll upload a Seagate photo clip shortly. You need to test the two pairs of zero-ohm resistors near the SATA power connector, plus the 5V TVS diode between the SDRAM and zero-ohm resistors, plus the 12V TVS diode between the two screw holes at the bottom edge of the PCB in your second photo. If either diode is shorted, remove it with flush cutters. If the resistors are open circuit, flow a blob of solder over them. If this is too much for you, you can get a replacement PCB, including a mandatory firmware transfer, for US$50 from suppliers such as hdd-parts.com.

As for the SSD, is the laptop identifying the enclosure's USB-SATA bridge controller, or is it detecting the SSD behind the bridge? Can you retrieve a SMART report with CrystalDiskInfo?

Thanks so much for your advice. How can I tell if the diode is shorted?

I think it's possible that the laptop is just be identifying the bridge controller. The drive is not showing up on CrystalDiskInfo (only the laptop's internal drive is showing up). In device manager, under "Disk Drives" it says the enclosure's manufacturer name, and under "Storage Controllers" it says USB Attached SCSI Mass Storage Device. In Disk Management it says "Disk 1 / Unknown / Not Initialized".
 
Jul 22, 2019
6
0
10
My TVS Diode FAQ explains in detail how to perform resistance measurements with a digital multimeter (approx. US$5).

I would need to see a photo of each side of your SSD's PCB. Hopefully it will be protected by a 5V TVS diode.

Hi. I am in shock. I did an incredibly sloppy job, almost gave up, and it worked. I have my HDD files. Thank you so much. I don't have much in there that is terribly important that I didn't have somewhere else, but at least I have peace of mind.

I will try to take a picture of my SSD PCBs. If you have any recommended sources/websites/videos for how-to to try to fix and open up? an SSD that would be great.
 
My searches turn up several different versions of PCB layout. However, they all appear to have a TVS diode (D1) near the SATA power connector. In some instances this diode is on the controller side of the PCB, in others it is on the reverse side. Most implementations have a polyfuse (F1) nearby. Measure the resistances of these two components.

http://www.techporn.ph/wp-content/uploads/2016/09/PNY-CS1311-SSD-7.jpg
http://cdn.thessdreview1.netdna-cdn.com/wp-content/uploads/2016/02/PNY-CS1311-SSD-7-of-8.jpg
https://www.enlacehw.com/wp-content/uploads/2016/03/PNY-CS1311-240GB-Review-11.jpg
https://www.cdrlabs.com/images/stories/reviews/pny_cs1311_ssd/pny cs1311 pcb top.png
https://www.tomshardware.com/reviews/pny-cs1311-ssd,4481.html
 
Jul 22, 2019
6
0
10
My searches turn up several different versions of PCB layout. However, they all appear to have a TVS diode (D1) near the SATA power connector. In some instances this diode is on the controller side of the PCB, in others it is on the reverse side. Most implementations have a polyfuse (F1) nearby. Measure the resistances of these two components.

http://www.techporn.ph/wp-content/uploads/2016/09/PNY-CS1311-SSD-7.jpg
http://cdn.thessdreview1.netdna-cdn.com/wp-content/uploads/2016/02/PNY-CS1311-SSD-7-of-8.jpg
https://www.enlacehw.com/wp-content/uploads/2016/03/PNY-CS1311-240GB-Review-11.jpg
https://www.cdrlabs.com/images/stories/reviews/pny_cs1311_ssd/pny cs1311 pcb top.png
https://www.tomshardware.com/reviews/pny-cs1311-ssd,4481.html

Hi. I was able to open up the SSD.

IMG-3306.jpg


There is damage on D1, maybe F1?, and looks kind of melted around some components on the bottom right.

I continuity tested D1 and it is open, F1 is continuous.
 
So the diode is open circuit and the fuse is intact? It's normally supposed to work the other way, ie the diode should go short circuit and the fuse should go open circuit. :-(

Those other components are power supply regulators. I think your DIY efforts have come to an end. :-(