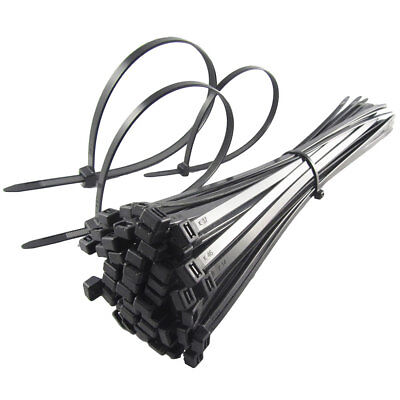
Modular is good; you only connect the cables you will actually use.
Yes, some cables will have multiple connections.
That is good when you need multiple connectors, say to a strong graphics card.
OTOH, when you only need one, the other is left dangling.
Consider this a challenge to your cable management skills.
From a performance point of view, the only cable management that is important is to keep cables out of the airflow.
From an aesthetic point of view, that is up to you.
If you were really anal about it, you could have custom cables made. (expensive)
Then, also, tidying up the cables makes it difficult to later change things.
My suggestion is to worry about other things.
FWIW for a first time builder:
MY build process:
Before anything, while waiting for your parts to be delivered, download
and read, cover to cover your case and motherboard manual.
Buy a #2 magnetic tip philips screwdriver.
I find it handy to buy a power switch like this for testing.
https://www.ebay.com/p/4in1-PC-Powe...or-Computer/631889283?iid=142232821294&chn=ps
1. I assemble the critical parts outside of the case.
That lets me test them for functionality easily.
A wood table or cardboard is fine.
2. Plug in only the necessary parts at first. Ram, cpu, cooler, psu.
Do not force anything. Parts fit only one way.
Attach a monitor to the integrated motherboard adapter if you have one, otherwise to the graphics card.
- If your motherboard does not have a PWR button, momentarily touch the two pwr front panel pins with a flat blade screwdriver.
- Repeatedly hit F2 or DEL, and that should get you into the bios display.
- Boot from a cd or usb stick with memtest86 on it. memtest will exercise your ram and cpu functionality.
- Install windows.
- Install the motherboard cd drivers. Particularly the lan drivers so you can access the internet.
Do not select the easy install option, or you will get a bunch of utilities and trialware that you don't want. Drivers only.
- Connect to the internet and install an antivirus program. Microsoft security essentials is free, easy, and unobtrusive.
- Install your graphics card and driver if you tested with integrated graphics.
You will need to remove the graphics card later to install your motherboard in the case.
As a tip when screwing the motherboard into the posts, give the screw a small counterclockwise turn until you feel a click.
That lets you know that the screw will engage properly.
Make a note of how the graphics card latches into the pcie slot.
The mechanism will be hidden under the card and may be difficult to work if you have not previously checked how.
- Update windows to currency.
- Only now do I take apart what I need to and install it in the case.
- Now is the time to reinstall your graphics card.


