Question Positioning of CPU cooler and case fans

Thomaszz

Honorable
Jul 24, 2017
199
25
10,710
Hi all,

I recently bought all the parts I need for my new gaming pc. Still waiting for the RAM so currently I am doing some building research. It has been about 5 years since I last build my own PC so I am quite rusty.

Two things I am unsure about is the positioning of the extra case fans that I bought and the positioning of the CPU cooler. Does the CPU cooler need to be placed vertically or horizontal for "optimal cooling", if that is even a thing, or does it not matter? Second where do I position my 2 additional case fans in my Corsair 4000D Airflow for "optimal airflow". I plan on placing my PC on the ground if that matters.

PC parts are shown down below:

PCPartPicker Part List: https://nl.pcpartpicker.com/list/ZfFpZw

CPU: AMD Ryzen 7 7800X3D 4.2 GHz 8-Core Processor (€467.95 @ Amazon Netherlands)
CPU Cooler: Deepcool AK620 68.99 CFM CPU Cooler (€73.85 @ Megekko)
Motherboard: MSI MAG B650 TOMAHAWK WIFI ATX AM5 Motherboard (€234.90 @ Amazon Netherlands)
Memory: G.Skill Flare X5 32 GB (2 x 16 GB) DDR5-6000 CL30 Memory (€127.53 @ Azerty)
Storage: Western Digital Black SN770 2 TB M.2-2280 PCIe 4.0 X4 NVME Solid State Drive (€107.90 @ Amazon Netherlands)
Video Card: Sapphire PULSE Radeon RX 7900 XT 20 GB Video Card (€888.78 @ Azerty)
Case: Corsair 4000D Airflow ATX Mid Tower Case (€89.90 @ Amazon Netherlands)
Power Supply: Corsair RM850x (2021) 850 W 80+ Gold Certified Fully Modular ATX Power Supply (€154.85 @ Amazon Netherlands)
Case Fan: ARCTIC P12 56.3 CFM 120 mm Fan (€8.01 @ Amazon Netherlands)
Total: €2161.68


Side question: do I need to update/flashback my BIOS in order to boot my pc up for the first time?


Thanks in advance and any tips and tricks are welcome.
 
For air cooling concentrate on intake airflow.
To that end, mount your extra 2 120mm fans as front intakes.
This is particularly important to cool a hot graphics card.
I think top exhausts are not recommended and likely to divert airflow up and out of the case before it reaches the cooler and mogherboard.

Air coolers are not particularly sensitive to orientation.
The one bad orientation would be where the heat pipes are straight down.
In your case, the normal orientation of horizontal is fine, directing the front airflow through the cooler and out the back.

You may want to read
MY build process:

Before anything, while waiting for your parts to be delivered, download
and read, cover to cover your case and motherboard manual.
Buy a long #2 magnetic tip philips screwdriver.
A small led flashlight is also useful.

I find it handy to buy a power switch like this for testing.
1. I assemble the critical parts outside of the case.
That lets me test them for functionality easily.
A wood table or cardboard is fine.
2. Plug in only the necessary parts at first. Ram, cpu, cooler, psu.
Do not force anything. Parts fit only one way.
Attach a monitor to the integrated motherboard adapter if you have one, otherwise to the graphics card.
3. If your motherboard does not have a PWR button, momentarily touch the two pwr front panel pins with a flat blade screwdriver.
4. Repeatedly hit F2 or DEL, and that should get you into the bios display.
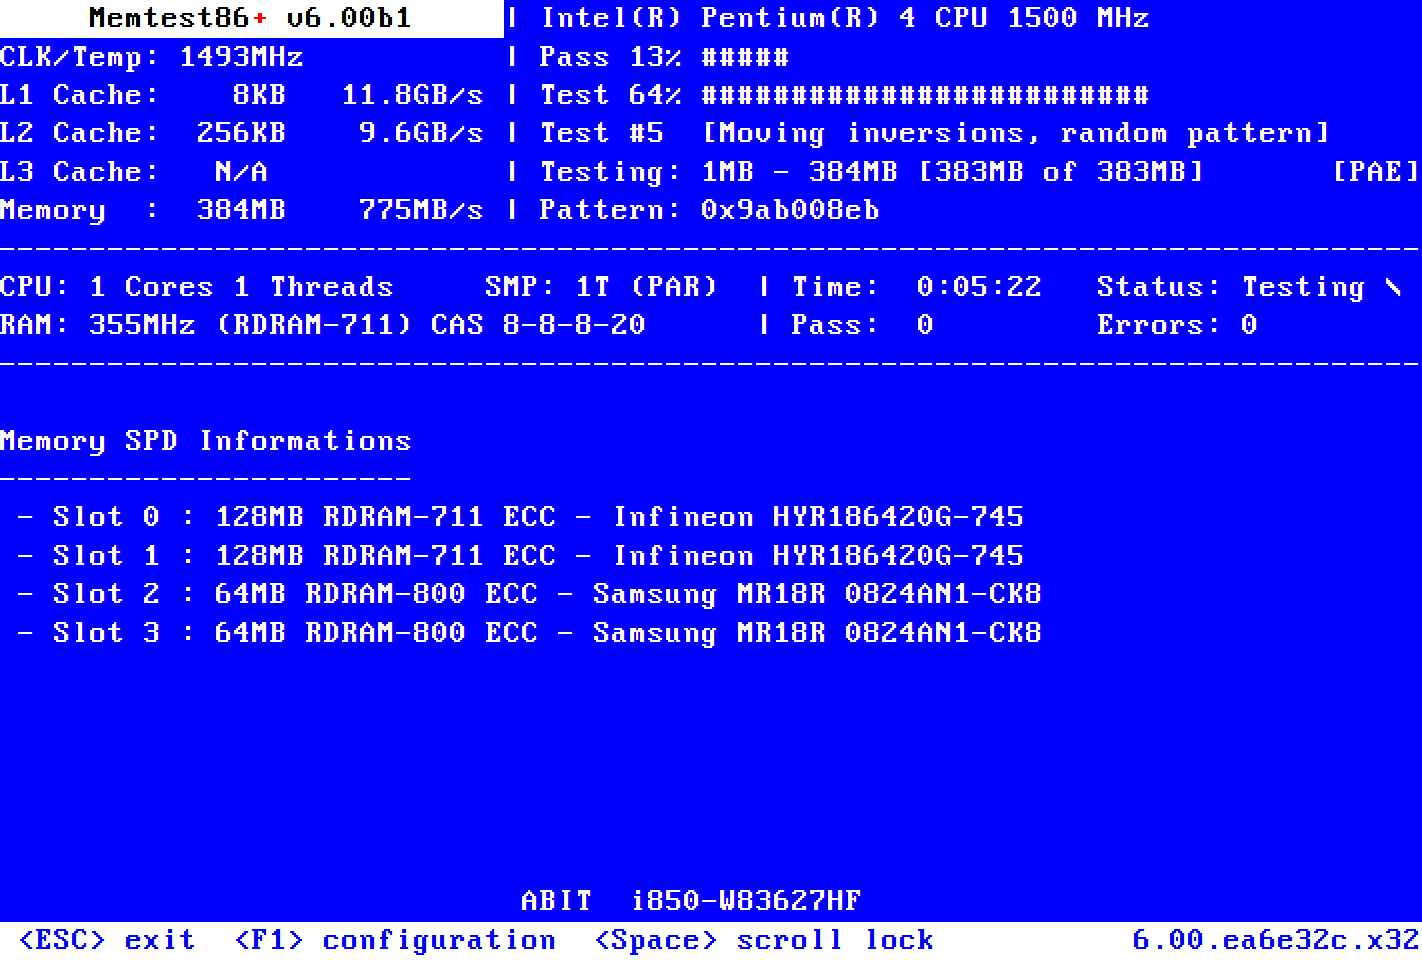
5. Boot from a cd or usb stick with memtest86 on it. memtest will exercise your ram and cpu functionality.
They boot from a usb stick and do not use windows.
You can download them here:
If you can run a full pass with NO errors, your ram should be ok.

Running several more passes will sometimes uncover an issue, but it takes more time.

Probably not worth it unless you really suspect a ram issue.
Opinions vary on updating the bios.
Normally, one does not update a bios unless there is a fix for something that is impacting you. I violate this rule on a new build and will update to currency up front.
Use the usb option, not the windows option.
If there is a severe problem, the impact is small.


6. Install windows.
7. Install the motherboard cd drivers. Particularly the lan drivers so you can access the internet.
Do not select the easy install option, or you will get a bunch of utilities and trialware that you don't want. Drivers only.
7. Connect to the internet and install an antivirus program. Microsoft defender is free, easy, and unobtrusive.
8. Install your graphics card and driver if you tested with integrated graphics.
You will need to remove the graphics card later to install your motherboard in the case.
As a tip when screwing the motherboard into the posts, give the screw a small counterclockwise turn until you feel a click.
That lets you know that the screw will engage properly.
Make a note of how the graphics card latches into the pcie slot.
The mechanism will be hidden under the card and may be difficult to work if you have not previously checked how.
9. Update windows to currency.
10. Only now do I take apart what I need to and install it in the case.
11. Now is the time to reinstall your graphics card.
 
  • Like
Reactions: Thomaszz

Thomaszz

Honorable
Jul 24, 2017
199
25
10,710
For air cooling concentrate on intake airflow.
To that end, mount your extra 2 120mm fans as front intakes.
This is particularly important to cool a hot graphics card.
I think top exhausts are not recommended and likely to divert airflow up and out of the case before it reaches the cooler and mogherboard.

Air coolers are not particularly sensitive to orientation.
The one bad orientation would be where the heat pipes are straight down.
In your case, the normal orientation of horizontal is fine, directing the front airflow through the cooler and out the back.

You may want to read
MY build process:

Before anything, while waiting for your parts to be delivered, download
and read, cover to cover your case and motherboard manual.
Buy a long #2 magnetic tip philips screwdriver.
A small led flashlight is also useful.

I find it handy to buy a power switch like this for testing.
1. I assemble the critical parts outside of the case.
That lets me test them for functionality easily.
A wood table or cardboard is fine.
2. Plug in only the necessary parts at first. Ram, cpu, cooler, psu.
Do not force anything. Parts fit only one way.
Attach a monitor to the integrated motherboard adapter if you have one, otherwise to the graphics card.
3. If your motherboard does not have a PWR button, momentarily touch the two pwr front panel pins with a flat blade screwdriver.
4. Repeatedly hit F2 or DEL, and that should get you into the bios display.
5. Boot from a cd or usb stick with memtest86 on it. memtest will exercise your ram and cpu functionality.
They boot from a usb stick and do not use windows.
You can download them here:
If you can run a full pass with NO errors, your ram should be ok.

Running several more passes will sometimes uncover an issue, but it takes more time.

Probably not worth it unless you really suspect a ram issue.
Opinions vary on updating the bios.
Normally, one does not update a bios unless there is a fix for something that is impacting you. I violate this rule on a new build and will update to currency up front.
Use the usb option, not the windows option.
If there is a severe problem, the impact is small.


6. Install windows.
7. Install the motherboard cd drivers. Particularly the lan drivers so you can access the internet.
Do not select the easy install option, or you will get a bunch of utilities and trialware that you don't want. Drivers only.
7. Connect to the internet and install an antivirus program. Microsoft defender is free, easy, and unobtrusive.
8. Install your graphics card and driver if you tested with integrated graphics.
You will need to remove the graphics card later to install your motherboard in the case.
As a tip when screwing the motherboard into the posts, give the screw a small counterclockwise turn until you feel a click.
That lets you know that the screw will engage properly.
Make a note of how the graphics card latches into the pcie slot.
The mechanism will be hidden under the card and may be difficult to work if you have not previously checked how.
9. Update windows to currency.
10. Only now do I take apart what I need to and install it in the case.
11. Now is the time to reinstall your graphics card.
Thanks for the extensive guide. RAM should be arriving tomorrow so I will let you know if anything goes wrong :)
 

Thomaszz

Honorable
Jul 24, 2017
199
25
10,710
For air cooling concentrate on intake airflow.
To that end, mount your extra 2 120mm fans as front intakes.
This is particularly important to cool a hot graphics card.
I think top exhausts are not recommended and likely to divert airflow up and out of the case before it reaches the cooler and mogherboard.

Air coolers are not particularly sensitive to orientation.
The one bad orientation would be where the heat pipes are straight down.
In your case, the normal orientation of horizontal is fine, directing the front airflow through the cooler and out the back.

You may want to read
MY build process:

Before anything, while waiting for your parts to be delivered, download
and read, cover to cover your case and motherboard manual.
Buy a long #2 magnetic tip philips screwdriver.
A small led flashlight is also useful.

I find it handy to buy a power switch like this for testing.
1. I assemble the critical parts outside of the case.
That lets me test them for functionality easily.
A wood table or cardboard is fine.
2. Plug in only the necessary parts at first. Ram, cpu, cooler, psu.
Do not force anything. Parts fit only one way.
Attach a monitor to the integrated motherboard adapter if you have one, otherwise to the graphics card.
3. If your motherboard does not have a PWR button, momentarily touch the two pwr front panel pins with a flat blade screwdriver.
4. Repeatedly hit F2 or DEL, and that should get you into the bios display.
5. Boot from a cd or usb stick with memtest86 on it. memtest will exercise your ram and cpu functionality.
They boot from a usb stick and do not use windows.
You can download them here:
If you can run a full pass with NO errors, your ram should be ok.

Running several more passes will sometimes uncover an issue, but it takes more time.

Probably not worth it unless you really suspect a ram issue.
Opinions vary on updating the bios.
Normally, one does not update a bios unless there is a fix for something that is impacting you. I violate this rule on a new build and will update to currency up front.
Use the usb option, not the windows option.
If there is a severe problem, the impact is small.


6. Install windows.
7. Install the motherboard cd drivers. Particularly the lan drivers so you can access the internet.
Do not select the easy install option, or you will get a bunch of utilities and trialware that you don't want. Drivers only.
7. Connect to the internet and install an antivirus program. Microsoft defender is free, easy, and unobtrusive.
8. Install your graphics card and driver if you tested with integrated graphics.
You will need to remove the graphics card later to install your motherboard in the case.
As a tip when screwing the motherboard into the posts, give the screw a small counterclockwise turn until you feel a click.
That lets you know that the screw will engage properly.
Make a note of how the graphics card latches into the pcie slot.
The mechanism will be hidden under the card and may be difficult to work if you have not previously checked how.
9. Update windows to currency.
10. Only now do I take apart what I need to and install it in the case.
11. Now is the time to reinstall your graphics card.
I think the bottom front case fan has to be outtake because with intake the PSU seperation or whatever you called it will block the fan?
 
I think the bottom front case fan has to be outtake because with intake the PSU seperation or whatever you called it will block the fan?
A Corsair animation of airflow shows some benefit from using the bottom fan as intake:
The psu shroud is for looks, you can remove it if you want.
The psu fan is there only to cool the psu under heavy load.
It should draw air from inside the case.
Do not be surprised if the psu fan does not even run at all on a strong psu.
 

Thomaszz

Honorable
Jul 24, 2017
199
25
10,710
A Corsair animation of airflow shows some benefit from using the bottom fan as intake:
The psu shroud is for looks, you can remove it if you want.
The psu fan is there only to cool the psu under heavy load.
It should draw air from inside the case.
Do not be surprised if the psu fan does not even run at all on a strong psu.
So I can place the bottom front fan as intake even tho it is 70% "blocked" by the shroud? The middle and top front intake is no problem
 

Thomaszz

Honorable
Jul 24, 2017
199
25
10,710
Last edited:
Edit: I can actually remove that loose black part but then again the fan will blow into another metal barricade. Behind that "barricade" will then be the PSU. I prefer keeping the shroud.
Why are you showing an empty case?
Install all the components and fans and then show the result.

How do you expect somebody point out, if there's a problem with your setup, if you haven't even started doing anything?
You can add ram the last. Missing ram doesn't prevent you from building your pc.
 
Last edited:

Thomaszz

Honorable
Jul 24, 2017
199
25
10,710
Why are you showing an empty case?
Install all the components and fans and then show the result.

How do you expect somebody point out, if there's a problem with your setup, if you haven't even started doing anything?
You can add ram the last. Missing ram doesn't prevent you from building your pc.
Why would there be need for any other components to be installed when the question is about the case fans. I will hop on to another forum where there aren't any salty ass individuals like you.
 
Why would there be need for any other components to be installed when the question is about the case fans.
You asked about system fan and cpu fan placement. Didn't you?
What did you think the point was for showing an empty pc case?

Everybody can find pictures of empty 4000D Airflow case in Corsair support web site.
I wanted to see your particular system. To see, how you have installed it.

That's kinda requirement, if you want to offer any constructive suggestion, to have a full picture about the setup.
No need to be overly sensitive about this.
 

TRENDING THREADS