
****************************************************************************************************
Contents
****************************************************************************************************
[1.0] Introduction
[2.0] Difficulty differences
[3.0] Save/Load Game System
[4.0] Basics
[5.0] Research and Engineering
[6.0] Barracks
........[6.1] Squad Selection
........[6.2] Assault
........[6.3] Heavy
........[6.4] Support
........[6.5] Sniper
........[6.6] Psi soldier
........[6.7] Hiring
........[6.8] Officer Training School
[7.0] Situation Room and Mission Control
[8.0] Ground Tactics
........[8.1] Scouting
........[8.2] Will management
........[8.3] Flanking
........[8.4] Other tips
[9.0] Conclusion
****************************************************************************************************
[1.0] Introduction:
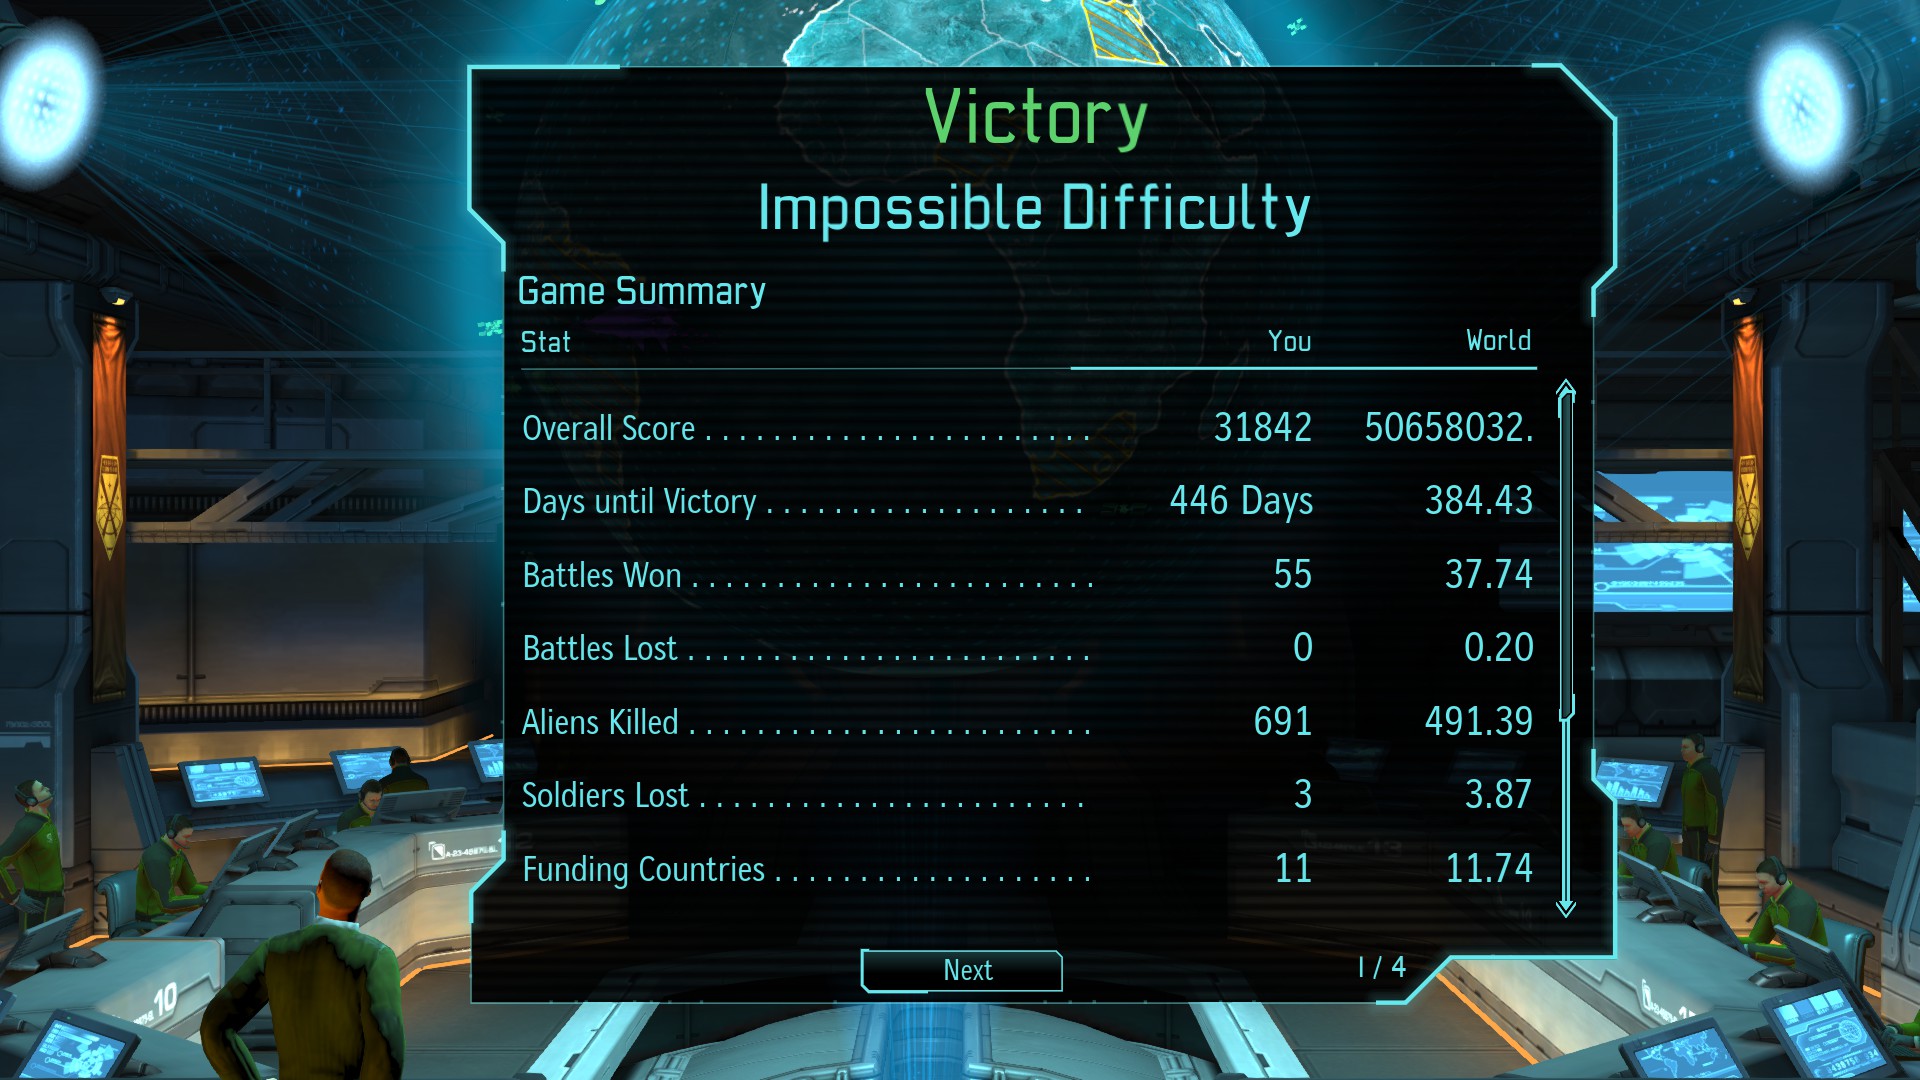
Code:
An ending few people have seenTo begin with let us see some stats first:

[2.0] Difficulty differences
The following are the major differences in each difficulty level (Easy/Normal/Classic/Impossible):
1. Initial global panic per country: 0/0/1/2
2. Initial funding(§): 175/175/100/75
3. Initial Power: 42/37/30/30
4. Soldier cost(§): 10/10/15/15
5. Soldier starting HP: 6/5/4/3
6. On easy and normal there is a satellite in reserve and Officer Training School is already built.
7. On easy monthly income is increased by 50%.
8. On classic and impossible fewer engineers and scientists are given per satellite launch.
9. Alien activity causes more panic in countries with each higher difficulty level.
10. Enemies have higher stats (HP, Hit, Critical chance, Will, etc) with each higher difficulty level.
11. More enemies on map with each higher difficulty level.
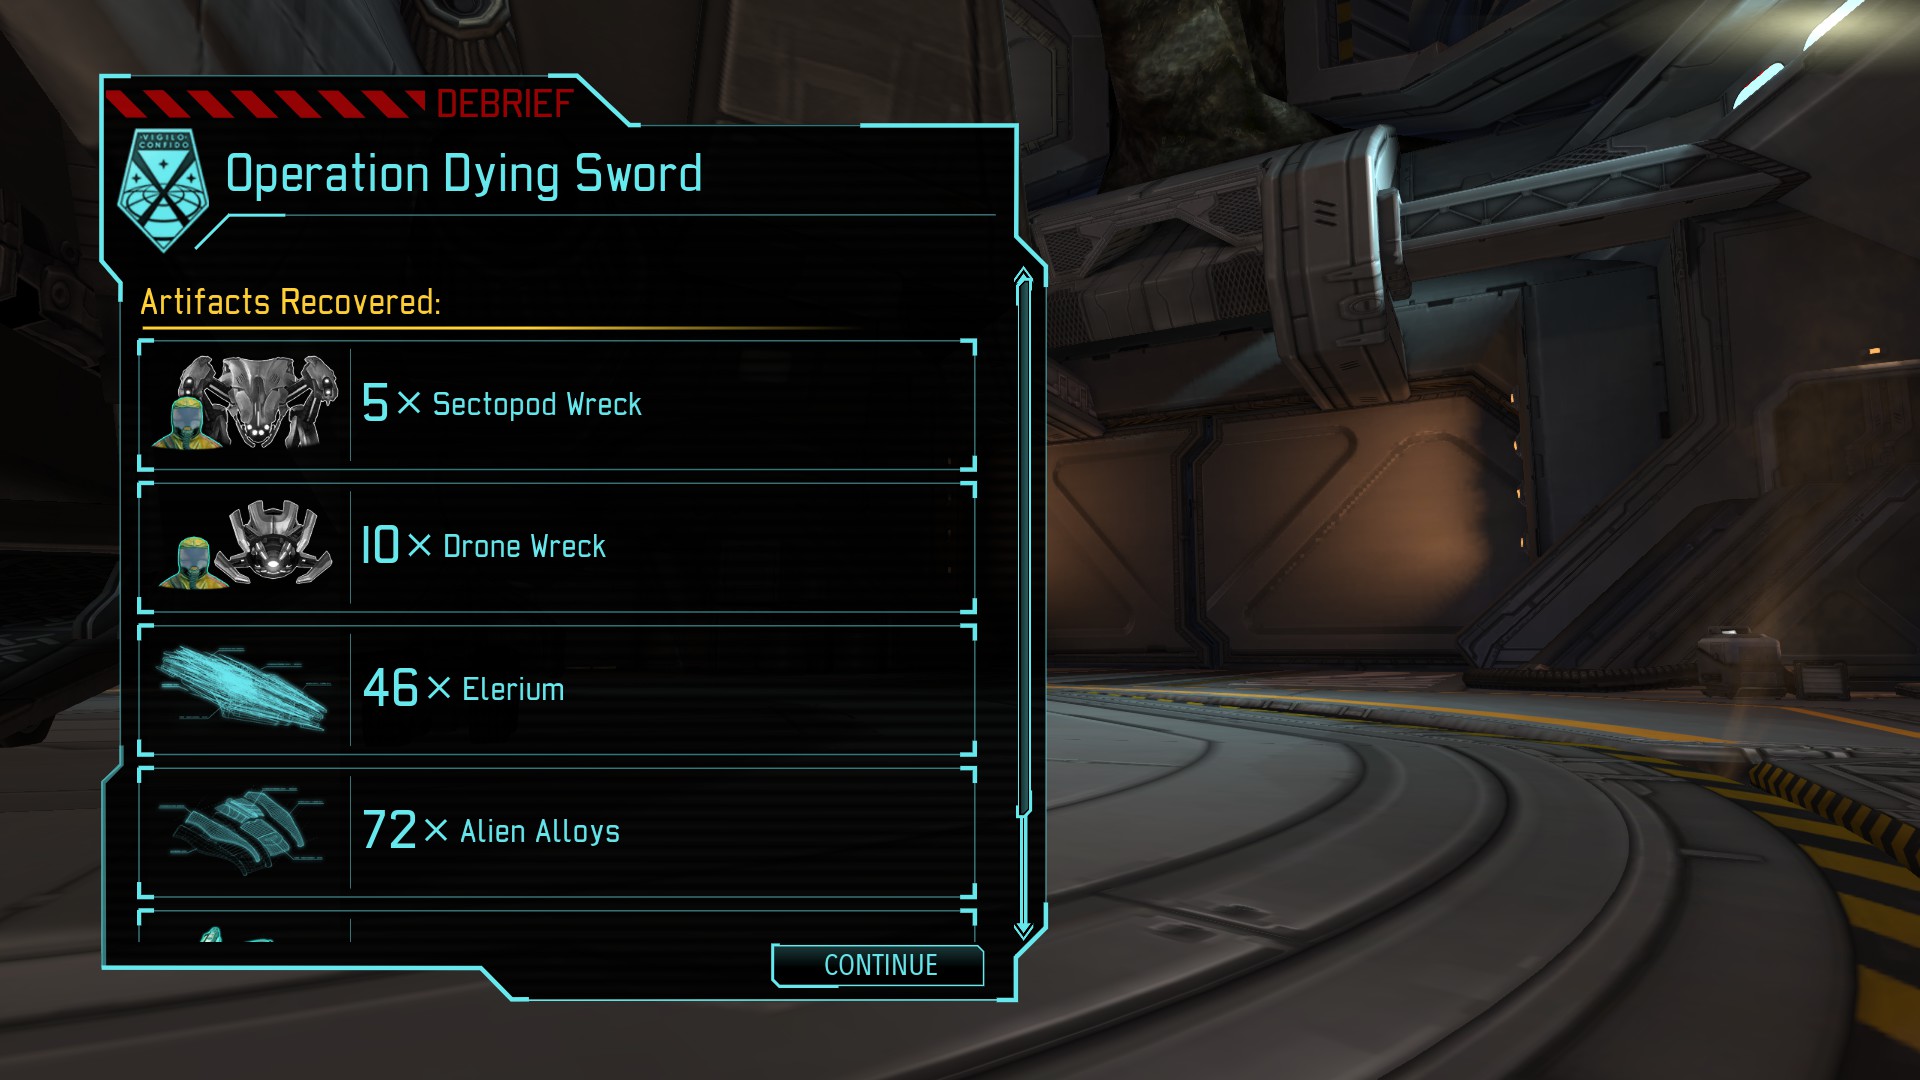
That should give you an idea of how impossible difficulty looks like. If your math is bad then just look at the simple image below that shows the resources recovered after a mission.
[3.0] Save/Load Game System
This isn’t Ironman mode. So you can use the save/load system all you want. Abuse it. But there is a bug in the load game menu. If you exceed 99 save files the sorting order gets messed up in the menu. The developers probably limited the save files on the consoles due to limited storage space. You can get over this issue by two ways:
Delete older save files manually inside load game menu. This is a little tiresome but this lets you see details of the save file while deleting it so you don’t end up deleting an important save file. If you do not care about older save files (or have backed them up) then you can just simply keep on deleting the first entry till the menu gets sorted out by having less than 99 files.
Or navigate to “C:\Users\[Username]\Documents\My Games\XCOM – Enemy Unknown\XComGame\SaveData”
See the save files there. Don’t go by the file names. They get messed up once you start deleting files. Sort them by Date Modified. Keep the latest files and delete or back up the remaining files. If you delete 90 of them you will have no problems with the load game menu for the next 90 saves. Keep doing this whenever you hit 99 saves.
One thing to keep in mind when using the save/load system is that the game calculates the hit and critical chances for everyone at start of each turn. So you need to save at the end of previous turn to alter the outcome. Just keep saving every successful turn. If you forgot to manually save an important turn the game auto-saves the last 3 turns. Using the save/load system is the most OP thing to do but if you end up reloading saves 10 times for one turn then you are wasting time. The rest of the guide will tell you how to play efficiently at the hardest difficulty without wasting lots of time deciding what to do next.
[4.0] Basics
Code:
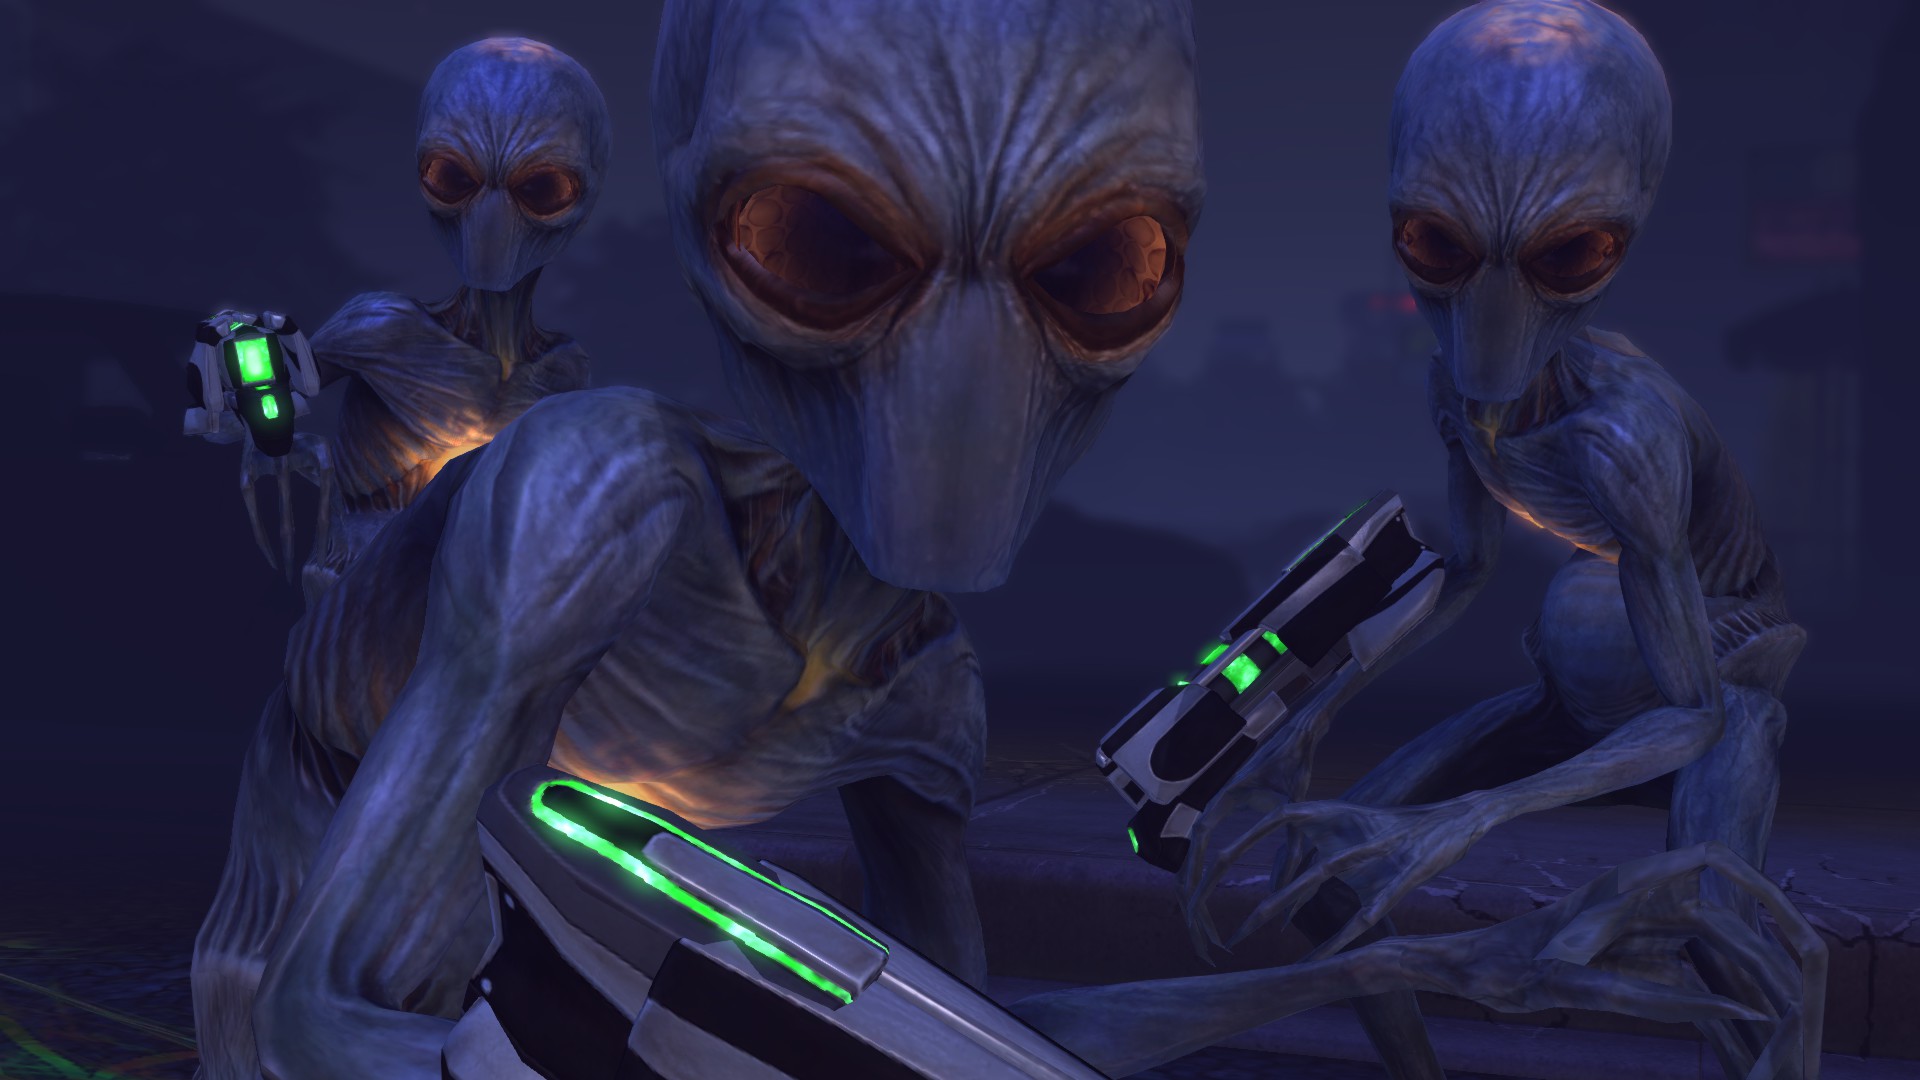
You won’t notice the huge brain size of the Sectoid until you play at the Impossible difficulty[5.0] Research and Engineering
Code:
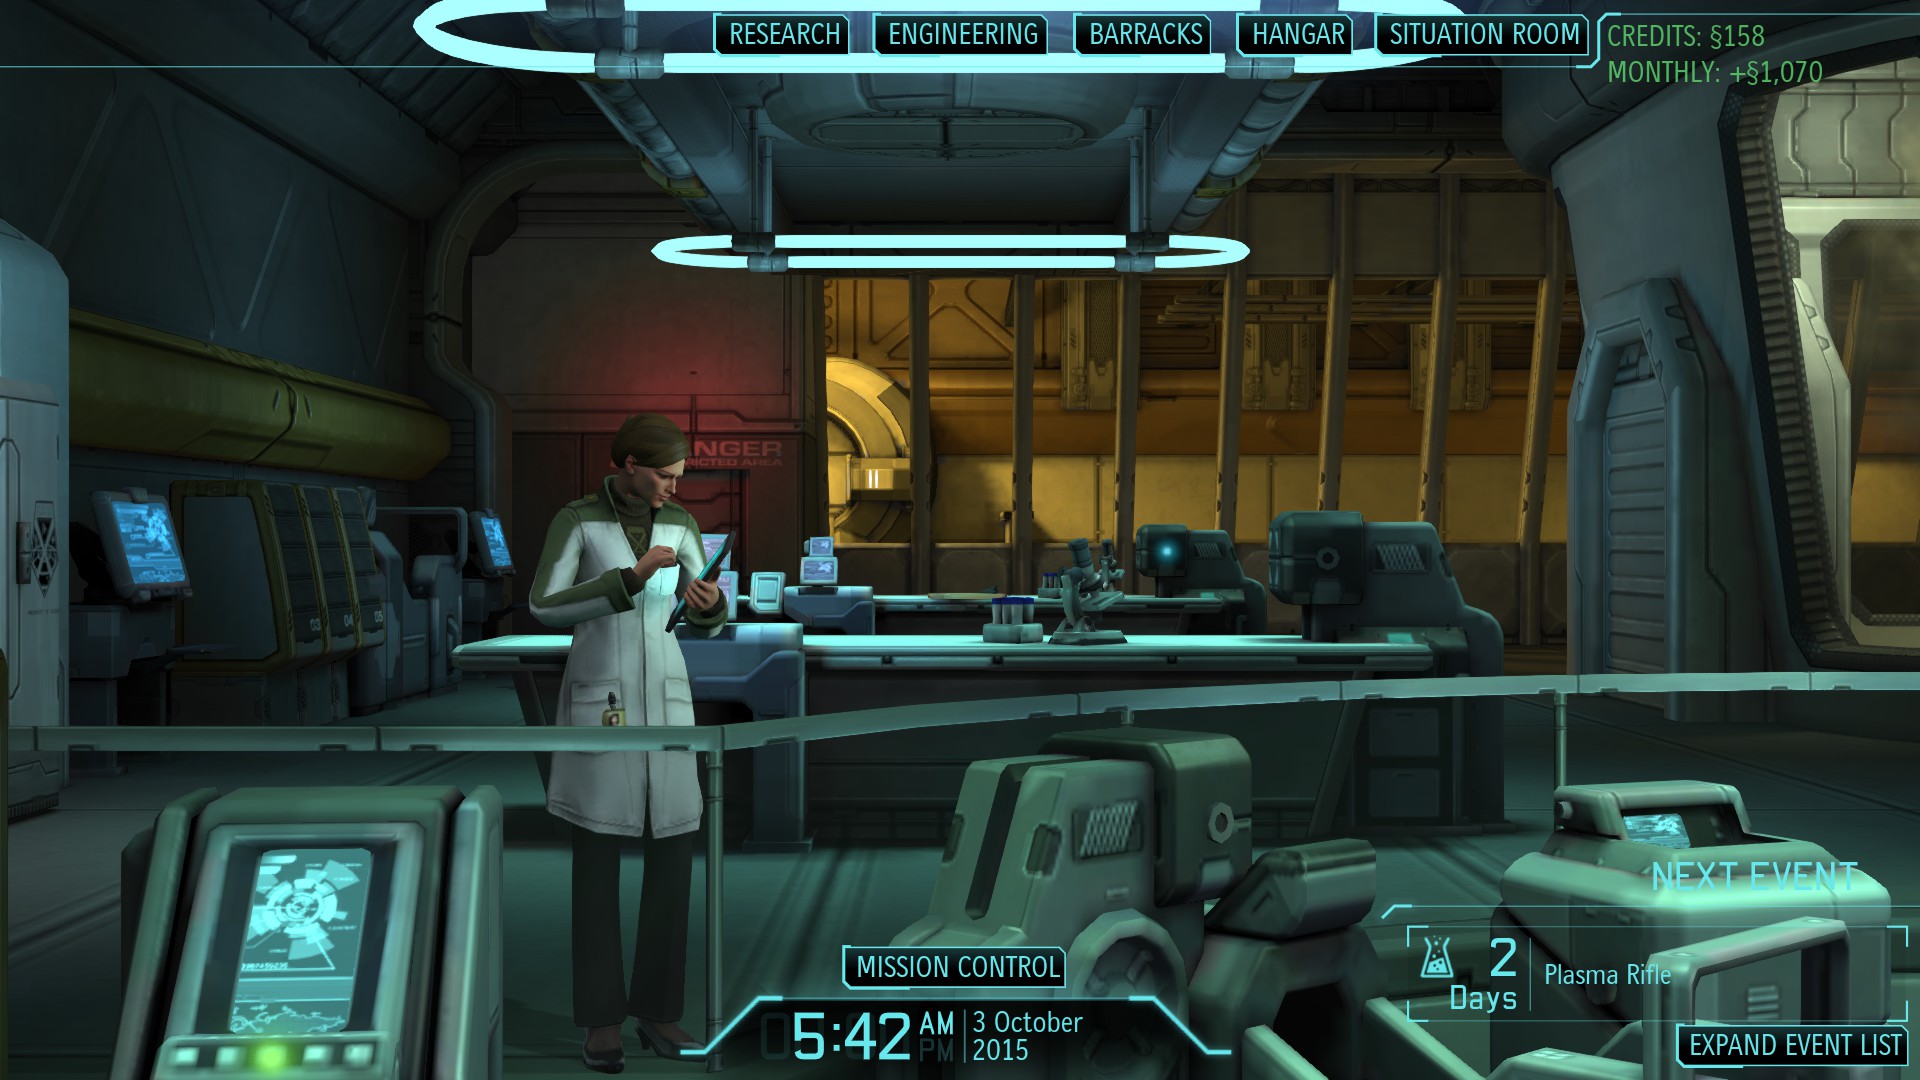
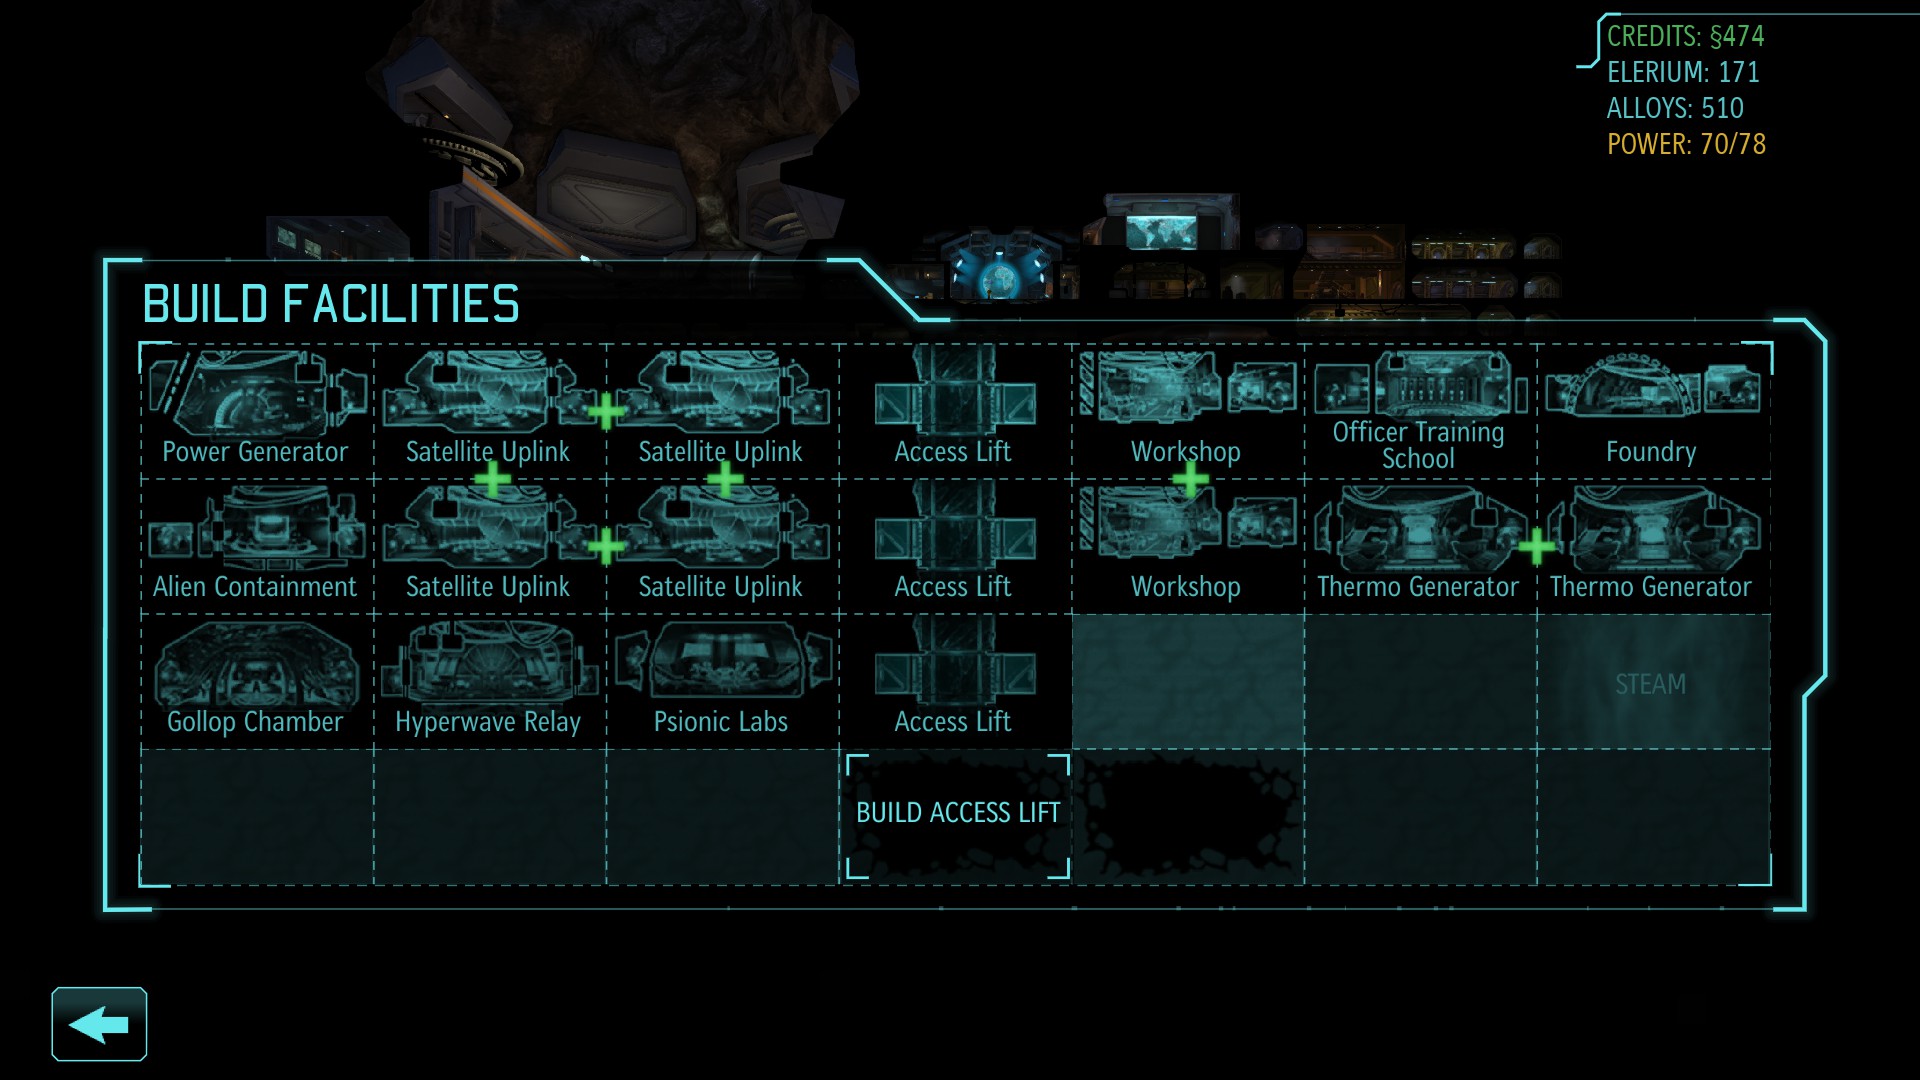
Dr. Vahlen sure loves her XPad 24x7Talking about satellites, satellites are the most important thing to make. Give it the highest priority than everything else. It does two things: it gives you funding, country specific bonuses and it also decreases the panic level of the country. There are 4 things to consider: Satellite, Satellite Uplink/Nexus, Stealth Satellites, and Firestorm. The most effective way to cover all 16 countries is to have 2 Uplinks and 2 Nexuses in a square. But you are probably going to lose some countries so you might not have to build 2 Nexuses.
C++:
XCOM’s satellites work underground!2 Uplinks + 1 Nexus = 10 Satellites
4 Uplinks = 12 Satellites
3 Uplinks + 1 Nexus = 14 Satellites
2 Uplinks + 2 Nexuses = 16 Satellites
You will have to figure out how many countries you can save and build Uplinks/Nexuses accordingly. Since a satellite decreases the panic in the country where it is deployed you might want to check the panic level of all countries before considering a specific country’s bonus when a satellite is deployed. Now the problem is after all this hard work an alien UFO can take out your satellite. This is really problematic since this is a double loss. To counter this you also need to put priority on Stealth Satellites and Firestorm. You can take out most of the UFOs with 2 interceptors (+ Dodge, Boost, Aim) but it will be pathetic against large ones and you won’t have interceptors ready every time a UFO is spotted. Get 2 Raven interceptors on every continent as fast as you can since the Firestorm comes mid-game.
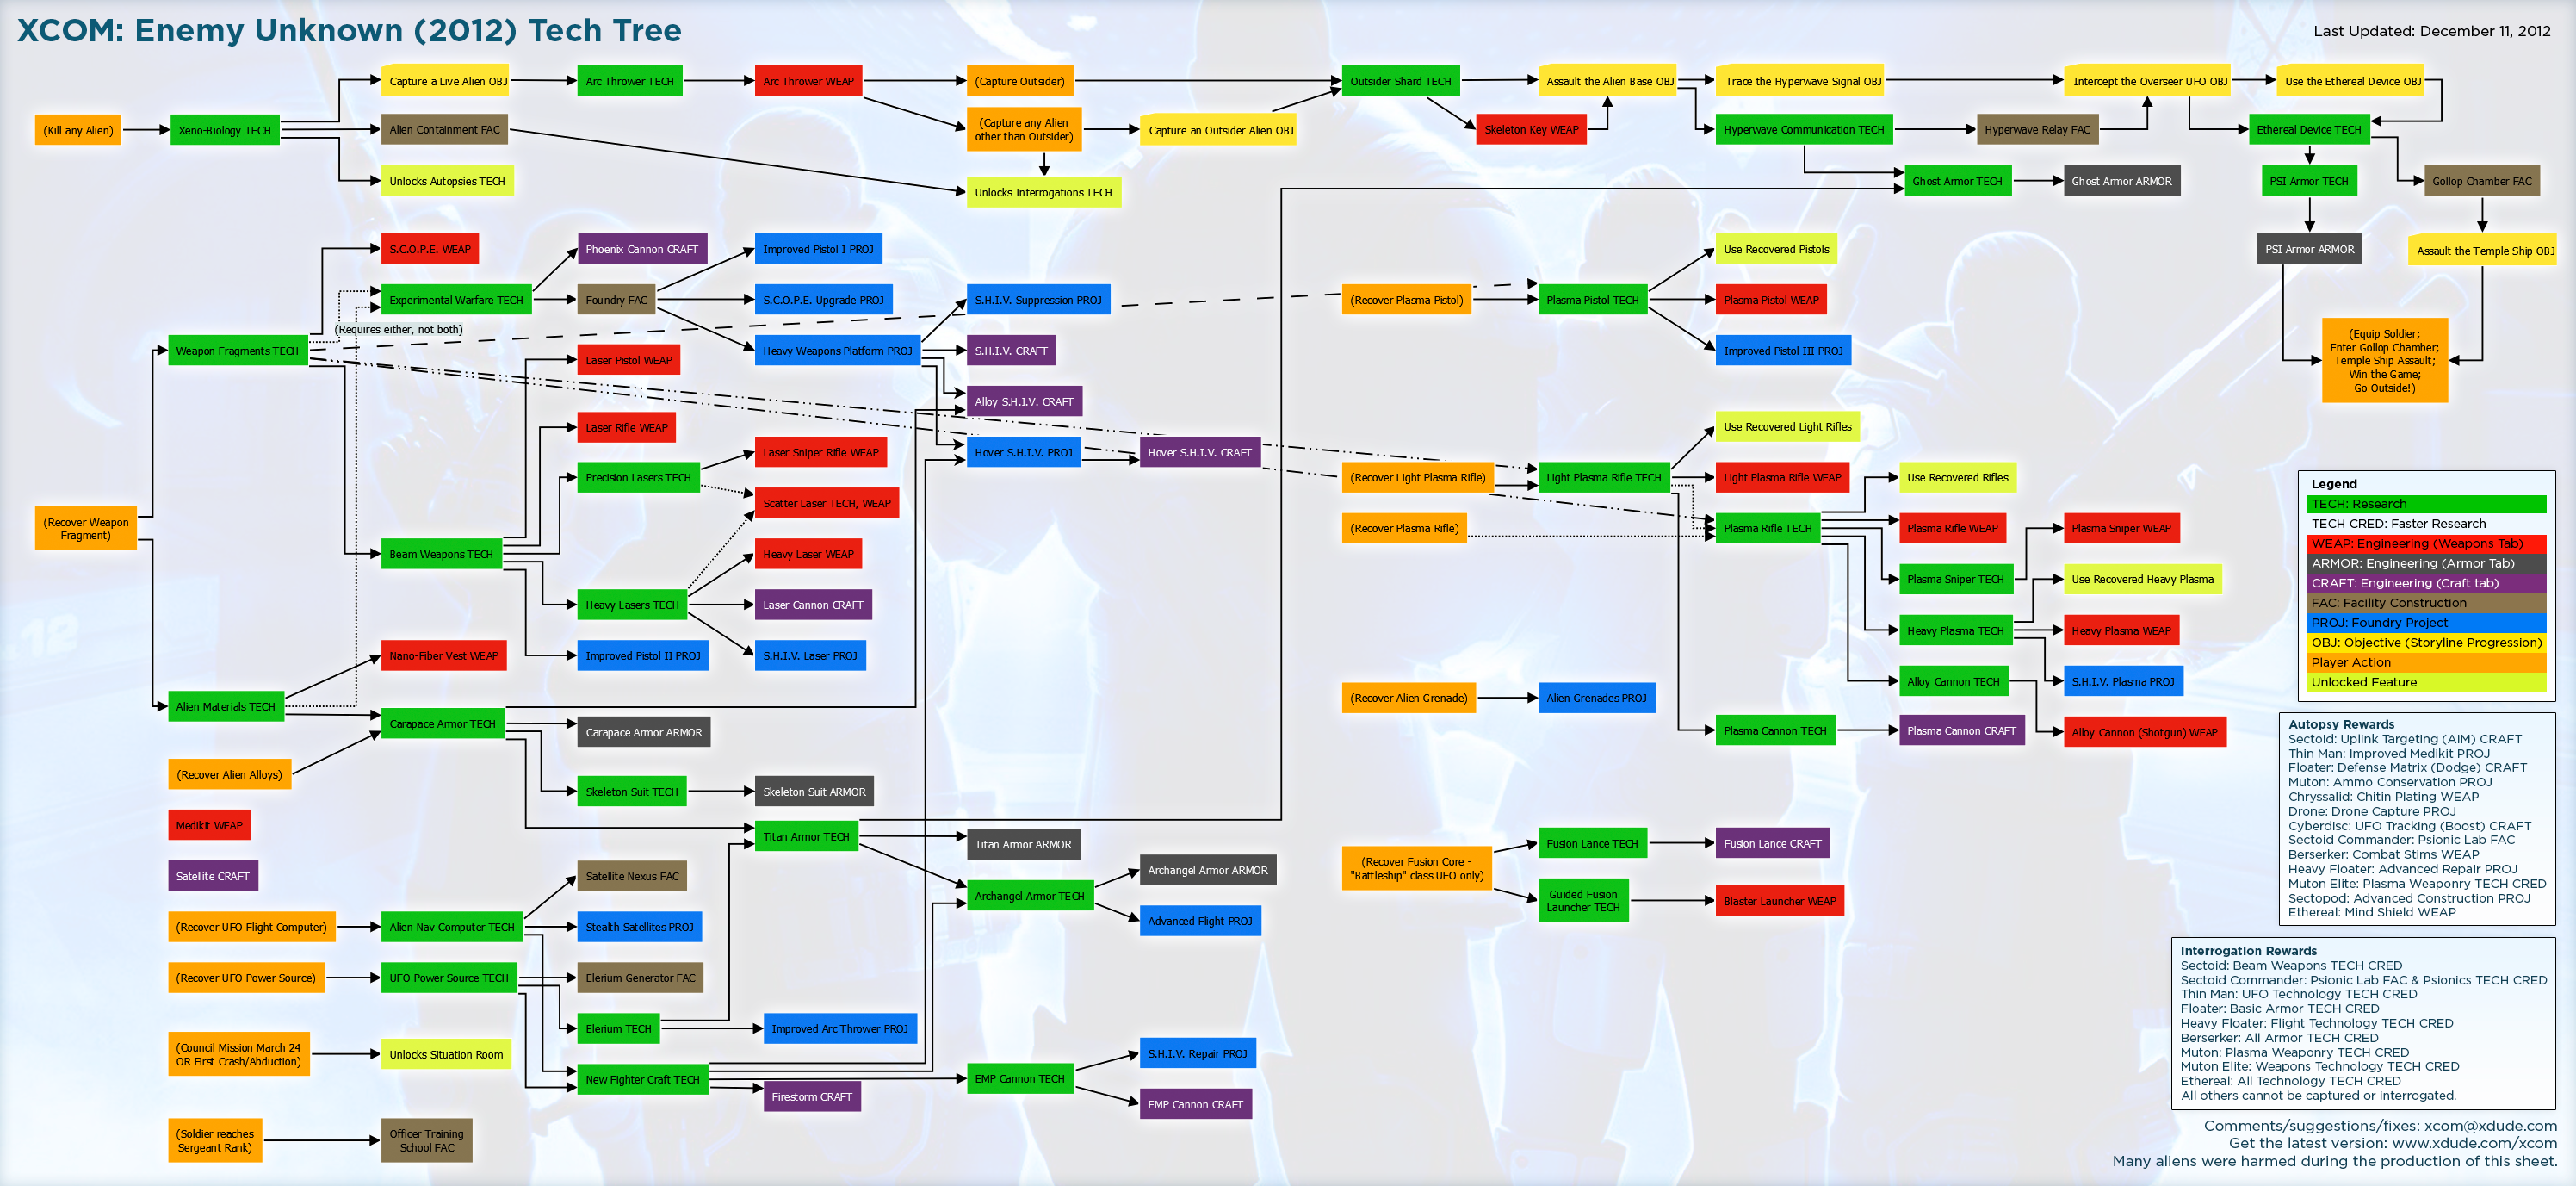
There will be a need of more engineers as you start building facilities so give priority to building Workshops too. Building laboratories can be skipped entirely. You can get the required scientists from a mission reward if you do need them badly. But don’t waste a facility slot for a lab.
Don’t skip laser weapons. One might think that skipping laser weapons would allow you to save resources and time for other stuff but laser weapons are important on the battlefield. Those 2 pieces of extra damage are going to be a lot more helpful on the battlefield on the impossible difficulty.
S.H.I.V. can be skipped. S.H.I.V. comes somewhere mid-game and just a little later you will get Psi soldiers. Psi soldiers are a lot better than S.H.I.V. so save the resources for something else rather than building S.H.I.V.s. Also a Psi soldier is necessary to complete the game whereas S.H.I.V. is not.
[6.0] Barracks
[6.1] Squad Selection
In the following sections preferred abilities are suggested. You get to choose between 2 different abilities as your soldier ranks up. In general both abilities are equally good. But certain combinations of abilities work well together which are suggested below. The key tactic here is to choose abilities that work more predictably. There are too many random factors in XCOM’s gameplay, the better you can predict the outcome the more easily you can play the game. Armor choices aren’t mentioned since they will be based on what you have researched. Ghost, Psi Armor comes very late in the game when you already have a good chance at winning.
[6.2] Assault
Lightning Reflexes vs. Close & Personal: Lightning Reflexes works well with the default Run & Gun ability. Let the assault become bait to any Overwatch by the enemies. And it gives a better chance to close in on the enemy with a shotgun. Assault already has good damage potential at close range so Close & Personal has a lesser advantage than Lightning Reflexes.
Flush vs. Rapid Fire: When you are close to an enemy with a shotgun type weapon, I mean really close like on the adjacent square to a Muton then you will have a 100% hit chance even on impossible difficulty. Rapid Fire carries a -15 penalty to Aim but up close the penalty won’t be huge giving you 2 hits with the shotgun on the enemy. Flush on the other hand does very little damage and requires your other soldiers to be on Overwatch when they can do something else more productive. Moreover the enemy might just get behind another cover.
Close Combat Specialist vs. Bring ‘Em On: Close Combat Specialist will save you on a lot of turns especially with melee enemies like Chryssalids and Berserkers. Also if you can make the enemy come to you by hiding behind a corner it’s a huge advantage. And since the ability is triggered when the enemy comes within 4 tiles it works well with a shotgun type weapon with a huge Hit & Crit Chance. Bring ‘Em On adds damage on critical hits but the chances of critical hit is low already not to forget the low chances of an actual hit.
Resilience vs. Killer Instinct: Again you need more defence that crit. So resilience is a good choice. Because at impossible difficulty enemies crit a lot and your Assault’s hit chances are low.
Equipment: For early game Nano-Fiber vest, chitin plating or grenades are good. After you get the Titan Armor which gives a bonus with extra conditioning you can keep carrying grenades. Grenades are a lot more useful at the impossible difficulty since you know for sure whether it will hit or not and also breaks the enemy’s cover in most situations.
[6.3] Heavy
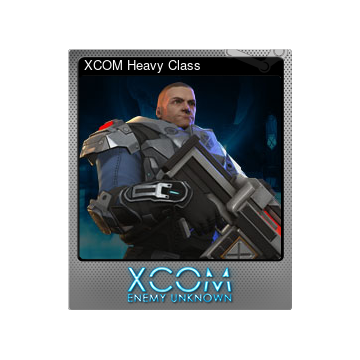
Shredder Rocket vs. Suppression: The enemies have a lot more HP at impossible difficulty and most of the time you won’t be able to take them down in one turn. Shredder Rocket will help to deal more damage to the enemies. And if you have 2 or more Heavies in your squad one can fire a Shredder rocket and the other can fire a normal rocket to finish them off. Especially useful if you find them in groups without noticing you by throwing a Sniper’s Battlescanner.
HEAT Ammo vs. Rapid Reaction: Rapid Reaction grants you a second reaction shot on over watch if the first reaction shot was successful. Now what are the chances of the first reaction shot to be hit? The chances of a normal shot itself is too less at impossible difficulty. That is enough reason to avoid choosing Rapid Reaction. HEAT Ammo is good against robotic enemies and you do need it since they have very high HP.
Grenadier vs. Danger Zone: Although using explosives deny you of salvage, grenades are a life saver. You will have to do one or two missions more to get required salvage for engineering in some cases but most of the time you will be waiting on something else anyways. And if you use grenades first to break cover and damage a little and shoot them after, getting salvage won’t be a problem. There are 3 important benefits of using grenades: it has a 100% hit chance, it can hit more than one enemy, and it can break cover. You can’t ignore these benefits. Although you will get only 2 grenades with each Heavy it is enough for critical situations where most of your soldiers aren’t able to hit the enemies successfully. Danger zone adds 2 tile radius to your rockets but that isn’t much of a benefit.
Rocketeer vs. Mayhem: The numbers of enemy spawn points are much higher at impossible difficulty. You need more rockets than more damage in a single shot. Rocketeer is the preferred choice.
Equipment: Grenades. Works well with Grenadier ability. Enough said.
[6.4] Support
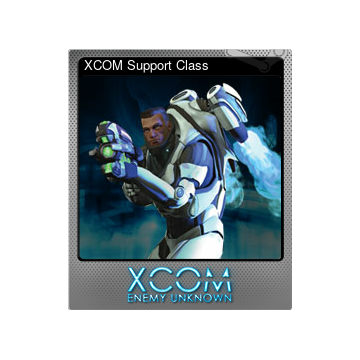
Field Medic vs. Smoke and Mirrors: Some maps are long and you will face lots of enemies on impossible difficulty. Getting to use Medikit 3 times is a godsend. On the other hand using smoke and mirrors gives you 1 additional use of smoke which by itself isn’t of much use. Remember that some aliens have grenades and grenades have 100% hit chance. Using smoke and gathering your soldiers in that radius is going to make a grenade attack inevitable.
Revive vs. Rifle Suppression: You really don’t want to lose a soldier at impossible difficulty. And with revive you can get the soldier back up in the fight which is awesome. Rifle Suppression again isn’t going to be of much use as the enemies somehow do critical hits even with aim penalty at impossible difficulty.
Dense Smoke vs. Combat Drugs: This is a hard choice. Combat drugs are useful against Psionic attacks but they come late in the game. But you probably own the aliens by then. If the Ethereal gets to mind control one of your soldiers you might be in a real bad situation. Combat Drugs can be useful in such situations. Dense Smoke on the other hand finds its use almost everywhere.
Savior vs. Sentinel: With improved Medikit Savior will heal up to 10 units which is just awesome since enemies do critical hits a lot. Sentinel’s use depends on whether the reaction shot lands or not. The chances are pretty low on impossible difficulty so it’s better to choose something that is guaranteed to work.
Equipment: Medikit no doubt. Support is the perfect candidate to use an arc thrower. Also with the increased movement with Sprinter the support can close in on the enemy in one turn and use the arc thrower. After arc thrower becomes unnecessary late game, you can choose between mind shield or Combat Stims or grenade. It depends on your play style.
[6.5] Sniper
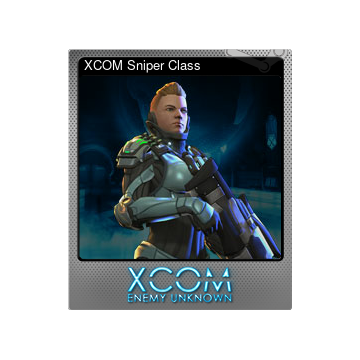
Gunslinger vs. Damn Good Ground: Sometimes a sniper can get in close proximity to an enemy like floaters for example that can move to anywhere on the battlefield. Having more permanent pistol damage is good than the temporary bonus of damn good ground while at elevation. Also when you run out of Sniper Ammo in the heat of battle (which will happen more often than you think) you can switch to a good Pistol.
Disabling Shot vs. Battle Scanner: Battle Scanner is useful if you throw it in the right spot. If the enemies don’t notice you, your Heavy can take them down with rockets. Battle scanner can also be used to safely flank an enemy so that you can avoid alerting another enemy group. Disabling Shot just wastes one turn of the enemy and so are you.
Executioner vs. Opportunist: Executioner confers +10 Aim against targets with less than 50% health. The sniper’s damage is one of the highest and you won’t want to waste such high damage on an enemy with low health. Opportunist gives a high hit chance with reaction shots and is highly recommended.
Double Tap vs. In The Zone: In the Zone is the most OP ability in the game. It requires flanking (or exposing) and killing the enemy. You can finish off the entire enemy group if played properly. For example, in maps where there are only Thin Men, the last round of Thin Men drops on the ground fully exposed and goes to Overwatch. All of them can be killed with just one properly positioned Sniper in one turn. Also a lot of other enemies like Chryssalids, Zombie, Berserkers and especially Drones don’t use cover and they can be killed without losing the Sniper’s turn. With Snap Shot you can get to hit multiple enemies from two positions. Other soldiers can help by exposing the enemy using explosives and initially damaging high HP targets.
Equipment: Scope. You don’t want to miss your sniper’s shots.
[6.6] Psi soldier
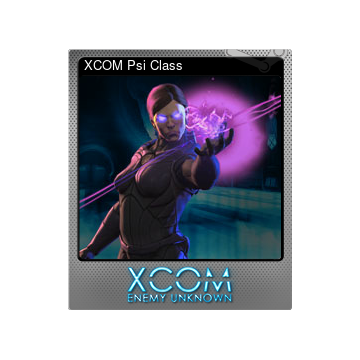
Telekinetic Field vs. Mind Control: Although Telekinetic Field is a powerful ability it doesn’t offer a tactical advantage as good as Mind Control. Psi attacks have a huge range and if your soldier has enough Will it will have a high Hit chance. You can Mind Control someone far behind in an enemy group so as to gain a lot of vision. You can use that soldier now to kill the enemies in his front completely flanked. You can make him as bait so that your soldiers won’t get hurt. And if there are turns remaining you can use him to easily scout ahead.
Equipment: If your soldier lacks Will, Mind Shield is a must. Otherwise the suggested equipment for the specific class is good enough.
[6.7] Hiring
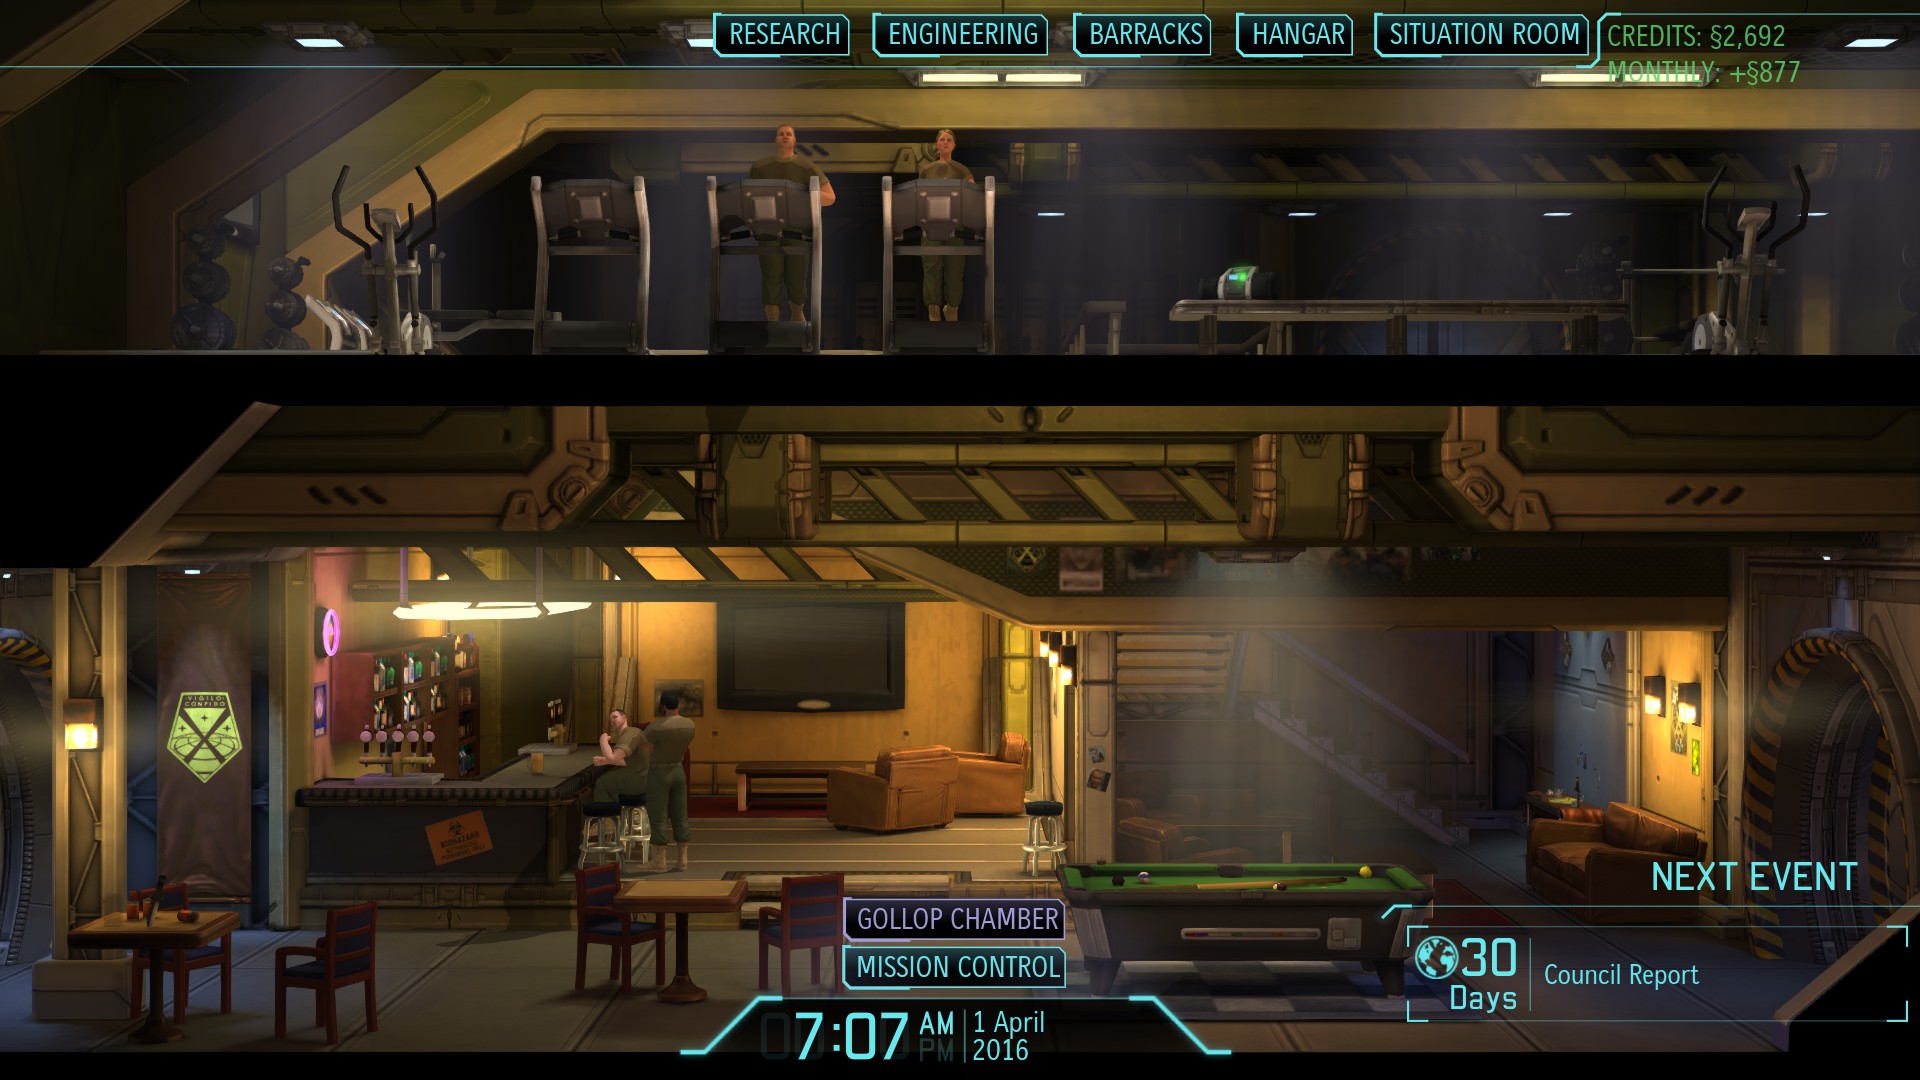
There was never a real requirement to hire soldiers at the easy difficulty level. But at impossible soldiers die and you will be running out of soldiers sooner than you think. Whenever you have the credits hire soldiers (15§). 18 soldiers should be enough to keep back to back missions going. You can stop hiring when you have 18 soldiers alive. You might want to hire more for farming Psi soldiers late in the game. Having at least 3 Psi soldiers with good enough Will is recommended.
Code:
Remember Titan Armor costs 150§ whereas a soldier costs 15§. So hire away![6.8] Officer Training School
Squad Size I and II are the most important Officer Training School upgrades.
[7.0] Situation Room and Mission Control
As already said Satellites should be deployed in countries with the highest panic level before considering the country or continent specific bonuses.
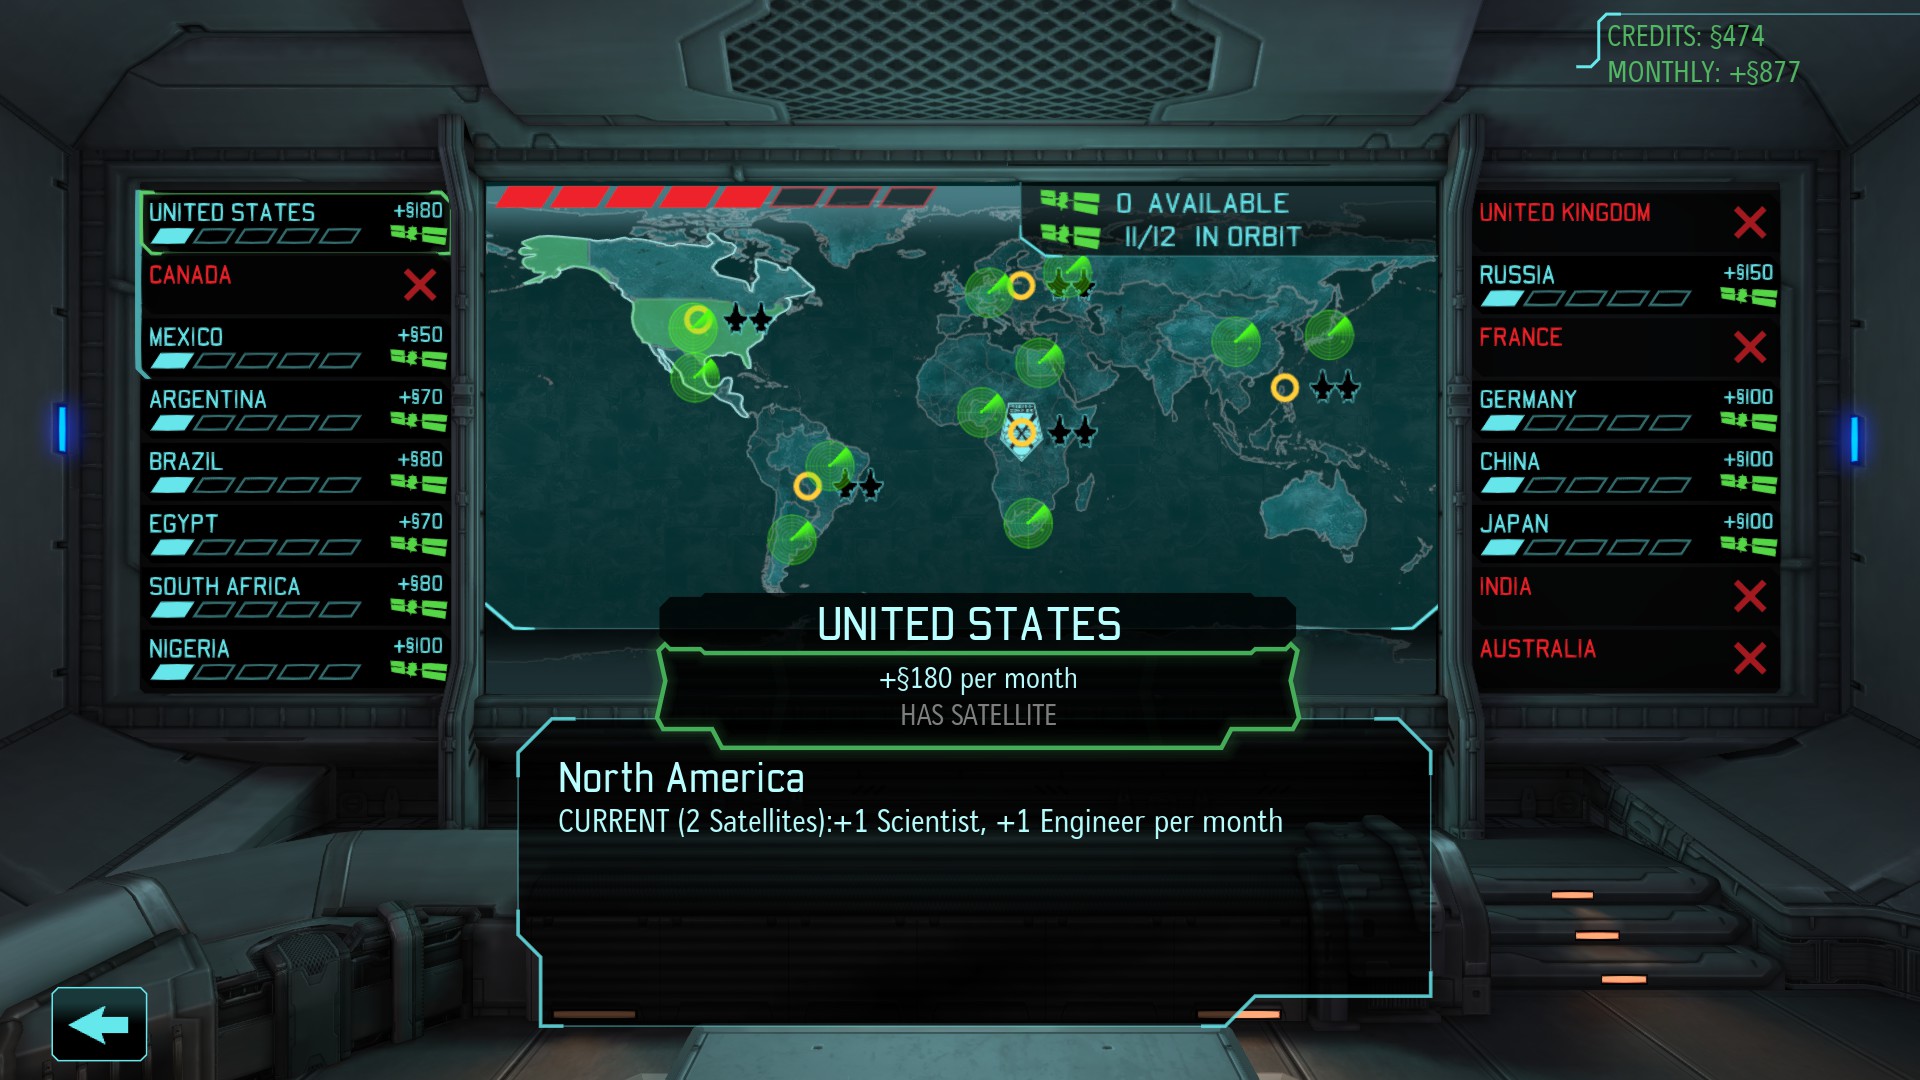
Panic Level > Engineers > Soldier > Credits > Difficulty > Scientists
The soldier granted as a reward for missions is really important since it will be a ranked soldier with likely having higher Will. When you have enough Engineers at the end of the game you can give Soldiers as a reward more priority.
When you press the Start Scan button a Stop Scanning button will replace it. Use it. Some events don’t alert the player while scanning.
[8.0] Ground Tactics
[8.1] Scouting

[8.2] Will management
■ When a soldier gains a rank, there is a randomized 2-6 point Will increase.
■ Critically wounded soldiers, even if saved, incur a permanent -10 (-15 on Classic or Impossible) reduction to Will.
■ Fellow squad mates are subject to a "Fallen Comrade" penalty of -5 Will if they witness a soldier being killed in action during a mission. In the event of multiple deaths, the penalty is -5 Will per soldier killed.
■ If a soldier is injured during combat, for the remainder of the mission they are subject to a Will penalty, visible as "Battle Fatigue" when viewing the soldier info interface. If injured by less than 50% of their total health, the penalty is -5 Will. If injured by more than 50% of their total health, the penalty is -10 Will.
■ Note: Whenever a soldier incurs damage exceeding that of the HP bonus granted by their armor, the soldier is flagged as wounded.
[xcom.wikia.com]
[8.3] Flanking
The chances of taking a shot at an enemy in full cover or even partial cover is more likely going to be a miss at early stages at impossible difficulty. Flanking is necessary not an option. But there is another problem. At impossible difficulty there are much more enemies on the map. There is a high chance that when you move one of your soldiers to go flank an enemy you might alert another enemy group. This is worse than not flanking at all! In such cases where there is a possibility of alerting another enemy group its best to break the enemy’s cover with explosives. You can also use the Assault’s Run & Gun ability to just move up to the enemy’s adjacent square and hit him if the rest of the enemies can be eliminated by others. It’s a little risky but if done right you can get away without alerting another enemy group. If you are playing on Ironman mode you might want to throw a Battlescanner to see if the flanking area is clear.
[8.4] Other tips
■ Don’t forget to reload.
■ Move the Assault with Lightning Reflexes first during your turn so that he/she becomes bait to any of the enemies’ Overwatch.
■ Whenever possible give the killing shot to your lowest ranked soldier in your squad. Actually when the risk is low you should try to give the kill shot to that soldier even if it takes a few turns to do so. This will help you to get more ranked soldiers in your barracks for later use. Always remember your best soldier can get wounded for a long time or end up dead and you will have to use the other soldiers for the mission. It will be very terrible if all your other soldiers are Rookies or Squaddies.
■ Make use of the environment. Cars, trucks and UFO Power Sources blow up when you hit them with explosives. Blow them up when enemies are near.
■ Always check whether the Pistol does a better hit than the primary weapon. Changing to Pistol and back again to primary weapon doesn’t cost a turn.
■ Don’t forget to equip wounded soldiers with default items so that their equipment can be used by other soldiers that are going on a mission. Equipments are costly to manufacture.
■ Council mission maps have all Thin Men. Titan Armor is quite useful to become immune to their poison attacks.
■ Terror site missions mostly have Chryssalids as the main enemy. These missions usually have an artificial time limit since the enemies will keep killing citizens. One of the worst things in such missions is that the Chryssalid will turn a citizen into a zombie which can turn into another Chryssalid if not killed in a few turns. One thing you can do is that use a grenade to kill that citizen before getting infected if you cannot save the citizen.
[9.0] Conclusion
That pretty much covers the major aspects of beating the game at impossible difficulty. It’s quite possible to beat the impossible difficulty with a bit of patience and forward thinking. To find out in-depth details of game mechanics you can head over to xcom.wikia.com . Also check out PCGamer's article on how XCOM player Zemalf beat Enemy Within on Impossible Ironman
Good luck. Have fun.
- chimera201

