can you turn a screwdriver? if so you can build it yourself and get a better system for the price.
for example
PCPartPicker Part List
CPU: AMD Ryzen 5 3600 3.6 GHz 6-Core Processor ($172.39 @ Amazon)
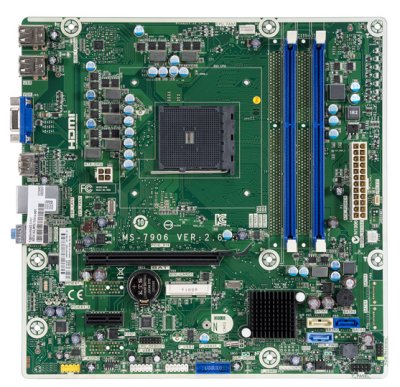
Motherboard: ASRock B450M-HDV R4.0 Micro ATX AM4 Motherboard ($64.98 @ Amazon)
Memory: Team T-FORCE DARK Z 16 GB (2 x 8 GB) DDR4-3600 Memory ($74.98 @ Amazon)
Storage: Crucial P2 500 GB M.2-2280 NVME Solid State Drive ($64.99 @ B&H)
Video Card: MSI GeForce GTX 1660 SUPER 6 GB VENTUS XS OC Video Card ($229.99 @ Newegg)
Power Supply: SeaSonic FOCUS Gold 650 W 80+ Gold Certified Semi-modular ATX Power Supply ($107.98 @ Newegg)
Total: $715.31
Prices include shipping, taxes, and discounts when available
Generated by PCPartPicker 2020-05-11 16:43 EDT-0400
I know its a cheap motherboard, but you had no mention of the board, RAM, New CPU, SSD, PSU, and a better GPU, re-use your case, the small mATX should fit in almost anything.
watch a video or two on youtube, familiarize yourself with the process, the forums are here and there are tutorials available to aid you. above all else read the manuals before you start.
If you can follow directions and turn a screwdriver you have all the skills to do it yourself.
here is something that might help you
Assembly grounding:
plug in the power supply to the wall. you can touch an unpainted part of the PSU (insert an unpainted unfinished screw into the PSU mounting holes and touch the screw as a grounding point) once you have grounded yourself you can now touch and assemble the parts of the PC.
if you move your feet, or shuffle in your chair, reground yourself again.
install the CPU into the motherboard and the RAM into the slots.
if you move your feet, or shuffle in your chair, reground yourself again.
install the cooler to the CPU. install the motherboard into the case.
secure the motherboard down with the screws, make sure you remove any unwanted/needed mounts before securing the motherboard.
unplug the PSU and ground yourself again. install the PSU into the case and secure with the 4 mounting screws.
plug in the power cord and ground yourself again from now on after grounding, unplug the power supply cord from the wall.
if you move your feet, or shuffle in your chair, plug in the cord, reground yourself and unplug again.
connect the power supply to the motherboard by the 24 pin and the AUX CPU power connector, install the GPU if one is selected, and install the drives with the supplied mounts in the case. connect the front panel connections to the case according to the manuals.
if you move your feet, or shuffle in your chair, plug in the cord, reground yourself and unplug again.
if there are any other peripherals, like wifi cards or sound card install and secure now. verify all power cables are connected to the motherboard and the GPU if needed.
the system can now be booted and the BIOS adjusted if needed (refer to motherboard manual) then an OS installed. when you are sure the system will need no more working/tinkering you can install the side panel and close the case. you have now assembled a PC.
end canned rant
the best reason to build yourself is prebuilt system cut corners to fit a price point. the corners cut are often quality. cheap PSU that allows that fancy CPU that adorns the ad. no mention of the supporting parts.
when you build yourself you control the quality. the PSU in my list has a 10 year warranty and should be able to power the next three upgrades to your system.