Question Need help and guidance on my first PC build i5-14600K

Oct 10, 2024
2
0
10
Hey there guys!
I'm a cybersecurity (offensive) prefessional. So, i need to work a lot more on VMware workstation. I just use PC for my work. Nothing else.
And here I'm about to build my first PC ever (i worked on laptop before). I did my own online research and came up with this combination :

Processor:
Intel Core i5-14600K Raptor Lake

Motherboard:
MSI Pro Z790-P Wifi DDR5 LGA1700 ATX

RAM:
G.Skill Trident Z5 RGB Black (2x16GB) 5600MHz DDR5 CL30 1.25V

Cooling Unit:
  • CPU Cooler: Thermalright Peerless Assassin 120 SE
  • Casing Cooler: Noctua NF-A14 PWM 140mm 4-Pin Premium Quiet
SSD:
Western Digital Black SN770 1TB M.2 2280 PCIe Gen4 NVMe

PSU:
Thermaltake Toughpower GFA3 850W 80 Plus Gold Fully Modular

Case:
Darkflash Pollux Mid-tower ATX Gaming Case Tempered Glass Black

Monitor:
Asus VG279Q3A TUF 24" Full HD 180Hz IPS Gaming Monitor

Keyboard & Mouse Combo:
A4Tech 4200N Wireless

UPS:
Not Sure

I need your expert opinions on whether these components are good and compatible with one another or if I'm bound to face any issue whatsoever.
Thanks in advance for your time providing feedbacks!

Kind Regards,
GentleX

As a VMware admin I have a couple question. How many VMs are you going to be running at once? Are these linux, windows, or both? How much RAM per VM will you be allocating? How much storage are you allocating to each VM?
 
Last edited:
Oct 10, 2024
2
0
10
As a VMware admin I have a couple question. How many VMs are you going to be running at once? Are these linux, windows, or both? How much RAM per VM will you be allocating? How much storage are you allocating to each VM?
1. 3 VMware. And yes, both
2. 4 GB RAM per VM
3. Storage for Linux 50GB & for windows 100GB
 
1. 3 VMware. And yes, both
2. 4 GB RAM per VM
3. Storage for Linux 50GB & for windows 100GB
That build looks good for what you are doing. You don't need an 850W PSU so you could save some money going with a smaller one of similar quality. A 14500 instead of the 14600K will save a few dollars as well. Overall you will have enough storage and RAM. Just remember that with a Type 2 hypervisor (VMware Workstation for example) your VMs take RAM from the host OS. With 3 VMs running at 4GB each they will have 12GB RAM dedicated to them. If you end up sending out 32GB RAM to VMs you will crash your desktop as Windows won't have any RAM. In other words you cannot over provision RAM with Workstation.
 

Misgar

Respectable
Mar 2, 2023
1,660
425
2,090
If you end up sending out 32GB RAM to VMs
I've not used VMware, only Hyper-V, but I have two VMs on this ancient i7-4770K with only 16GB RAM.

Because I have problems running some software in VMs with Dynamic RAM, I set both VMs to 4096MB (fixed) RAM each. That way I can run Windows 10 Pro + Windows 10 VM + Windows 11 VM, without running out of RAM.

In other words you cannot over provision RAM with Workstation.
Presumably Over Provisioning in VMWare is similar to Dynamic Memory in Hyper-V?

I've just checked and with two VMs running, I have 342MB Hardware Reserved (iGPU), 12,306MB In Use, 2,385MB Standby and 1,232MB Free memory out of 16,384MB Total.

I don't normally run more than one VM at a time on the i7-4770K, but it works with two fixed 4GB. I have three more powerful systems, each with 64GB RAM, for normal VM work. There, I tend to allocate 16GB static (not dynamic) per VM.

RAM:
G.Skill Trident Z5 RGB Black (2x16GB) 5600MHz DDR5 CL30 1.25V
With RAM being relatively cheap, I'd be inclined to fit 2x32GB instead of 2x16GB, especially if you decide to save money fitting a 14500 and a 650W or 750W PSU.
 
  • Like
Reactions: jeremyj_83
Presumably Over Provisioning in VMWare is similar to Dynamic Memory in Hyper-V?
Dynamic memory is different. In ESXi (type 1 hypervisor) I can allocate more resources to VMs than I have on the server. For example I have a server with 8 vCPU and 32GB RAM. I can have 5 VMs with 2 vCPU and 8GB RAM. I have over provisioned my vCPU and RAM from what I physically have. This works because the odds of each VM needing CPU time all at once is pretty low so you don't run into CPU contention. For RAM the hypervisor compresses, balloons, and uses physical storage swap space to reduce the active RAM requirements. On top of that say a VM is only using 2GB of the 4GB allocated. The hypervisor can take that extra 2GB and use it on other VMs. This is only possible with Type 1 Hypervisors. VMware Workstation and Hyper-V on Windows are Type 2 and cannot do that.

Dynamic memory from what I've read is more about having extra RAM for boot and then reducing to a lower steady state later.
 
Your build looks good to me.
On ram, I would be inclined to use a 2 x 16, 2 x24, or even a 2 x 32gb ram kit
If you buy the minimum now, it is not so easy to add ram since ram must be matched and the addition is not guaranteed to work properly.

As a first time builder,
MY build process:

Before anything, while waiting for your parts to be delivered, download
and read, cover to cover your case and motherboard manual.
Buy a long #2 magnetic tip philips screwdriver.
A small led flashlight is also useful.

I find it handy to buy a power switch like this for testing.
https://www.newegg.com/p/N82E168121..._switch-_-12-119-009-_-Product&quicklink=true
1. I assemble the critical parts outside of the case.
That lets me test them for functionality easily.
A wood table or cardboard is fine.
2. Plug in only the necessary parts at first. Ram, cpu, cooler, psu.
Do not force anything. Parts fit only one way.
Attach a monitor to the integrated motherboard adapter if you have one, otherwise to the graphics card.
3. If your motherboard does not have a PWR button, momentarily touch the two pwr front panel pins with a flat blade screwdriver.
4. Repeatedly hit F2 or DEL, and that should get you into the bios display.
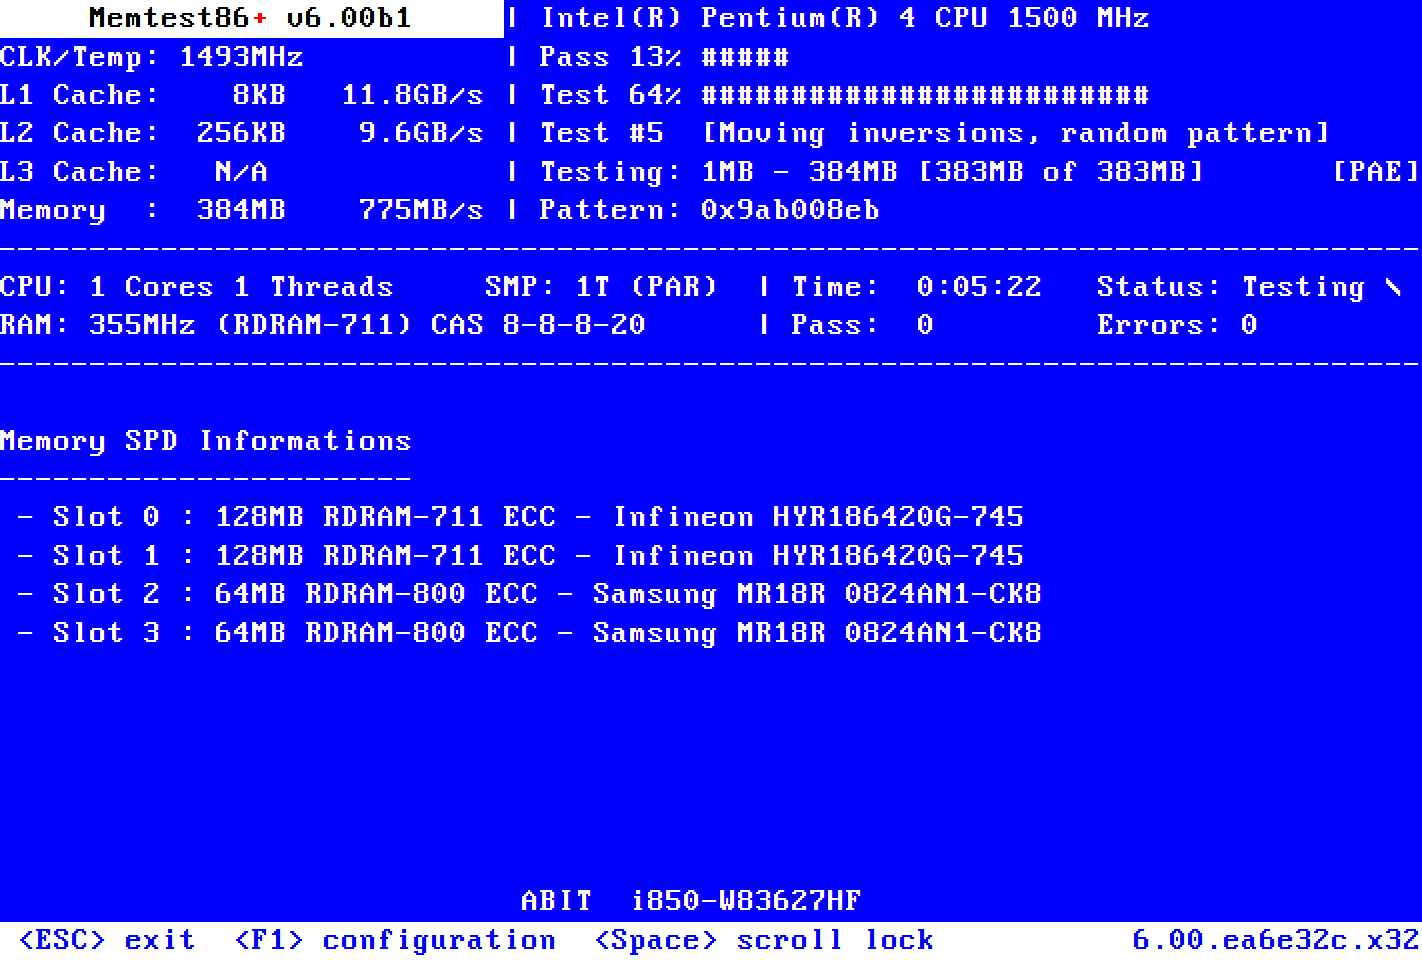
5. Boot from a cd or usb stick with memtest86 on it. memtest will exercise your ram and cpu functionality.
They boot from a usb stick and do not use windows.
You can download them here:
If you can run a full pass with NO errors, your ram should be ok.

Running several more passes will sometimes uncover an issue, but it takes more time.

Probably not worth it unless you really suspect a ram issue.
Opinions vary on updating the bios.
Normally, one does not update a bios unless there is a fix for something that is impacting you. I violate this rule on a new build and will update to currency up front.
Use the usb option, not the windows option.
If there is a severe problem, the impact is small.


6. Install windows.
7. Install the motherboard cd drivers. Particularly the lan drivers so you can access the internet.
Do not select the easy install option, or you will get a bunch of utilities and trialware that you don't want. Drivers only.
7. Connect to the internet and install an antivirus program. Microsoft defender is free, easy, and unobtrusive.
8. Install your graphics card and driver if you tested with integrated graphics.
You will need to remove the graphics card later to install your motherboard in the case.
As a tip when screwing the motherboard into the posts, give the screw a small counterclockwise turn until you feel a click.
That lets you know that the screw will engage properly.
Make a note of how the graphics card latches into the pcie slot.
The mechanism will be hidden under the card and may be difficult to work if you have not previously checked how.
9. Update windows to currency.
10. Only now do I take apart what I need to and install it in the case.
11. Now is the time to reinstall your graphics card.
 

TRENDING THREADS