Tom's Hardware Member System Gallery

Page 186 - Seeking answers? Join the Tom's Hardware community: where nearly two million members share solutions and discuss the latest tech.
Edit to the meme system. The board uses a 24 pin, however its proprietary. SO when i put in an atx PSU it kinda smoked the board.
I have followed a thread on how to rewire a PSU for this board and now have a PSU wired correctly, but im waiting on my next board to arrive.
 
i7 2600k @4.4ghz
MSI Z68A-G45 (b3)
16gb (4x4gb) Corsair Vengence DDR3 1600mhz
Samsung 850 EVO 500gb
Zotac GTX1070 8gb MINI
EVGA GD600w 80+ Gold
Raidmax NEON Argb case + RGB strip + 80mm exhaust fan.
600mbps wifi+BT 4.0

View: https://imgur.com/4070VA2


View: https://imgur.com/KfUWyDe


View: https://imgur.com/MyPFyow


Before you judge cable management, I haven't tried to cable manage it yet since the board will have to come out to install the new cooler and to install the io shield that arrived separately and late.


I bought the Z68 board, 8gb of the ram, a Hyper 212 Plus, and an i5 2500k for $100. I then bought an I7 2600k to upgrade, but once it all arrived I realized this cooler refuses to fit inside the case.

I threw on a smaller 80mm tower cooler I already had, (it was $9 on eBay :LOL:) and it still doesn't fit, and it also doesn't perform as well, although for $9 the fact that it handles a stock 2600k at around 70-75c in p95 is impressive. Also, as you can see, the board and ram are blue and black, and I can set all of the RGB to Blue, but the ugly Red cooler ruins it.

So I am looking for a not ugly and smaller cooler that actually fits, and preferably one that can allow me to overclock far. I cannot buy the cooler until my 2500k and Hyper 212 sell on eBay (hit me up if ya want a deal).

I was thinking of a 120mm or 240mm aio? I normally wouldn't want a 120mm AIO, but I am strictly budget limited and the tower coolers I usually would buy instead of a 120mm AIO will not fit with only 145mm max cooler height.
 
  • Like
Reactions: Darkbreeze
View: https://imgur.com/2QnELRp

View: https://imgur.com/CQmQyCt


Introducing the Lego PC DUO.

Dual Intel Xeon E5620 8c/16t total
Dual Chinese $9 tower coolers. (good enough to even handle my 2600k if I don't touch overclocking)
Dell PowerEdge R410 Dual socket LGA1366 motherboard
20gb Registered ECC DDR3 @1600mhz (2x4gb+6x2gb cost me under $25 total)
Front Cooler Master 120mm intake fan.

The power supply situation is... interesting and dangerous. It is powered by not one, not 2, but 3 power supplies, although I will eventually drop down to 2.

The main PSU is a Hipro 300w (honestly about the same age as the board) with the necessary 24 pin rewire for the proprietary 24 pin on the board. The board requires 12v standby rather than the 5v standby ATX PSUs provide, so I have to use a 12v power adapter meant for an external hard disk to power the 12v standby. The board generates its own 5v standby from the 12v standby provided.

Thankfully there was a nice thread on the Dell forums that provided a diagram for how to connect it all, however I accidentally read the diagram backwards initially and fried the first board as well as the 12v power adapter, so this board is another one I got off of eBay. The first one literally started smoking as the PSU kept on sending power. Now that I have corrected the pinout of the supply, it doesn't smoke nor does the PSU trip any protections when plugged in.

The 3rd PSU comes in the form of the CX550m from my main PC temporarily. The 300w Hipro lacks an 8 pin CPU power connector required to power the dual xeons.

I probably will do the smart thing eventually and buy a server PSU for it, or just buy a better ATX PSU with an 8 pin CPU power connector and rewire it.

Now, the PC will not boot. Its not a power issue surprisingly. The front panel connector uses a large ribbon cable and the actual server front panel is required to switch the PC on. I have tried to jump pins to make it turn on, but it won't show any signs of life. I also have heard a PCIe riser card is required to boot. I will ask around on the dell forums to see what exactly is needed.


So at minimum i need a new 12v power adapter and the front panel from the server.

A lot of hassle for a turd system...
 
You can't use Google drive like that to link pics. You MUST use links that end in an image format, like .jpg, .png, etc.

It can't be a link that ends in garbled BS like those links do. You also can't link to galleries unless you use the insert media formatting option.
 
I deleted it. not using some garbage 3rd party image hosting site.
Not just what 95% of "us" use, but what 95% of forum users everywhere use, on sites that don't allow direct upload of image hosting, which is most of them. There are very few sites anymore that allow you to directly upload your images to their servers and none of them that I am aware of are sites with anywhere near the user base or traffic that TH has. If we did that, we'd spend thousands of dollars yearly just storing uploaded images.
 
If only i had a pci or agp slot :p

I do have a pcie x16 and a pcie x4 when i insert the riser card.
So i could tecnically do sli using different auto sli.

2 cpus 2 gpus 2 psus

I found the cards i need to make it boot for like $21

I like to tease you about your lego project, but the truth is that it is actually at least marginally impressive that you managed to do it at all. A fun expenditure of time in any case.
 
I like to tease you about your lego project, but the truth is that it is actually at least marginally impressive that you managed to do it at all. A fun expenditure of time in any case.
Well right now i am at home untill further notice, so i have a lot of time.

This new "lego PC duo" case took me about 4 days to build. Mainly just rooting for pieces since I am genuinely running out of my stash in my basement and backroom. Probably almost 24 hours total to build it if you add all the time up.

Oh also, the lego towers are surprisingly heavy and strong.

https://ibb.co/RNtz1mT

These 2 ATX gaming computers there probably weigh double what the matx lego case+ ultra-light OEM PSU weighs, but it held up fine. The top of the orginal lego case is very weak without a PSU. The new "lego PC duo" improves this issue and I will eventually get to fixing the Matx case.

https://ibb.co/WPZW82Y

Here are all 3 of my lego cases together. The poor fold up table isn't too happy tho.

The motherboard to the Matx lego pc was accidentally slaughtered by me so it has a Pentium 4 board in it rn, which is proprietary so I cant lineup the holes and screw it in.

Oh, I don't think I have shown the little guy on top yet. That's nothing special, just a Celeron laptop board screwed to wood and with legos built around it.
 
Last edited:
Aug 8, 2019
10
5
15
Fallout Nuka Cola inspired father, son and daughter gaming PC build


Link to PCPartPicker build log

Parts list:

AMD Ryzen 7 3800X 3.9 GHz 8-Core Processor
Asus ROG Crosshair VIII Hero (WI-FI) ATX AM4 Motherboard
Corsair Dominator Platinum RGB 32 GB (4 x 8 GB) DDR4-3600 Memory
Corsair MP510 480 GB M.2-2280 NVME Solid State Drive
Corsair MP510 960 GB M.2-2280 NVME Solid State Drive
Seagate IronWolf 6TB NAS Hard Drive 7200 RPM 256MB Cache SATA 6.0Gb/s ST6000VN0033
NVIDIA GeForce RTX 2080 SUPER 8 GB Video Card
Phanteks PH-CBRS_PR22 – 220mm PCI-E 3.0 x16 Riser Cable
CableMod C-Series PRO ModMesh Cable Kit
NZXT H710i ATX Mid Tower Case
Corsair 860 W 80+ Platinum Certified Fully Modular ATX Power Supply
Corsair Hydro X XC7 CPU water block
Corsair Hydro X XG7 GPU water block
2 x Corsair Hydro X XR5 Radiator
Radikult Customs 140mm Reservoir
Corsair Commander Pro
6 x Corsair LL120RGB LED 43.25 CFM 120 mm Fans
Primochill PETG rigid tubing and Rigid Revolver SX fittings
Microsoft Windows 10 Pro OEM 64-bit

My son, daughter and I talked about buying a new gaming PC for awhile and finally decided to take the plunge. Rather than just spend a bunch of money on a pre-built we thought we would build it from the ground up. After a lot of discussion about what we would build and how we wanted it to look and perform we came here to PCPartPicker.com to make a parts list. We talked about the theme being Blood Borne but settled on Fallout Nuka Cola. With our parts list ready and theme imagined we started to plan everything else out.
We could have just purchase the Nuka Cola case and motherboard that NZXT pre-built but we wanted a brand new look, the vertical GPU mount, we didn't like the motherboard features and the fact that it was only available for Intel CPU's as well as the cost involved.

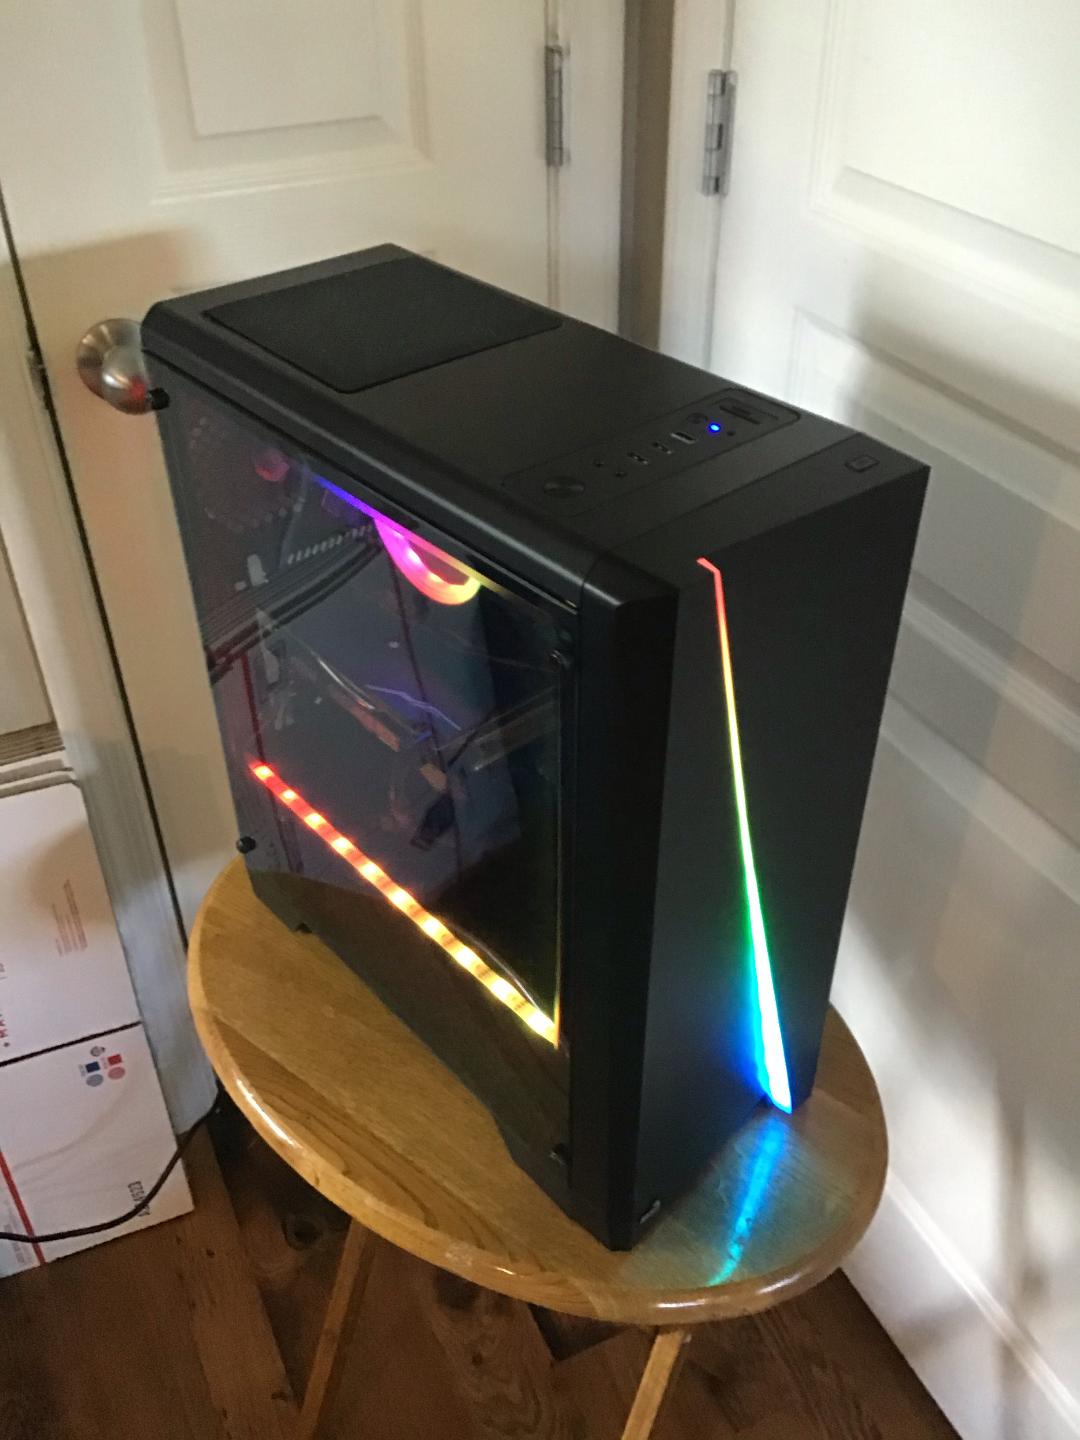
I ended up purchasing the same case from NZXT, the H710i because we liked the look and the vertical GPU mount option. I planned out the paint scheme and got started printing out the stensils, tore down the case and prepped it for paint. I laid out a base white then placed the stensils, sprayed gold and then sprayed red. After it was dry we de-masked it and placed the Nuka Girl decal and sprayed clear over all the paint.
I laid out the stensils for the glass front cover and etched the Vault Boy and Vault-Tec logos. We then laser cut out some white acrylic with the Vault 111 and Fallout logos. I had Avery print us out some Nuka Cola stickers to cover the ones on the fans factory from Corsair. We also ordered a sticker from RedBubble for the reservoir that says "Half Lives Matter" I thought that fit the build style well. Lastly I purchased a Nuka Cola water bottle that we planned on using as the reservoir but the bottle plastic was too thin to risk drilling into and filling with any liquid without leaks and after painting the inside to mimic the blue color of the coolant (we thought we could just run the rigid tubing through it without any actual coolant inside the bottle and make it look like it was filled) it melted away from the paint so using it as a non-coolant holding part didn't work either. I ended up just purchasing a second bottle and using it as decoration.

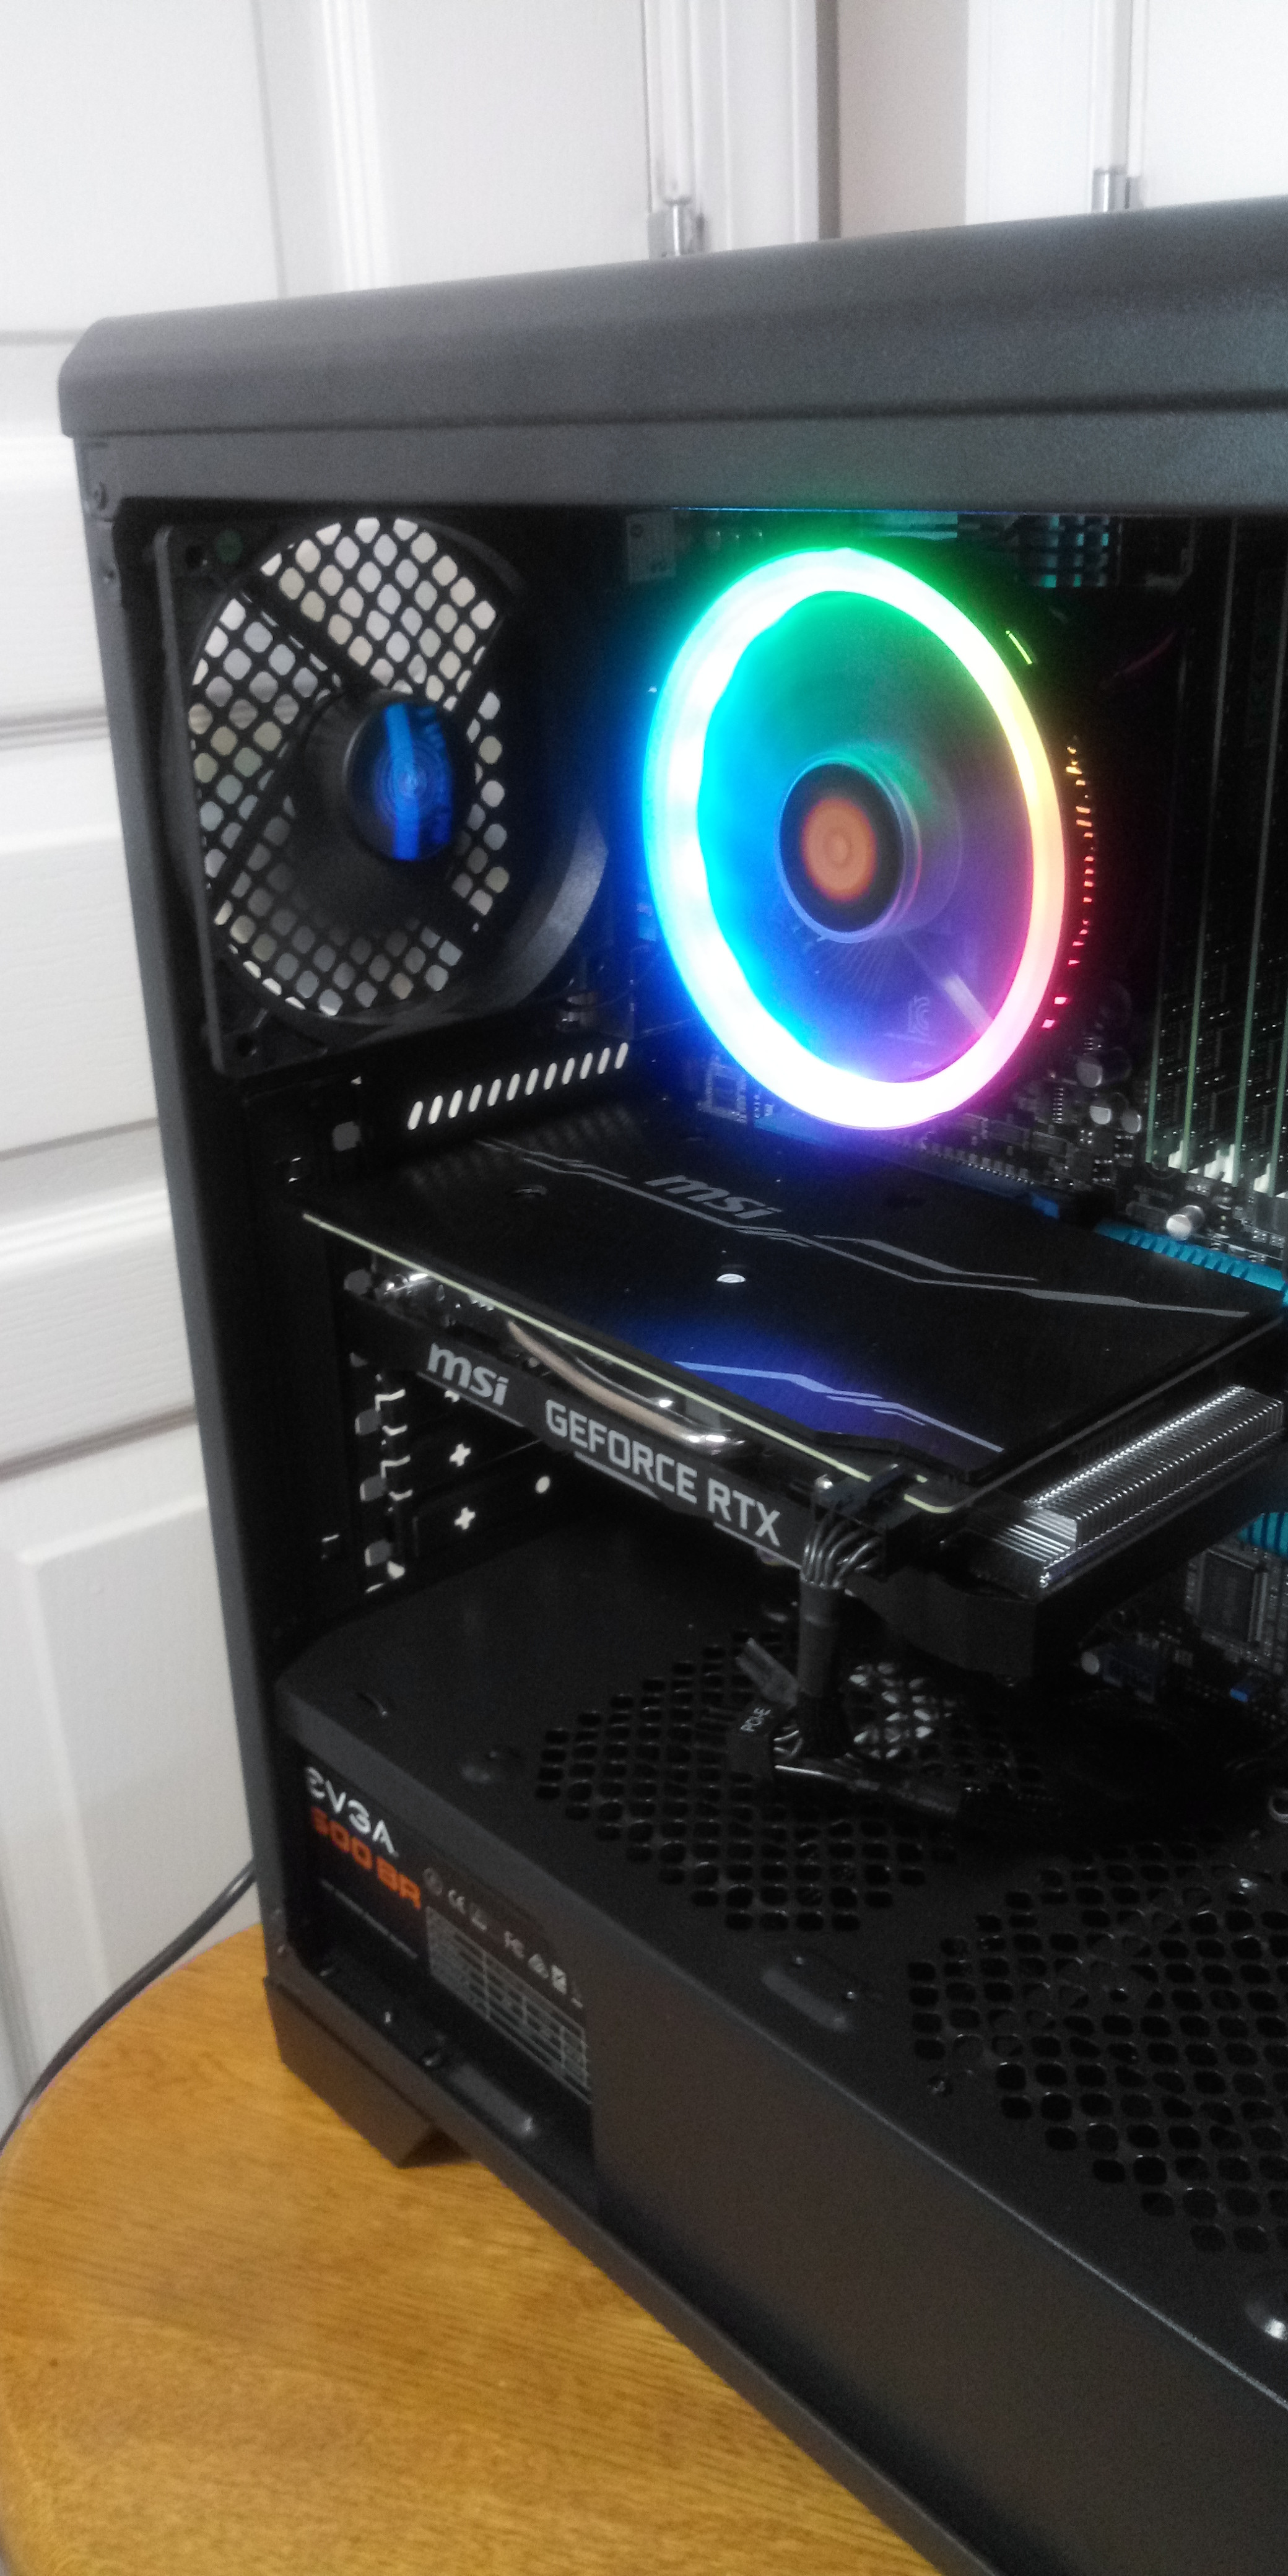
We got all of the parts together and fired them up test bench style to make sure everything worked and sure enough we had some problems. The Corsair Vengeance Pro RGB DDR4 3600 DRAM would not allow the system to post so we ended up swapping it out for the Dominator Platinum RGB DDR4 3600 also from Corsair and it booted right up also after re-seating the CPU just in case.

After that was good we started getting everything fitted and placed into the case. Got the water cooling loop done. Bending the tubing was a first for us since we never did that before but Primochill was awesome for that part of the build. We used Primochill for the tubing, fittings and coolant. Corsair Hydro X for the GPU and CPU waterblocks, the 6 LL120 fans, (2) 360mm x 30mm Radiators and all of the RGB control via Commander Pro, EKWB for the pump and RadiKult customs for the 140mm fan shaped reservoir.
We were originally looking at a 32" MSI monitor but decided that since it would also be used for the PS4 that we wanted something bigger. We ended up choosing a Vizio M558-G1 4K UHD HDR TV that we then mounted on the wall giving just enough room underneath for the as yet purchased sound bar (thinking Sonos PlayBar) for those times where we don't need to use the Corsair Void Pro Elite headsets.

It was at this point I remembered we would need a desk to game at. Since I was doing a custom PC build why not do a custom desk build as well. I started there with Five 2x6 and cut them to 60" length, sanded them smooth and put them together with dowels and wood glue. We stained them black and laid out the seal coat of epoxy on them. We then placed the project on a flat surface that we sealed and covered with tuck tape to help it release once we poured the center epoxy. I mixed in some pearl white mica powder and poured a thin first layer in the center of the table. After that was cured we placed a mold in the center to block out for the surrounding edge of white pearl epoxy we would be pouring. Once cured we pulled out the mold and placed the non-working motherboards into the center along with 4 sticks of DDR3 DRAM then continued pouring clear epoxy till the entire surface was flat and covered. Last I routed the edges and gave them a scuffing to make them look frosted. I mounted the legs and routed out a channel on the underside for the RGB strips and placed an aluminum cover over to prevent light bleed.

Once that was done we placed it in our picked out spot and started putting everything together. I think it turned out pretty darn good considering I have never made a table like this or built a computer from scratch before. I work at a place that paints large aircraft so paint was easy to get ahold of and it also helped with stensils and laser cutting the acrylic. The table was made a bit easier through YouTube and Stone Coat Countertops videos. In fact... I watched alot of videos from @Jayz2cents, @bitwitkyle, Bit-Tech and many others to help me complete this undertaking! Of course my kids helped as well since this was a group effort and we all will now get to enjoy it!

276791.ca45b13f169926b4773fc0f0d91eff30.1600.jpg
276791.b06b9026e35bd8d126d4a9d72ae359da.1600.jpg
276791.2a70f9bd6042788eb8e94c675ae882f6.1600.jpg
276791.3450c27409002b5f01841835becc54f2.1600.jpg
276791.66183bf749d965fcf367597bafc377a7.1600.jpg
276791.9e3192de05f5d0782c89bdde3cdd25ef.1600.jpg
 
Just a little update on the latest lego PC.

The PCIe riser card and power panel arrived today. I also received a new 600w EVGA W1 for another PC, but I figured i ought to break it in instead of using another 17-year-old dell PSU.

The EVGA PSU is powering both CPUs and is needed since it has an 8 pin.

The 12v standby power the motherboard needs is currently connected by alligator clips to a Molex connector plugged into the EVGA that is bridged to run 24/7. Yes, alligator clips delivering power on a functioning PC. That will be fixed asap

The HIPRO janky PSU powers solely the motherboard, although it could provide additional power for SATA drives in the future i guess.

Right now it "works" somehow.

It boots just fine with my W10 SSD plugged in temporarily, however, I have some snags. Graphics drivers are nonexistent. The CPUs have no Igpu, so the board has some graphics chipset. GPUz cannot identify anything nor can device manager. It seemed like i found some drivers online, but then it shut off. Not PSU related since the EVGA fan kept spinning and the main PSU fan turned off but the indicator light remained green, so no fault there.

I believe this restart is thermals related since the coolers get super hot and neither CPU fan is connected since the board has proprietary fan headers.

Also, I made the mistake of plugging a wifi adapter into the front panel USB port and it started smelling burned, so I will have to address the source of that issue. The rear USB works fine, but there are only 2 of them and they are USB2.

So on the agenda

  • Rewire the fans to work with the proprietary fan headers on the board.
  • splice together an adapter using a 24 pin extension that lets me use one decent PSU to power everything. In the meantime, get rid of the alligator clips and solder the wires together for less fire chance.
I have a 500gb HDD and R5 240 coming. I will probably throw my 2tb hdd in as well and make it replace my nas once i get it reliably working with one power supply and make sure its not a fire risk.
 
Dude, i got a(nother) Dell

This time a Haswell Optiplex 7020 SFF
i5 4590
2x4gb 1600mhz micron
No hdd
Radeon HD5490 1gb
255w lite on sff psu
I won it for only $50

I immediately tore it down. Unfortunately the case was dented near the mechanism that latches the side panel on, so I had to force it off using a hammer and knife to try prying it off. I destroyed the case but im not crying as it will be scrapped anyhow.

Psu, gpu, slimline optical drive, case fan, pc speaker, and the front io panel of the case are going in my parts bin.

The board cpu ram and cooler are going to be put in a better case with a sapphire pulse 570 and pretty basic evga psu. I need an adapter to use the board with a standard psu but the adapter was pretty cheap.
 
Here is the completed build:

"Intel Core i5 4590 3.7ghz turbo
B85 Motherboard
Micron 8gb (2x4gb) at 1600mhz
240gb Western Digital SSD
Sapphire Pulse ITX RX570 4gb
EVGA 600w 80+ Certified Power supply
DarkFlash DLM21 Micro ATX case with tempered glass window
Built-in PC speaker"

Written as it will be in the ad.

This PC is not the prettiest due to the tiny green dell board and itx GPU.

This PC was such a pain to make work. I may make a guide thread here, but here are some things i had to do:
  • I had to manually figure out the front panel connector layout. I had to remove some plastic from the motherboard to make it work with case switches. Then I had to glue the connectors in place. Also had to add another pin to the power switch so it could bridge 3 pins together to bypass the "power button cable failure" message at boot.
  • The dell board uses nonstandard fan headers. I had to splice the connector from the dell case fan onto my cooler master exhaust fan. The stock case fan was PWM and the bios only know how to control PWM fans, so the non-PWM case fan I used runs at full speed, which is noisy. I could fix this with a PWM fan but I'm too lazy too.
  • The stock USB 2.0 header on the board is non-standard so I couldn't use the one with the case. I tried extending the front panel USB cable length from the OptiPlex, but I had issues and I think the connector may be shorted, so I didn't plug it in and the case now has no front panel USB 2.0 ports. Luckily the board has a standard USB3 header so the front USB3 works

  • The motherboard uses a 12v only PSU and has a proprietary 8 pin instead of the standard 24 pin. I had to get an adapter, which cost me $8. It has a built-in 5v to 12v boost converter since the motherboard required 12v standby.
  • The HD audio connector on this motherboard is shrunken in size and has extra pins for the HDD led for some reason. I took the mic and headphone jacks from the dell case and extended the wires. Then i glued them into the front of the darkflash case.
  • Every one of the connectors (power button cable, audio cable, USB cable, and more) has an extra pin that needs to be shorted to the ground otherwise the motherboard displays a "whatever cable failure" message at boot.
I would never do this again.

https://ibb.co/xM7zycg
https://ibb.co/ZXtcWL9
 
"Queen RGB"

https://ibb.co/Jq3QsM7
https://ibb.co/9TJ817X

i7 2600k
Thermaltake UX100 RGB 120mm
Asus P8Z68 motherboard with Bluetooth
16g (4x4gb) Crucial 1600mhz CL11
MSI Ventus RTX 2060 6gb
1tbTCSUNBOW X3 SSD
EVGA BR500w 80+ Bronze
AeroCool CYLON RGB ATX Case

Also just a note, the TCSUNBOW 1tb SSD claims it has DRAM in its Amazon title, however, it does not. DRAMless controller inside and no dram chip anywhere. Nice scam.
 

Rogue Leader

It's a trap!
Moderator
New build I put together for my uncle. Previously he got some bad system advice and was using a failing 2007 Dell workstation with dual Xeon E5450 processors, this machine sounded like an air conditioner, weighs 30 lbs, uses a lot of power, and for what? He uses quicken and surfs the internet. He does like having a desktop machine, and building him a small one gives him a lot more bang for the buck performance wise than a small laptop.

PCPartPicker Part List

CPU: AMD Ryzen 3 3200G 3.6 GHz Quad-Core Processor ($87.99 @ Amazon)
Motherboard: Gigabyte B450 I AORUS PRO WIFI Mini ITX AM4 Motherboard
Memory: Corsair Vengeance LPX 16 GB (2 x 8 GB) DDR4-3000 CL15 Memory ($79.98 @ Amazon)
Storage: Western Digital Blue SN550 500 GB M.2-2280 NVME Solid State Drive ($64.98 @ Amazon)
Case: In Win BQ656T.AD150TB3 Mini ITX Tower Case ($79.54 @ Amazon)
Total: $312.49
Prices include shipping, taxes, and discounts when available
Generated by PCPartPicker 2020-06-14 16:13 EDT-0400


This actually came out to $484 after shipping, tax etc. Getting the motherboard right now was painful as everything is out of stock.

f73tkTr.jpg

VHPekQj.jpg

6Q2deTQ.jpg


Its virtually silent, portable, has built in WiFi in case he wants to move his desk elsewhere where he doesn't have ethernet. The integrated 150w PSU is more than enough, the system benchmarked well within thermal and performance ranges expected. Cable management was a bit of a challenge in the tiny case, the BQ is like a cheap version of the Chopin, I'd imagine that case has more options or better cabling. I was able to pull all the wiring out and run it across through the front panel area to keep it mostly out of the inside of the case. I also needed to pull the fan shroud from the stock AMD cooler, otherwise the case door would not fit. It only has 500gb of storage, for what he needs its plenty, and if needed the case has a slot behind the motherboard tray you could stuff a 2.5" SSD into.