- Aug 30, 2010
- 48
- 0
- 18,530


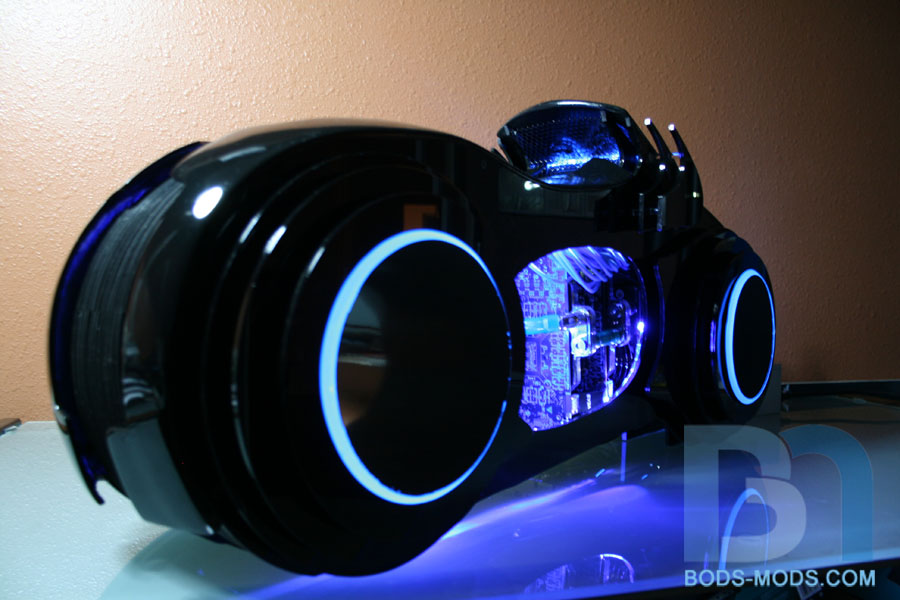
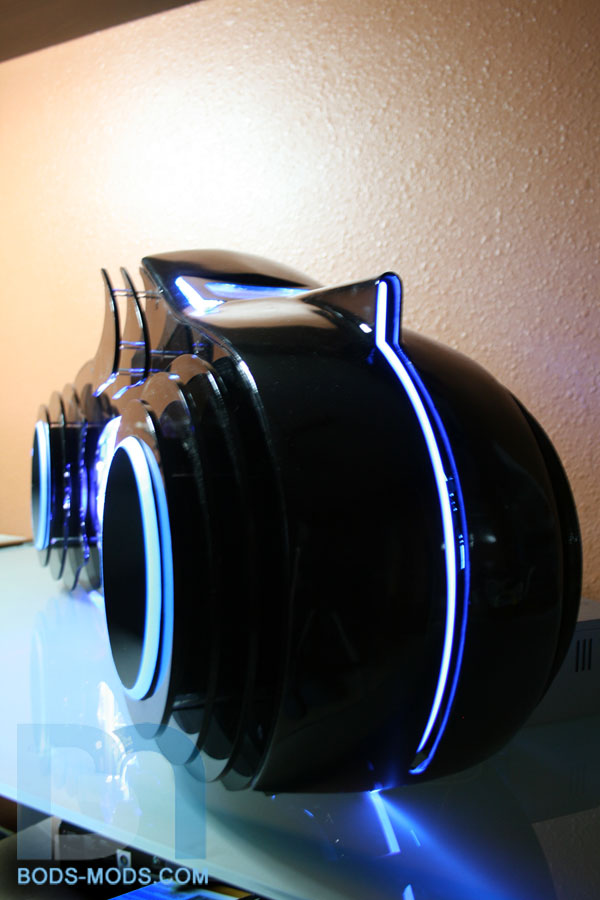
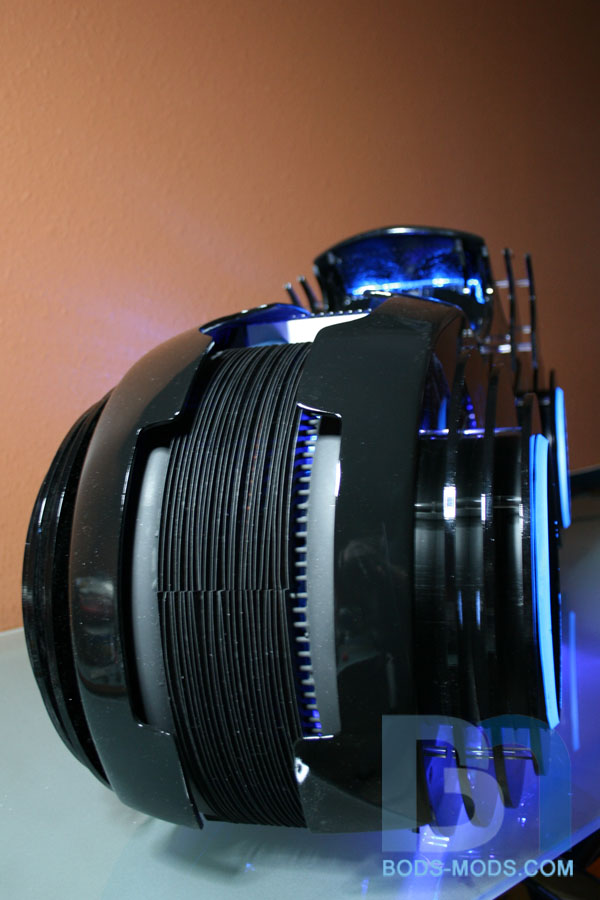
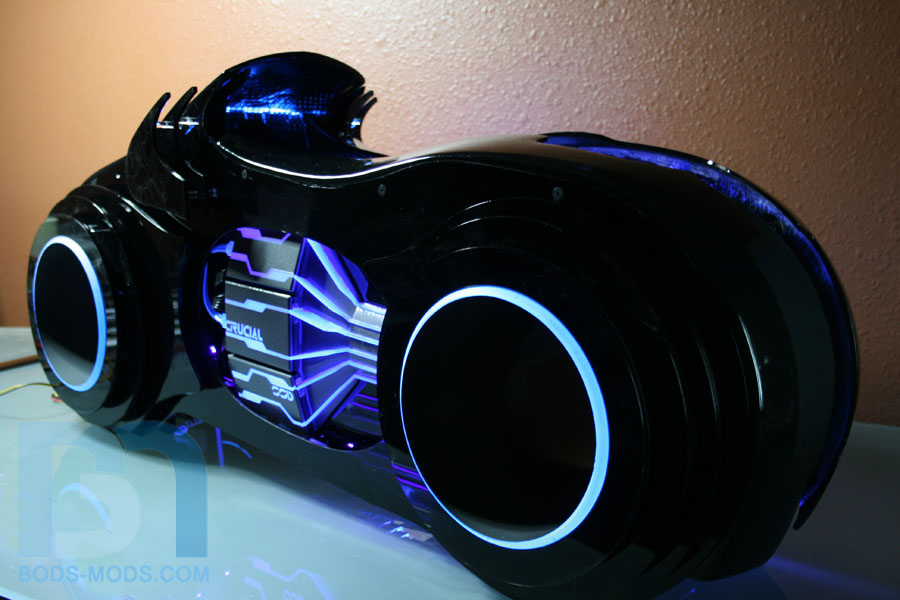
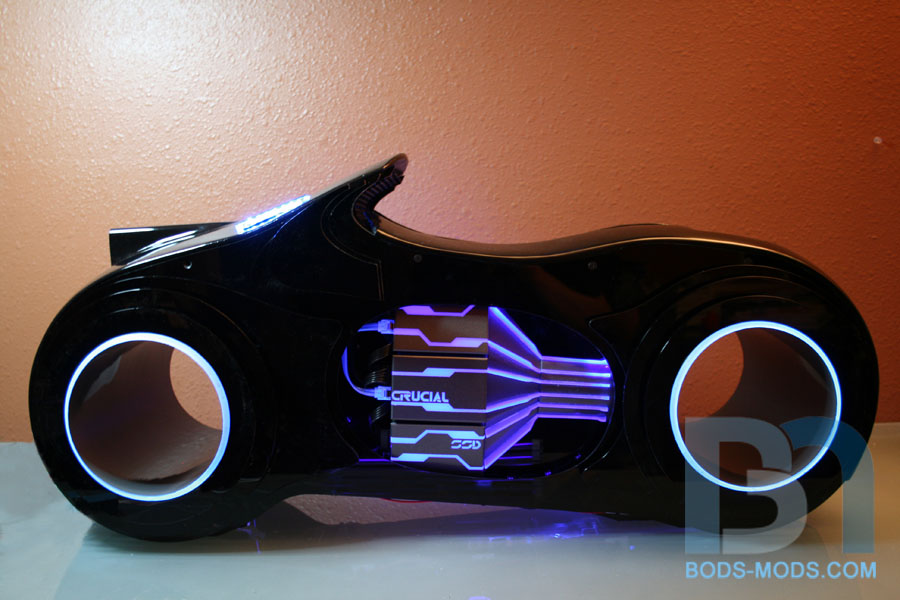
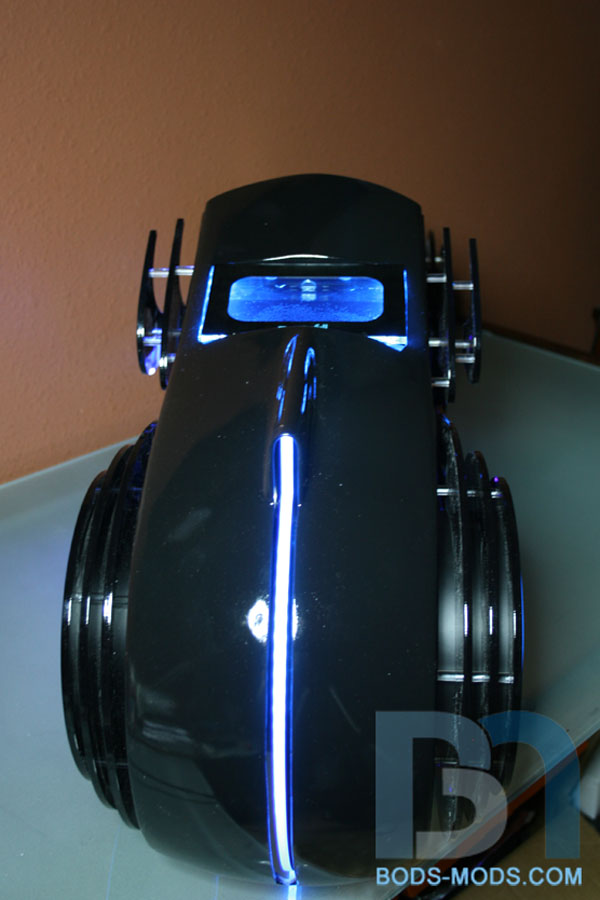
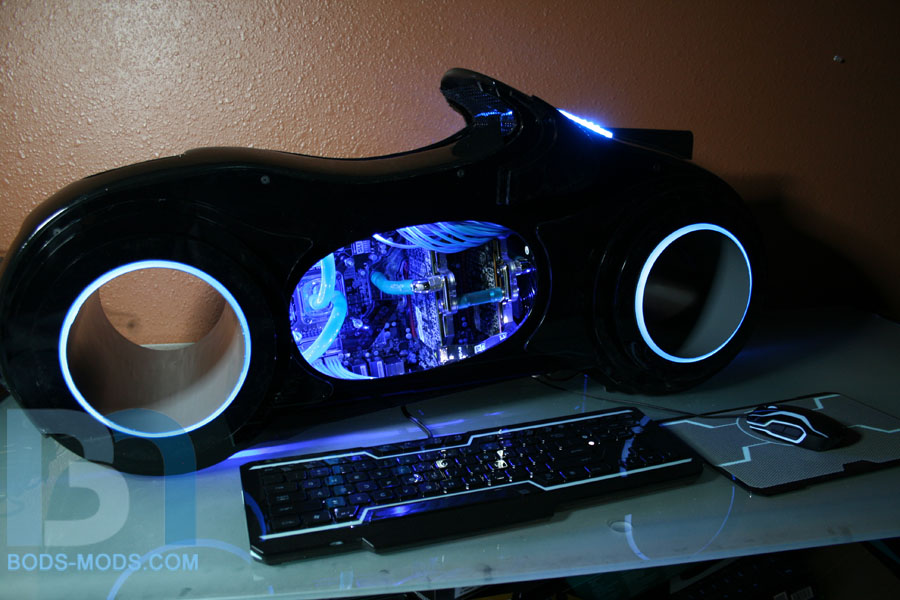
This is my entry into Cooler Master's case mod competition, scratch build category.
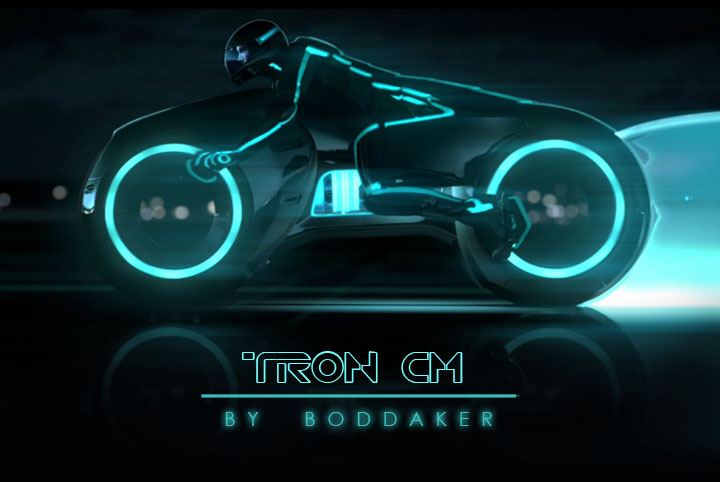
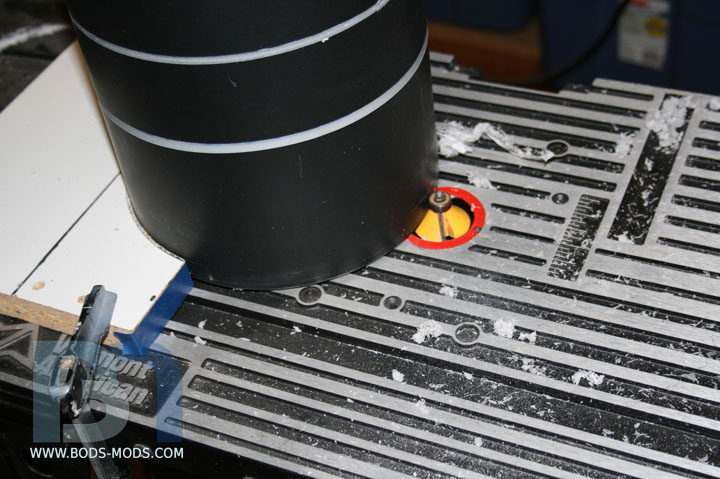
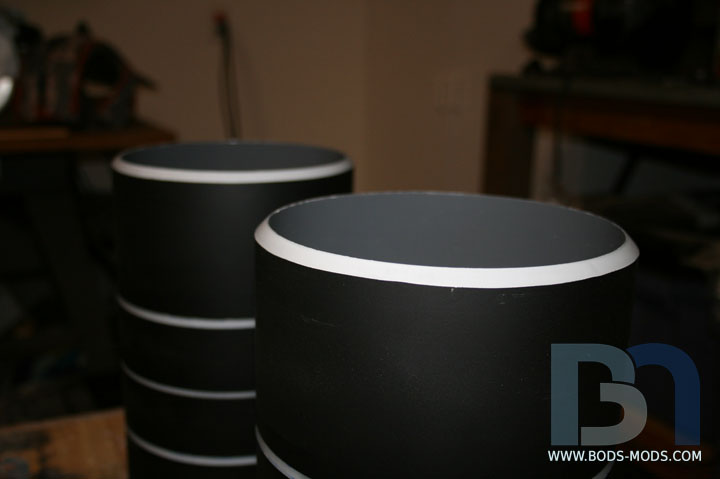
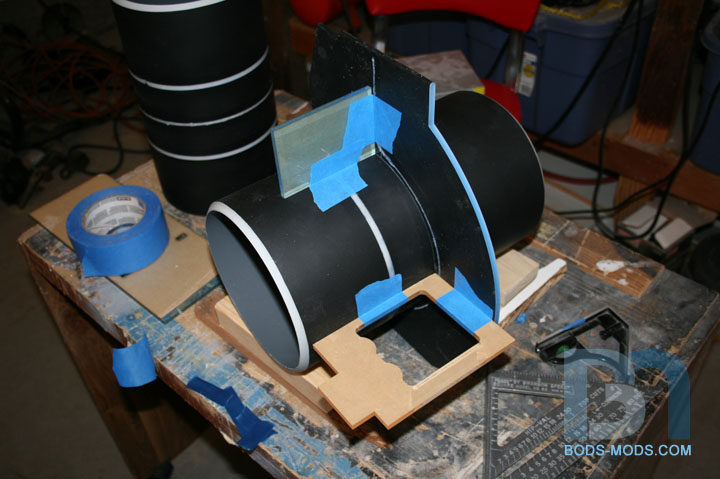
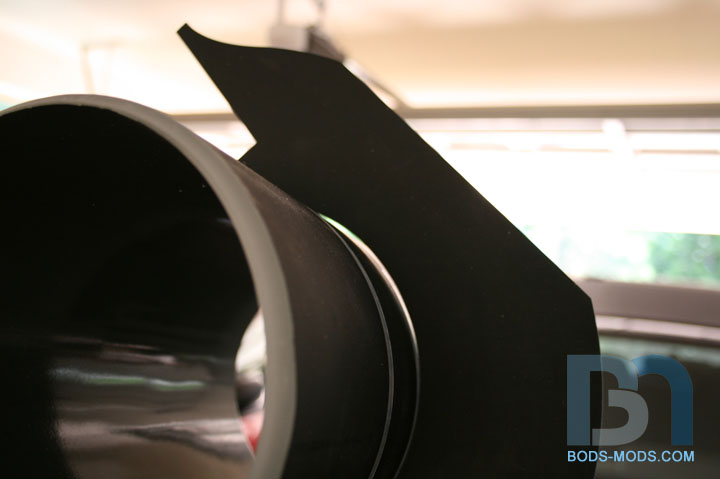
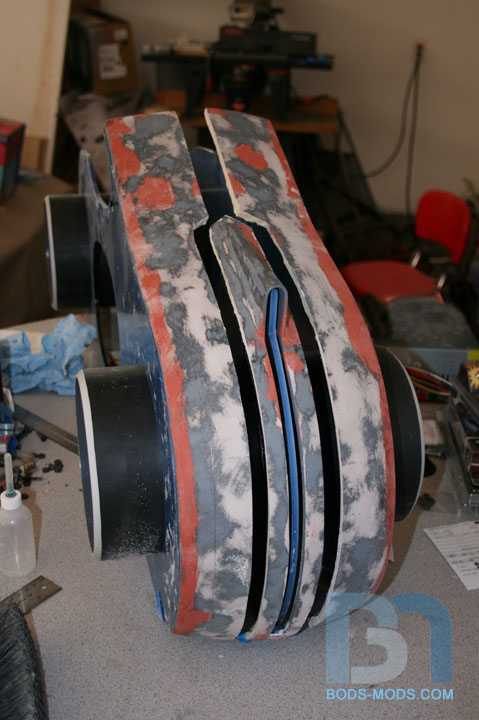
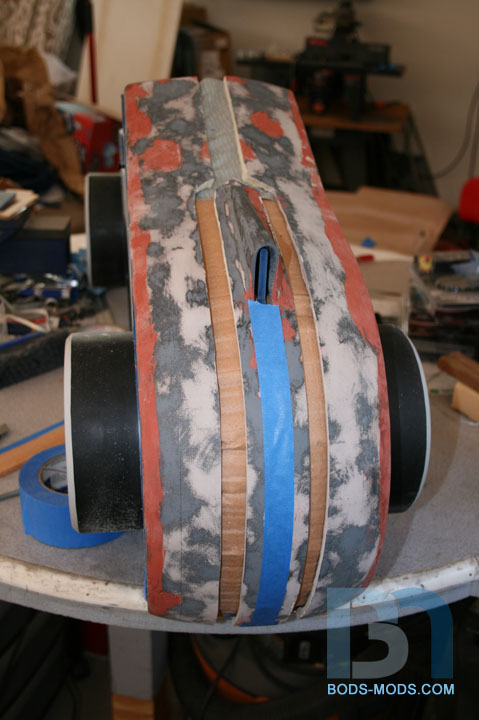
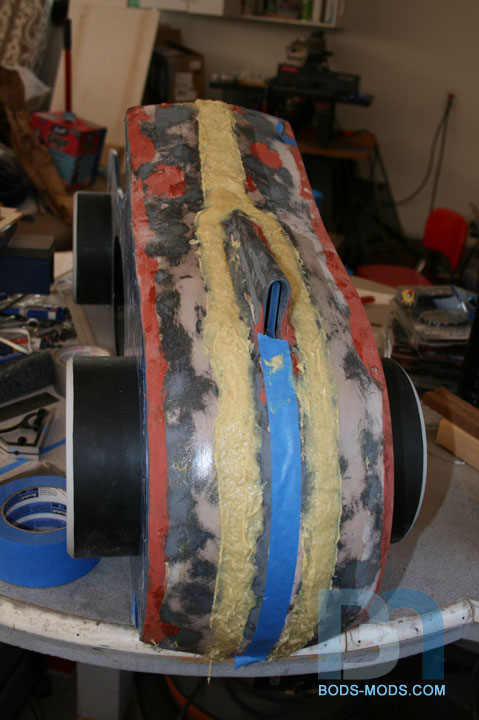
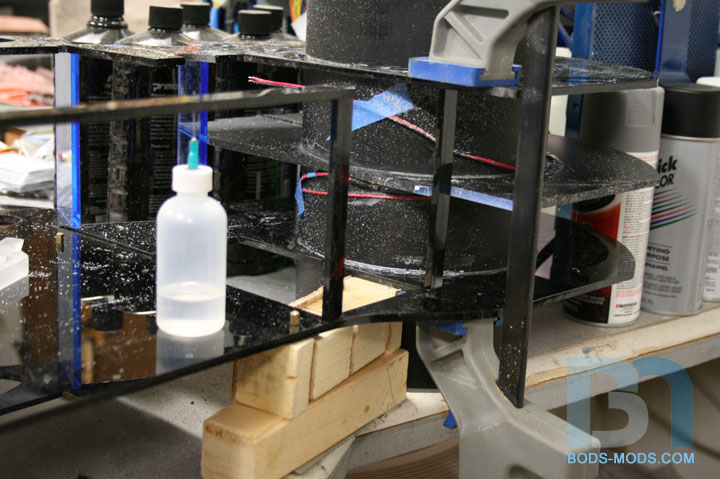
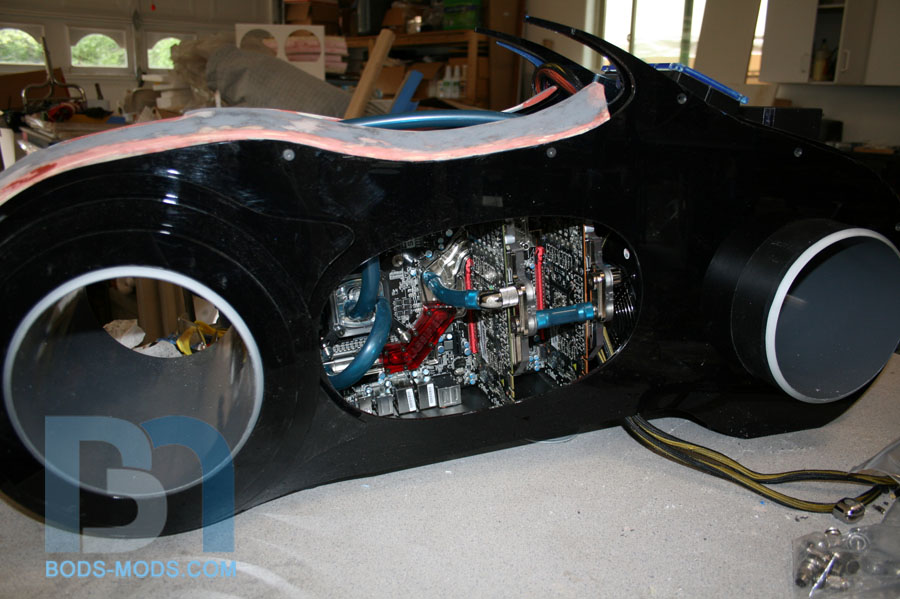
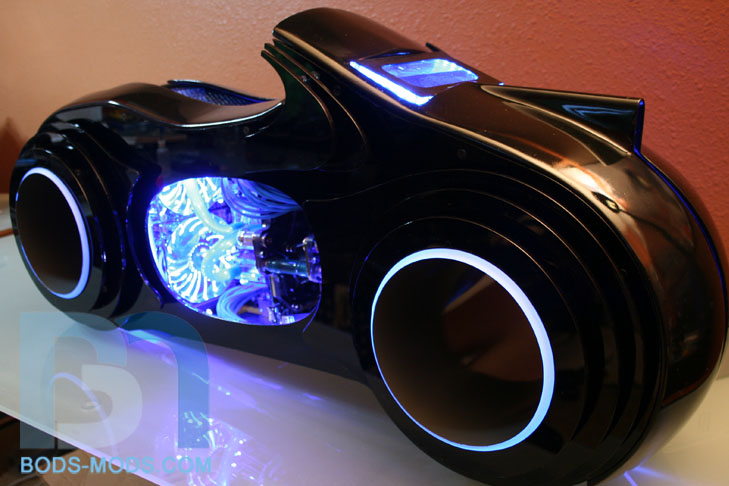
Been working in Sketchup, building a mockup of the lightcycle suitable for housing a full ATX system with watercooling. It ended up being 40" long, but relatively short. As for the design, I didn't want to make a spot-on replica of the bike, so I went with my layered acrylic method, with just a few skinned areas around the wheels and top. This allows me to hide more components inside as well. Anyway, on with the mockups:


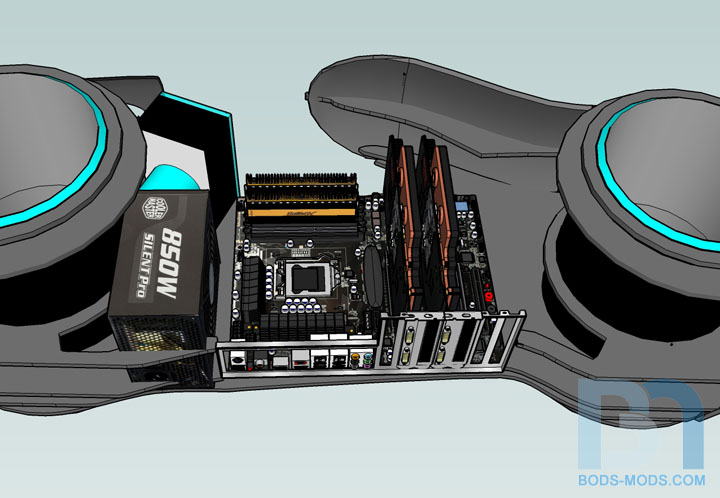
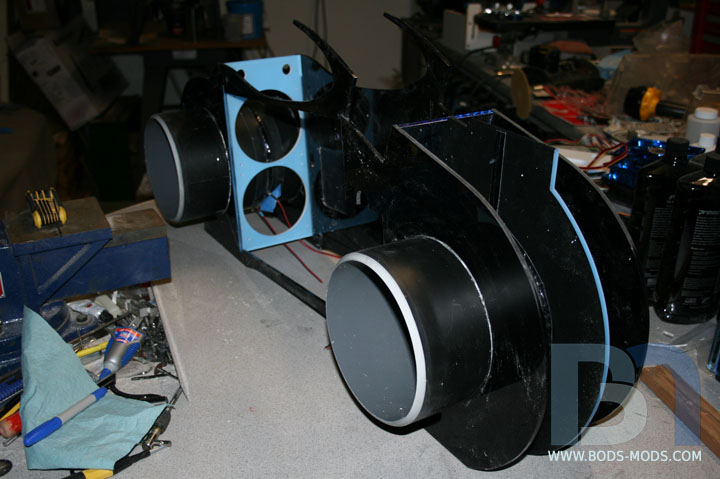
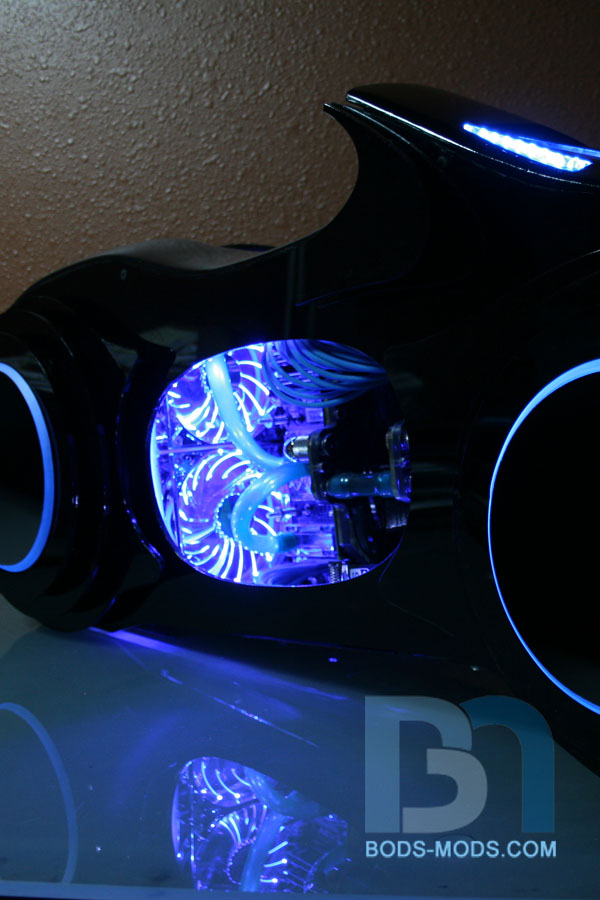
Upon removing some layers, you can see the initial motherboard placement and other components.

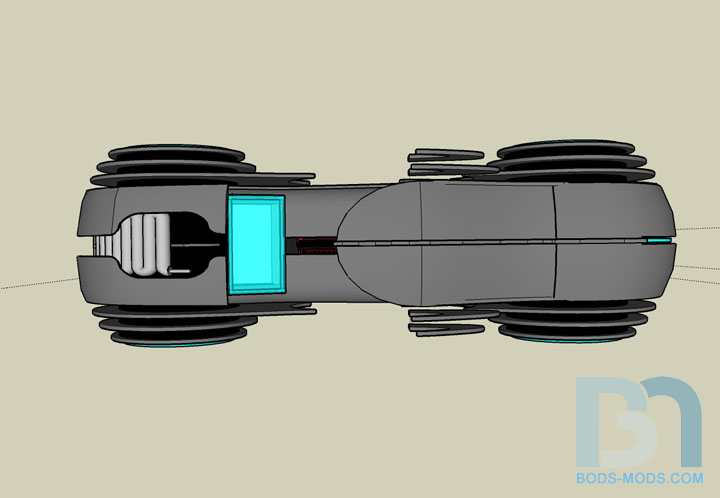
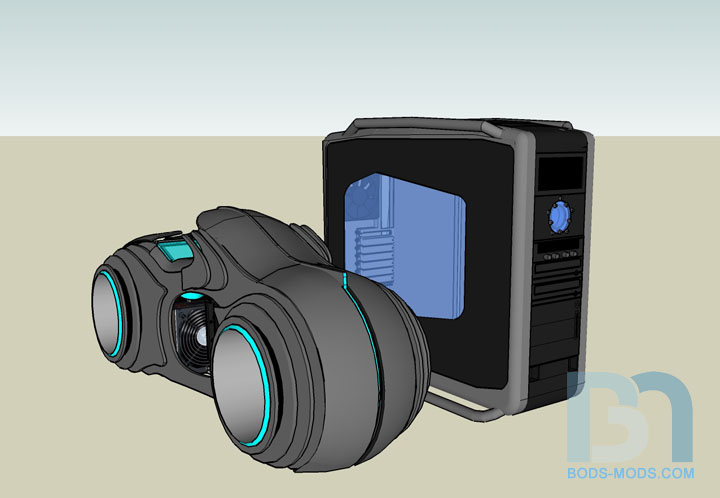
To give you a better idea of size, I placed a Cooler Master Cosmos case next to it.

PRELIMINARY PARTS LIST
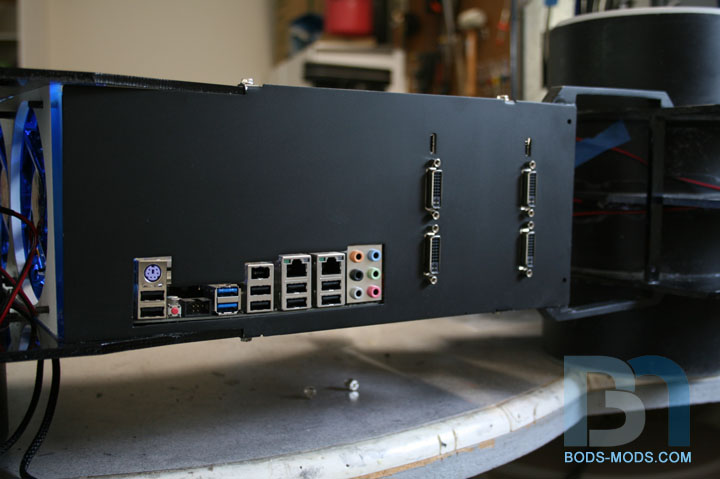
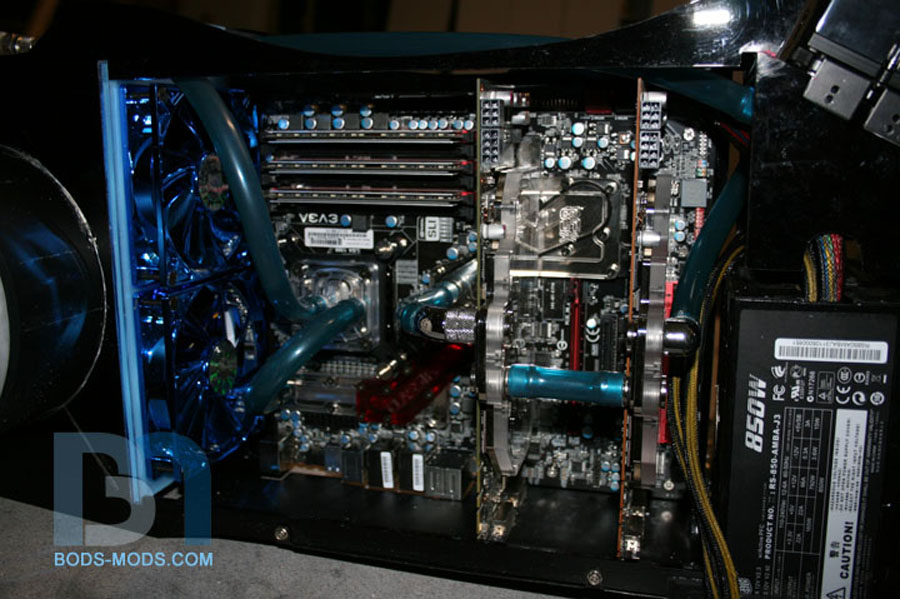
EVGA X58 Motherboard
Intel i7 965 processor
EVGA GTX570 video cards in SLI
Crucial SSD
Crucial Ballistix memory
Pioneer Slimline slot load DVD drive
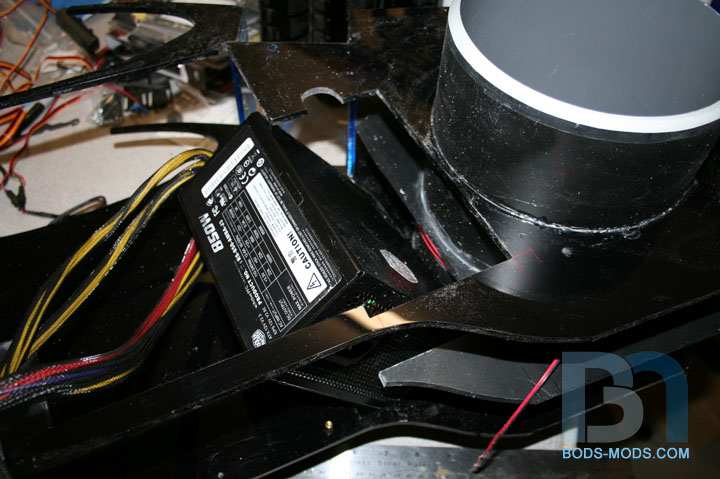
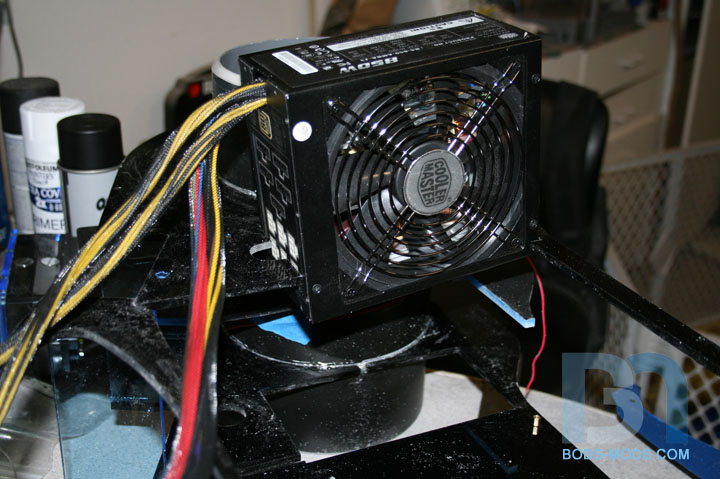
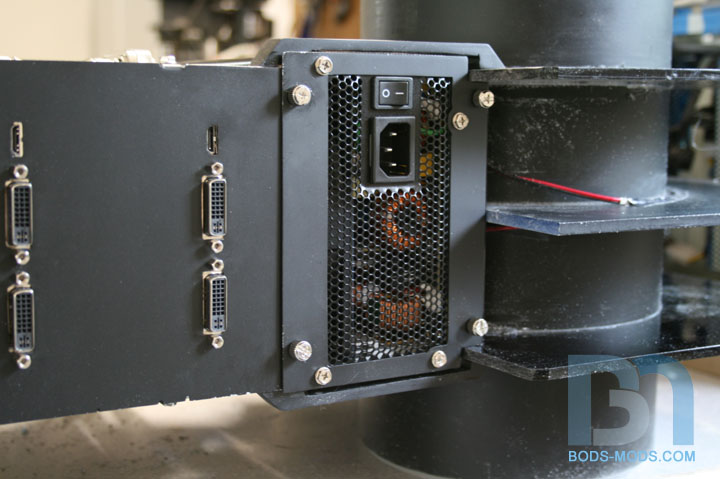
Cooler Master Silent Gold 850W Power Supply (qualifying product)
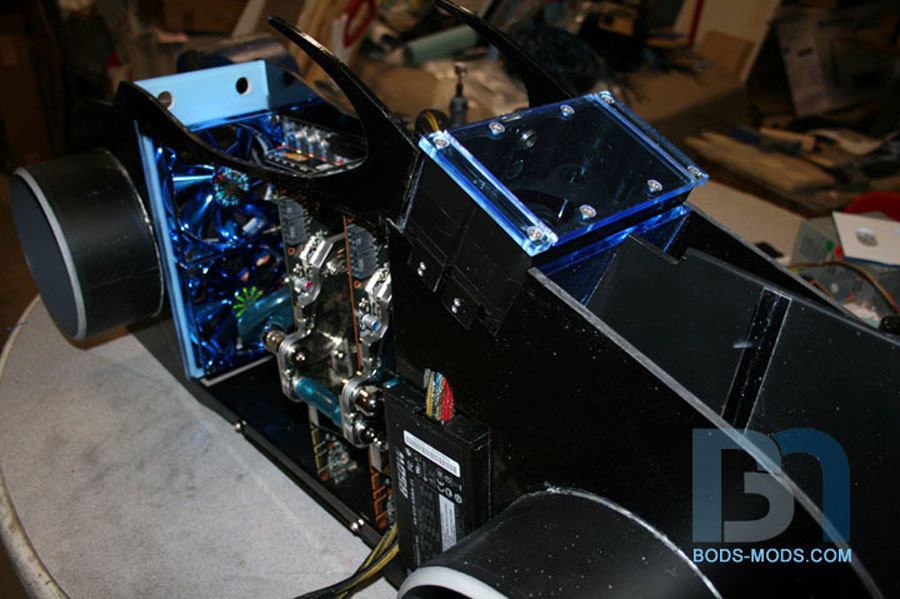
Dual bay reservoir by Primochill
Other watercooling parts TBD
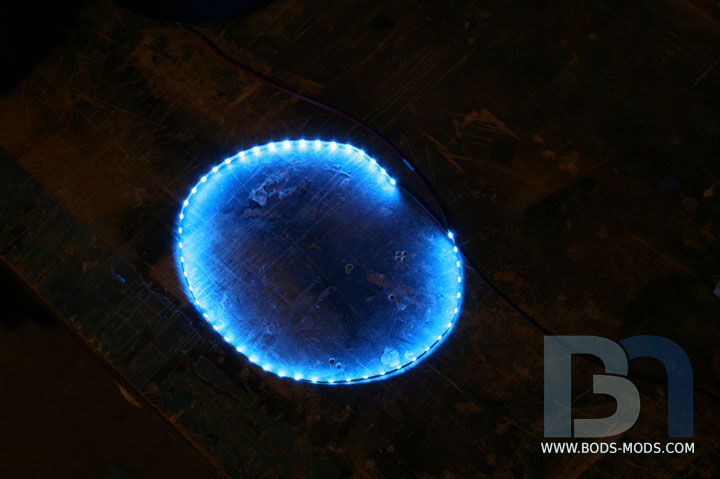
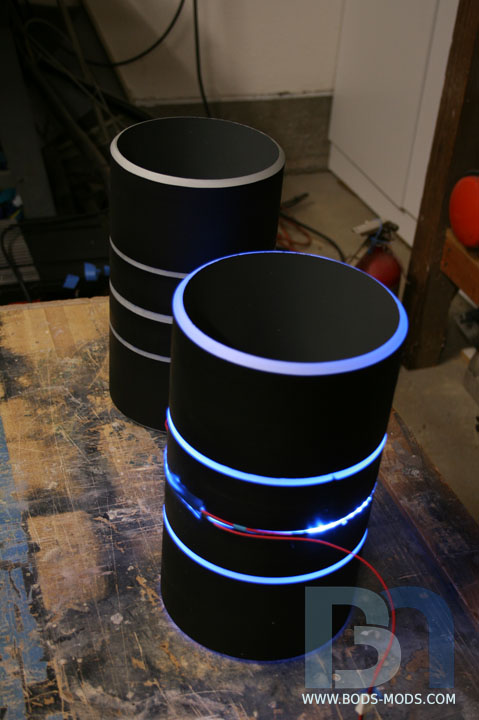
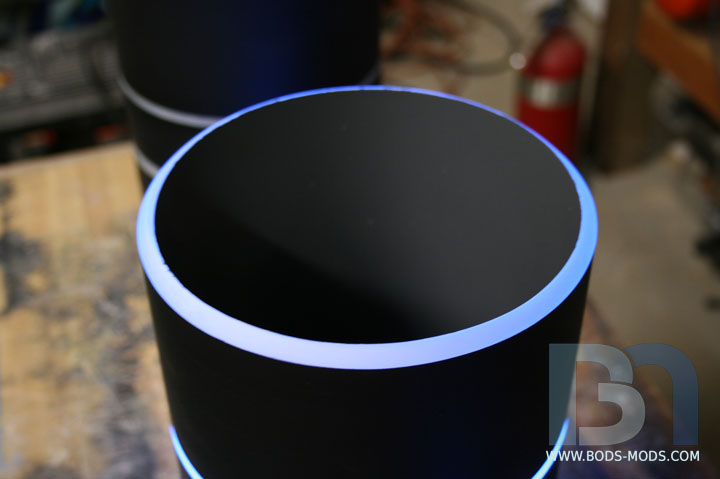
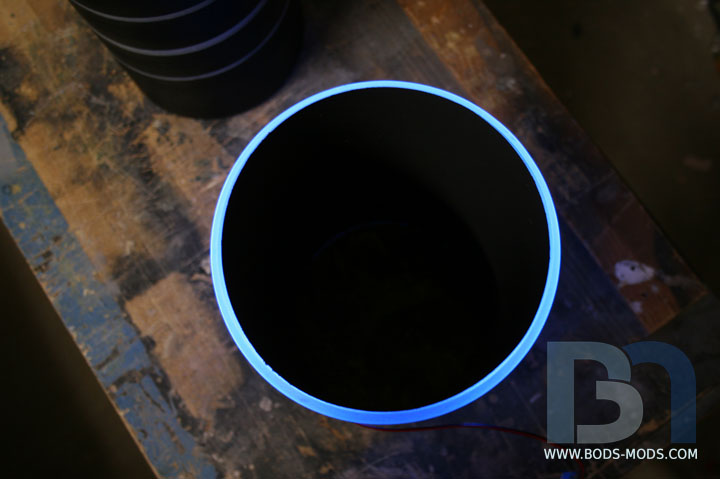
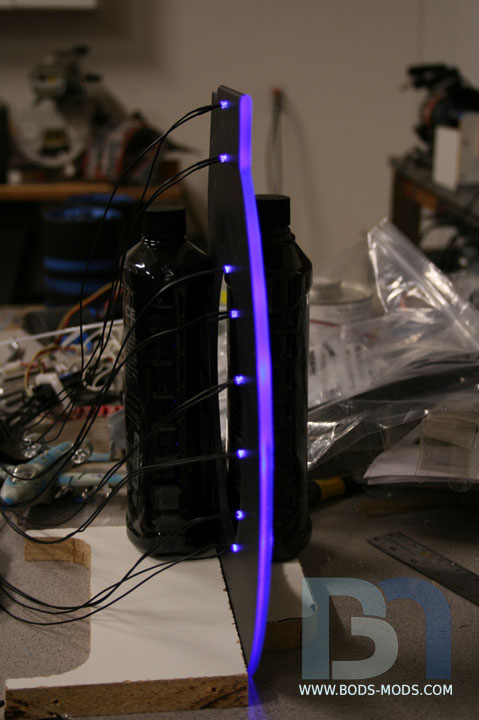
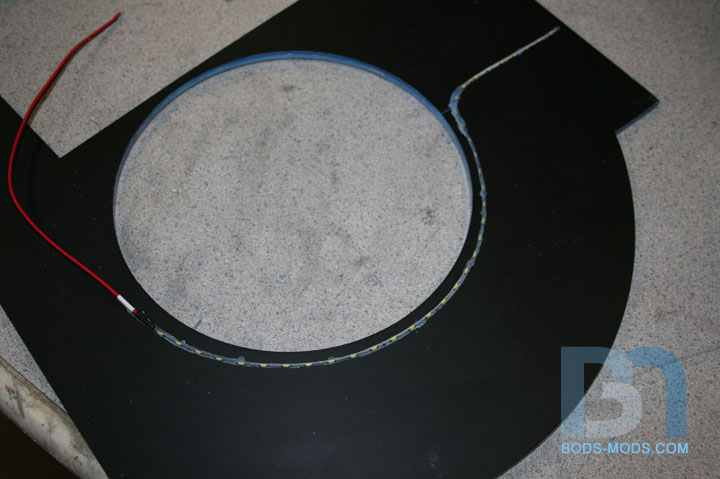
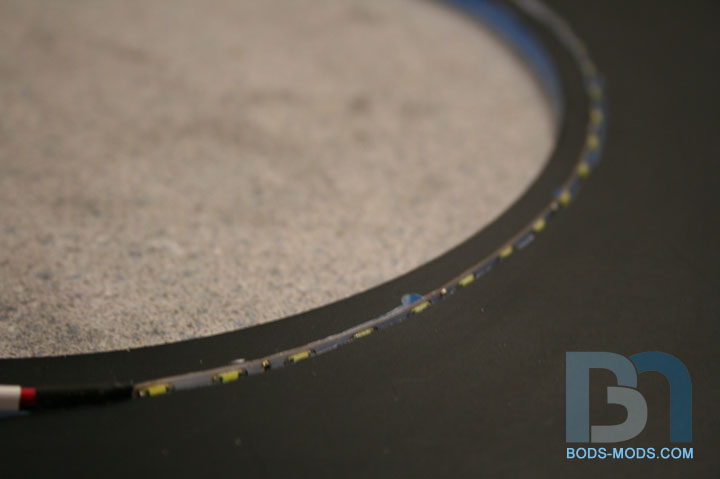
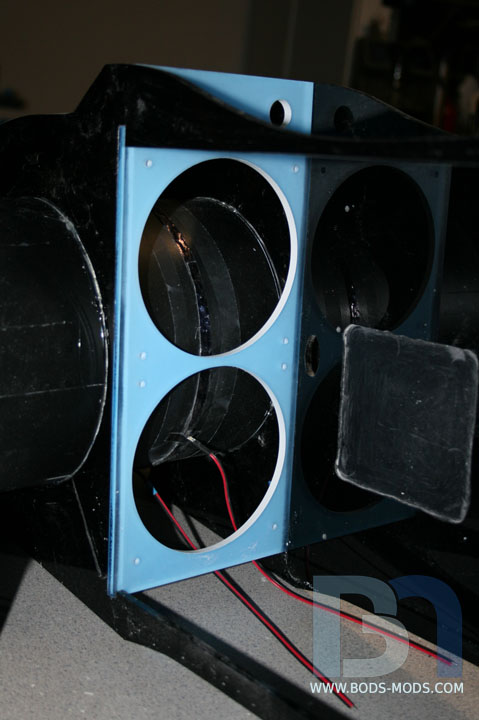
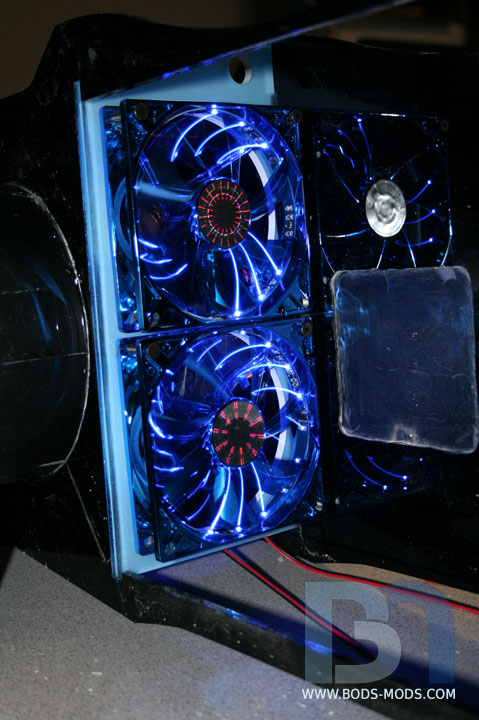
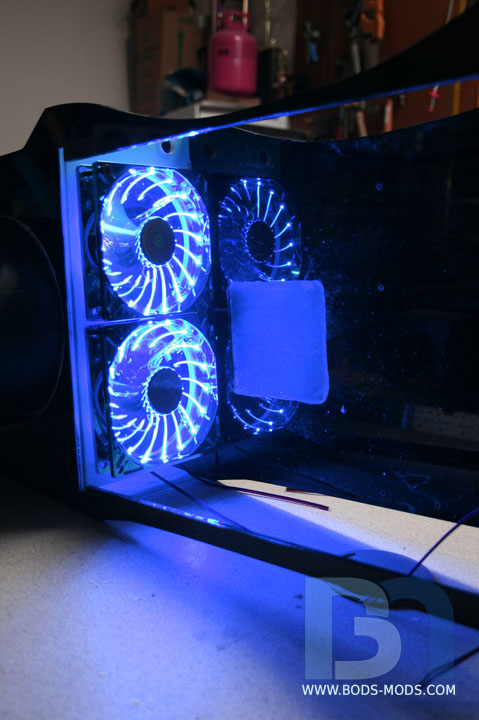
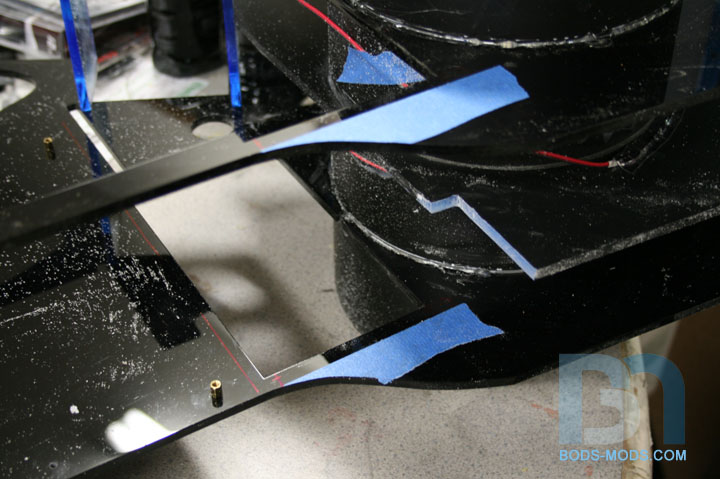
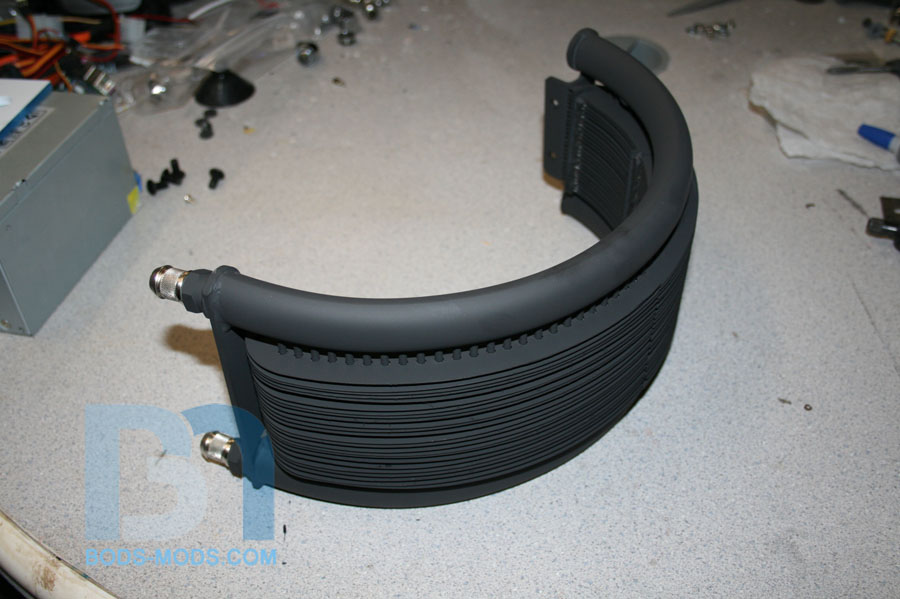
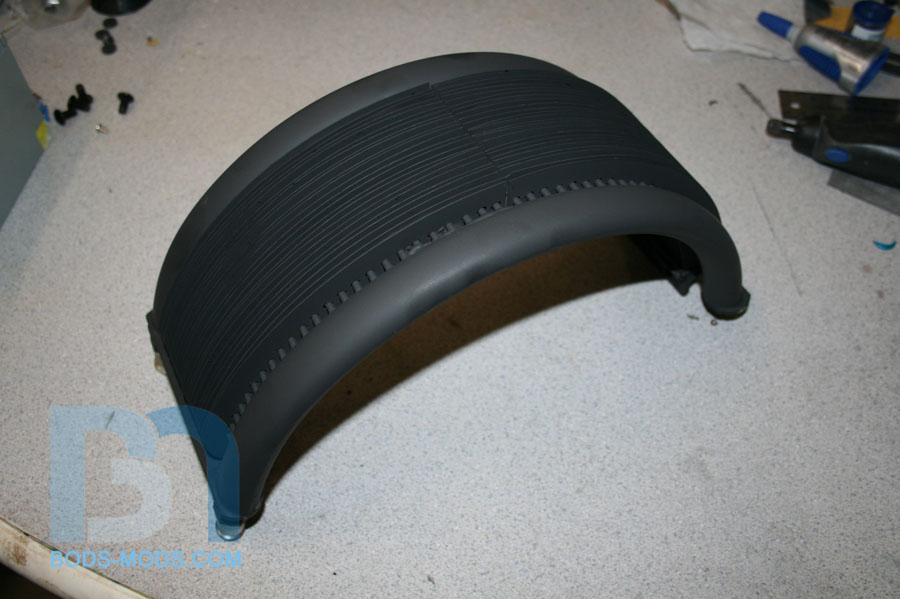
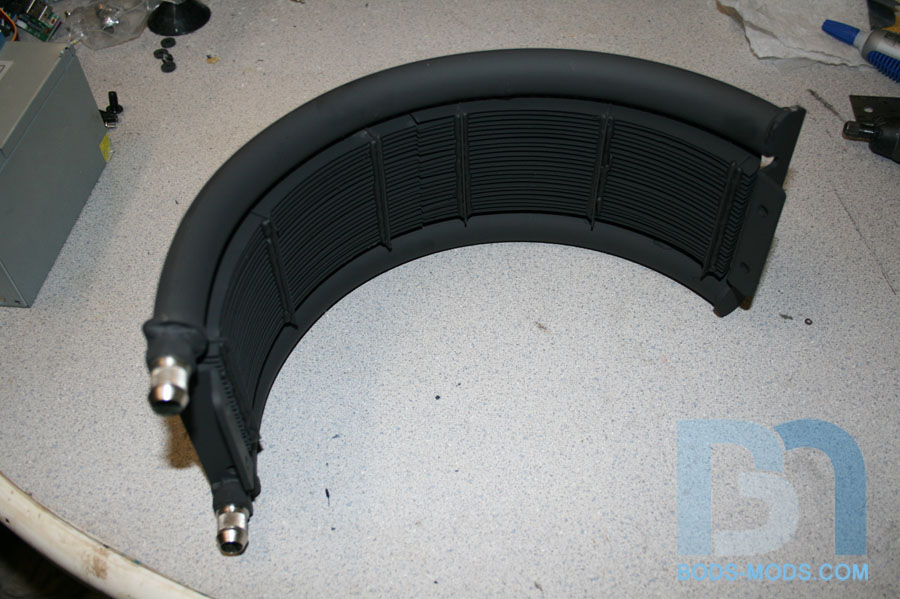
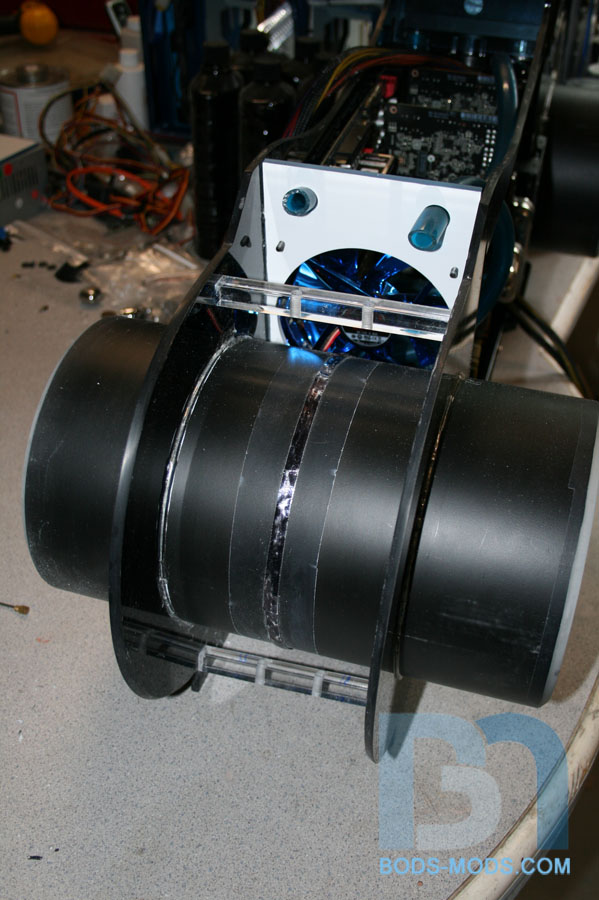
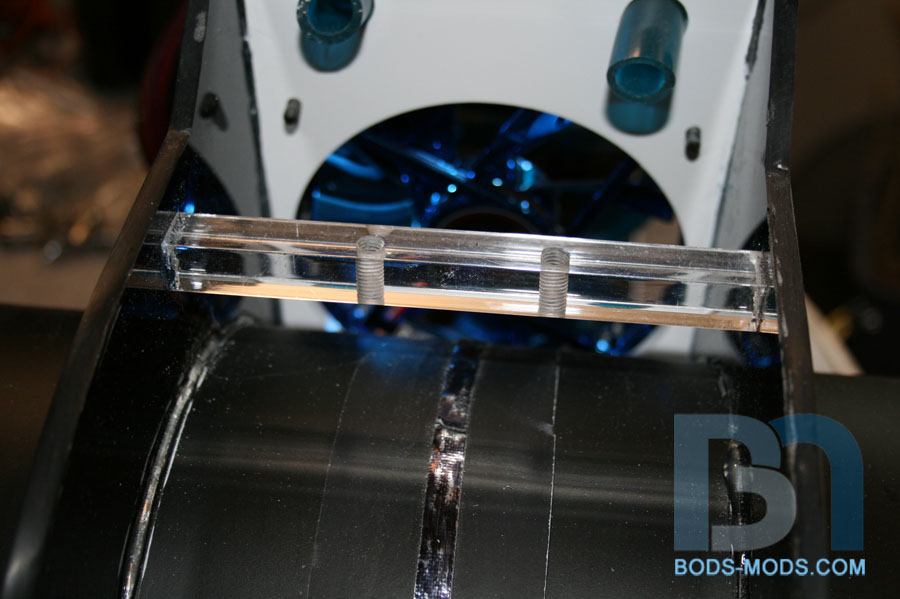
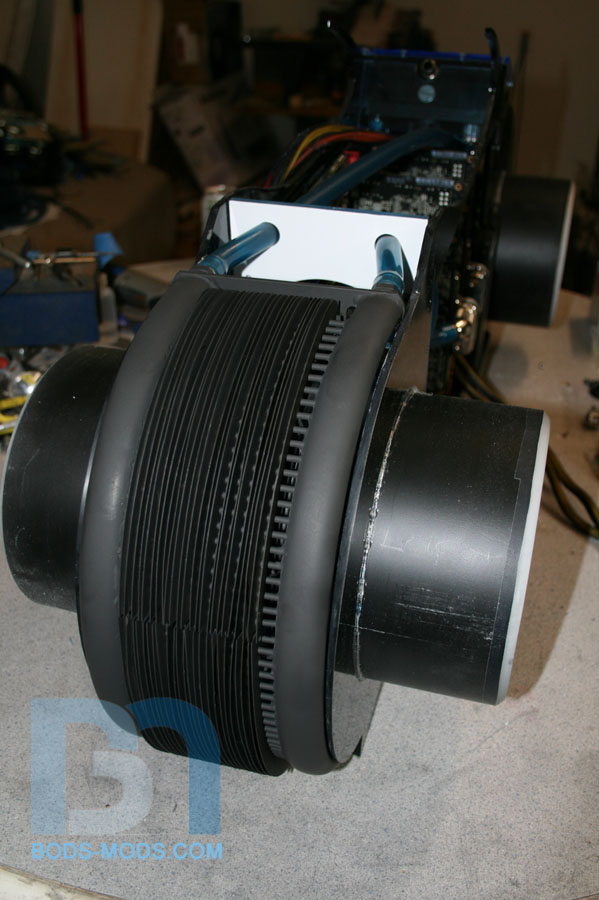
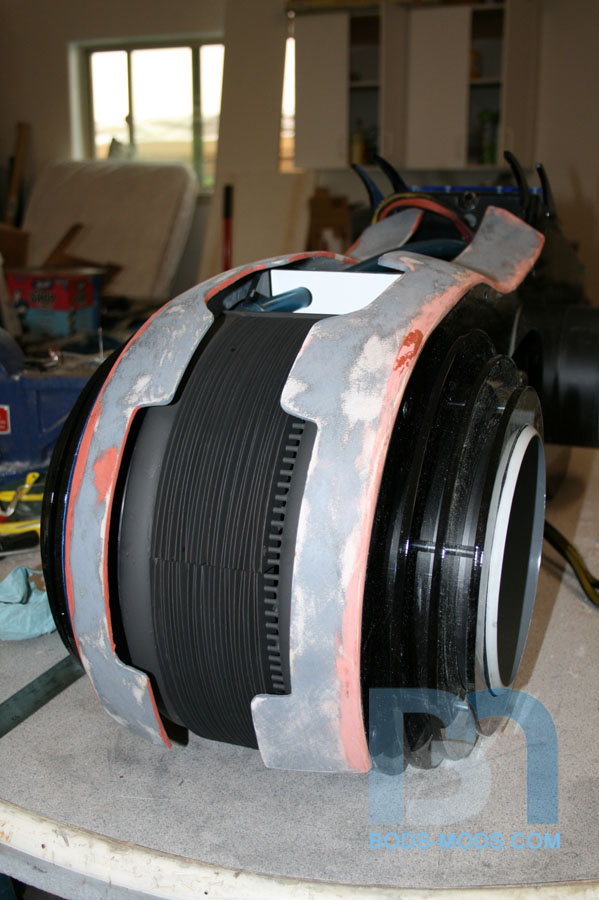
I'm planning something special for the front radiator, more on that later. ;-)
So that's the basic plan, I'll be adding more detail as I go along.
There are quite a few entries already, including one from Bill Owen and Slipperyskip in the case mod category. So it's going to be a good show! 😀
Been working in Sketchup, building a mockup of the lightcycle suitable for housing a full ATX system with watercooling. It ended up being 40" long, but relatively short. As for the design, I didn't want to make a spot-on replica of the bike, so I went with my layered acrylic method, with just a few skinned areas around the wheels and top. This allows me to hide more components inside as well. Anyway, on with the mockups:
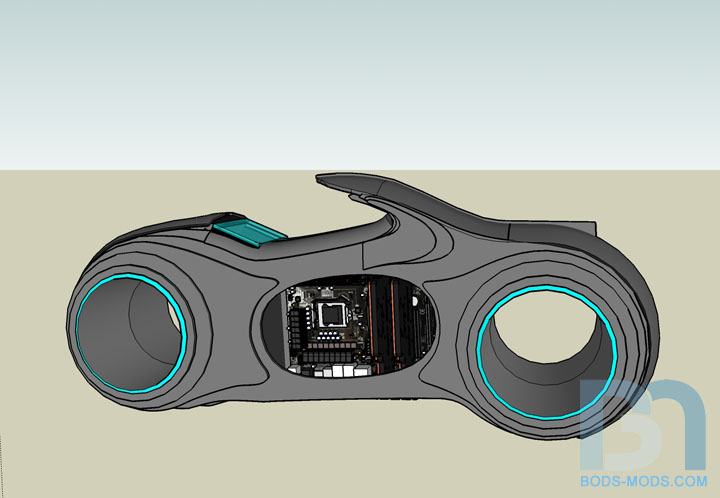

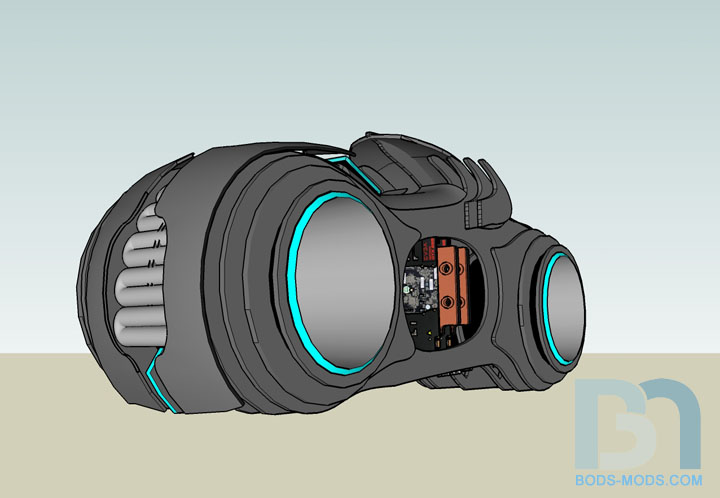
Upon removing some layers, you can see the initial motherboard placement and other components.
To give you a better idea of size, I placed a Cooler Master Cosmos case next to it.
PRELIMINARY PARTS LIST
EVGA X58 Motherboard
Intel i7 965 processor
EVGA GTX570 video cards in SLI
Crucial SSD
Crucial Ballistix memory
Pioneer Slimline slot load DVD drive
Cooler Master Silent Gold 850W Power Supply (qualifying product)
Dual bay reservoir by Primochill
Other watercooling parts TBD
I'm planning something special for the front radiator, more on that later. ;-)
So that's the basic plan, I'll be adding more detail as I go along.
There are quite a few entries already, including one from Bill Owen and Slipperyskip in the case mod category. So it's going to be a good show! 😀

")


 . I wish I knew how to build mods like that, or be able to pay someone to help me.
 Twitter