To do a clean install let's get things prepped.
Please note that anything in blue color is something you type, and anything in red color is something you click.
STEP 1
First, backup any important files that you don't want to lose to the cloud.
Next, if you don't have your Microsoft account linked to your PC login account then you should do this, unless you have the Windows activation key on hand. Then make sure to have that ready for later.
Also take note of which version of Windows you have right now (Home, Pro, Enterprise, N, etc.)
STEP 2
Now, make sure you have a flash drive that is at least 8GB.
First, we need to prep the drive.
Plug the flash drive into the PC.
Make sure to backup any important things that are on the drive since the prep will end up wiping the flash drive.
STEP 3
Open start menu, type
CMD then right click and select Run As Administrator.
Now that you are inside command prompt, type the following commands and press the ENTER key after each command.
Diskpart
List Disk
Select Disk # (where # is the number corresponding to the flash drive in the list)
Clean
Create Partition Primary
Select Partition 1
Active
Format Quick FS=FAT32
Assign
You can now exit command prompt.
STEP 4
Now download and run the Windows Media Creation Tool
https://www.microsoft.com/en-us/software-download/windows10
Inside the Creation Tool, select the flash drive and continue.
Once the tool is done, open Start Menu select the Power Icon then select Shut Down
Wait until the PC fully shuts down.
STEP 6
If you have more than one drive in your system read the following.
If you only have one drive, then skip ahead to
STEP 7.
If you have more than one hard drive in the system, you will need to unplug all drives EXCEPT the drive you want Windows installed on.
To do this, flip the power switch on the back of the power supply, then unplug the power cable from it.
Then press and hold the power button on the PC for 10 seconds.
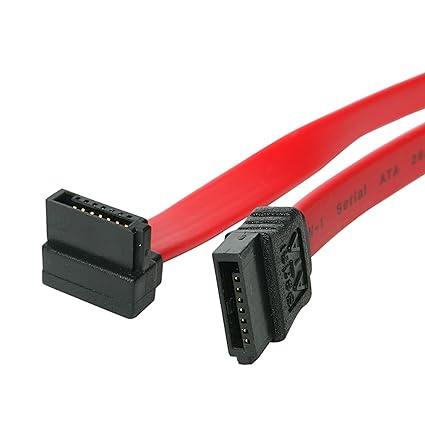
Now open the side panel and unplug the sata cable that connects the drives to the motherboard leaving only the drive you want to install Windows on.
STEP 7
Plug the cable back into the power supply and flip the switch back on.
Now turn the PC back on, then start pressing the F8 key on your keyboard repeatedly until it brings you to the boot selection screen, select the USB Drive and you should be booted into the Windows installer.
Next you should see a list of Windows versions to select from, pick the one you have an activation for. (Which is why I had you take note of the version earlier)
Inside the Windows installer you will have a main screen that has a button that says Install. Click it.
You will now have two options to choose from, pick the second option witch says Custom Install
You will now see a new screen that shows some partitions that you can select from to install Windows to.
Select each Partition in the list one at a time and click the
Delete option at the bottom for each one until you are left with a single blank Partition.
Now select the blank Partition and click Install
Windows will now go through an automated process of installing itself.
STEP 8
Near the end of the install it will ask you for a Windows key along with selecting some personalization options. Do what you want for personalization.
If you have a Windows key, you can type it in here, otherwise you can select to skip this.
If your current activation is linked to your Microsoft account as we did at the beginning, part of this process will ask you to sign into an account. Do that.
After this, Windows will finish up the install and drop you off at the desktop.
STEP 9
Now that you are on the desktop, we need to take care of a few things first.
Open up Windows update and manually check for updates.
If there are updates, let them install.
When it is done installing updates, check for more.
If it tells you any of the updates requires a restart, click that option and do so.
Then when the PC restarts, go back into Windows update and check for more updates.
Keep checking for more updates until it no longer gives you anymore updates.
STEP 10
Now that Windows updates are done, you need to install a few things.
Download and install DirectX SDK
https://www.microsoft.com/en-us/download/details.aspx?id=6812
Now download and install VC++ AiO
http://m.majorgeeks.com/files/details/visual_c_redistributable_runtimes_aio_repack.html
Now download and install all the drivers from your motherboard support page

www.asus.com
Now download and install your graphics card drivers
https://www.geforce.com/drivers
Once you've finished that, if you had to disconnect any drives from the system earlier, follow the procedure to shut down the PC and disconnect power as you did earlier and plug them back in.
STEP 11
Now you can go through and disable all game bar/game mode related features in Windows 10.
Then go into Nvidia control panel and set up your G-Sync and refresh rate settings.
Now that this is all done, you can start downloading and installing games and playing them.
If you end up having troubles or issues, don't hesitate to come back.
 www.newegg.com


